Sunday, November 27, 2016

Canon EOS Rebel T6i / EOS 750D Review

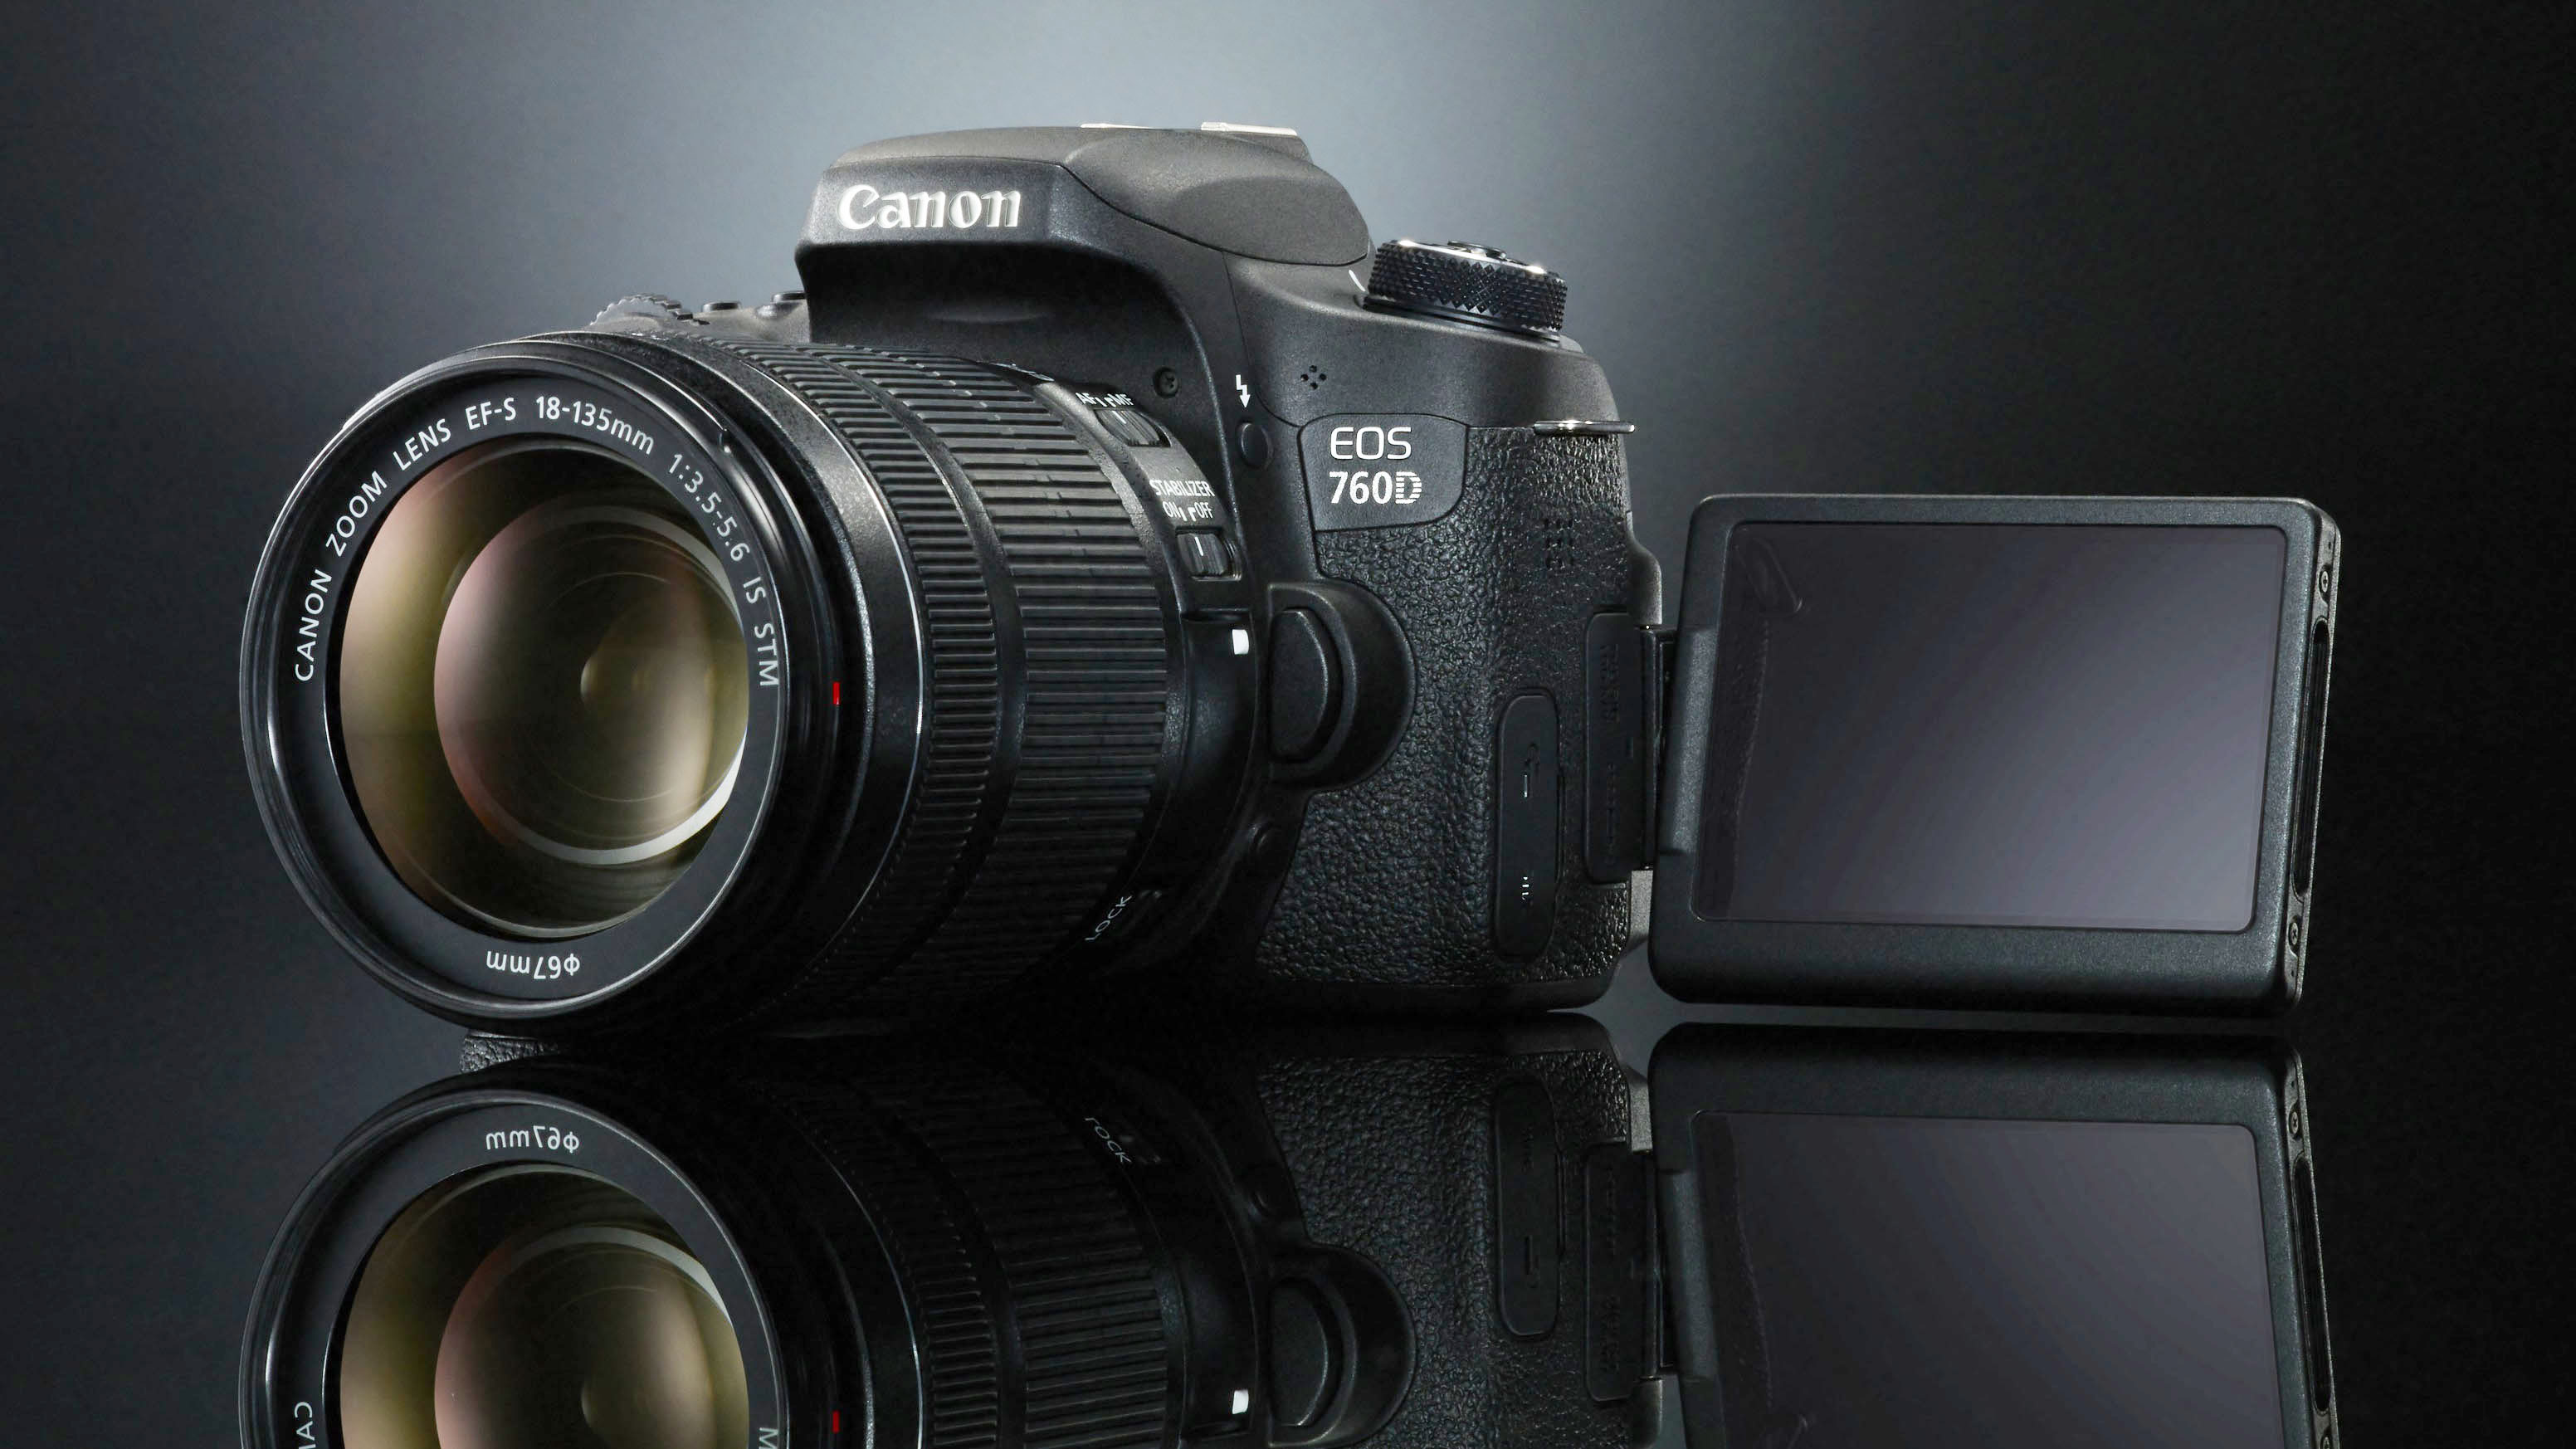
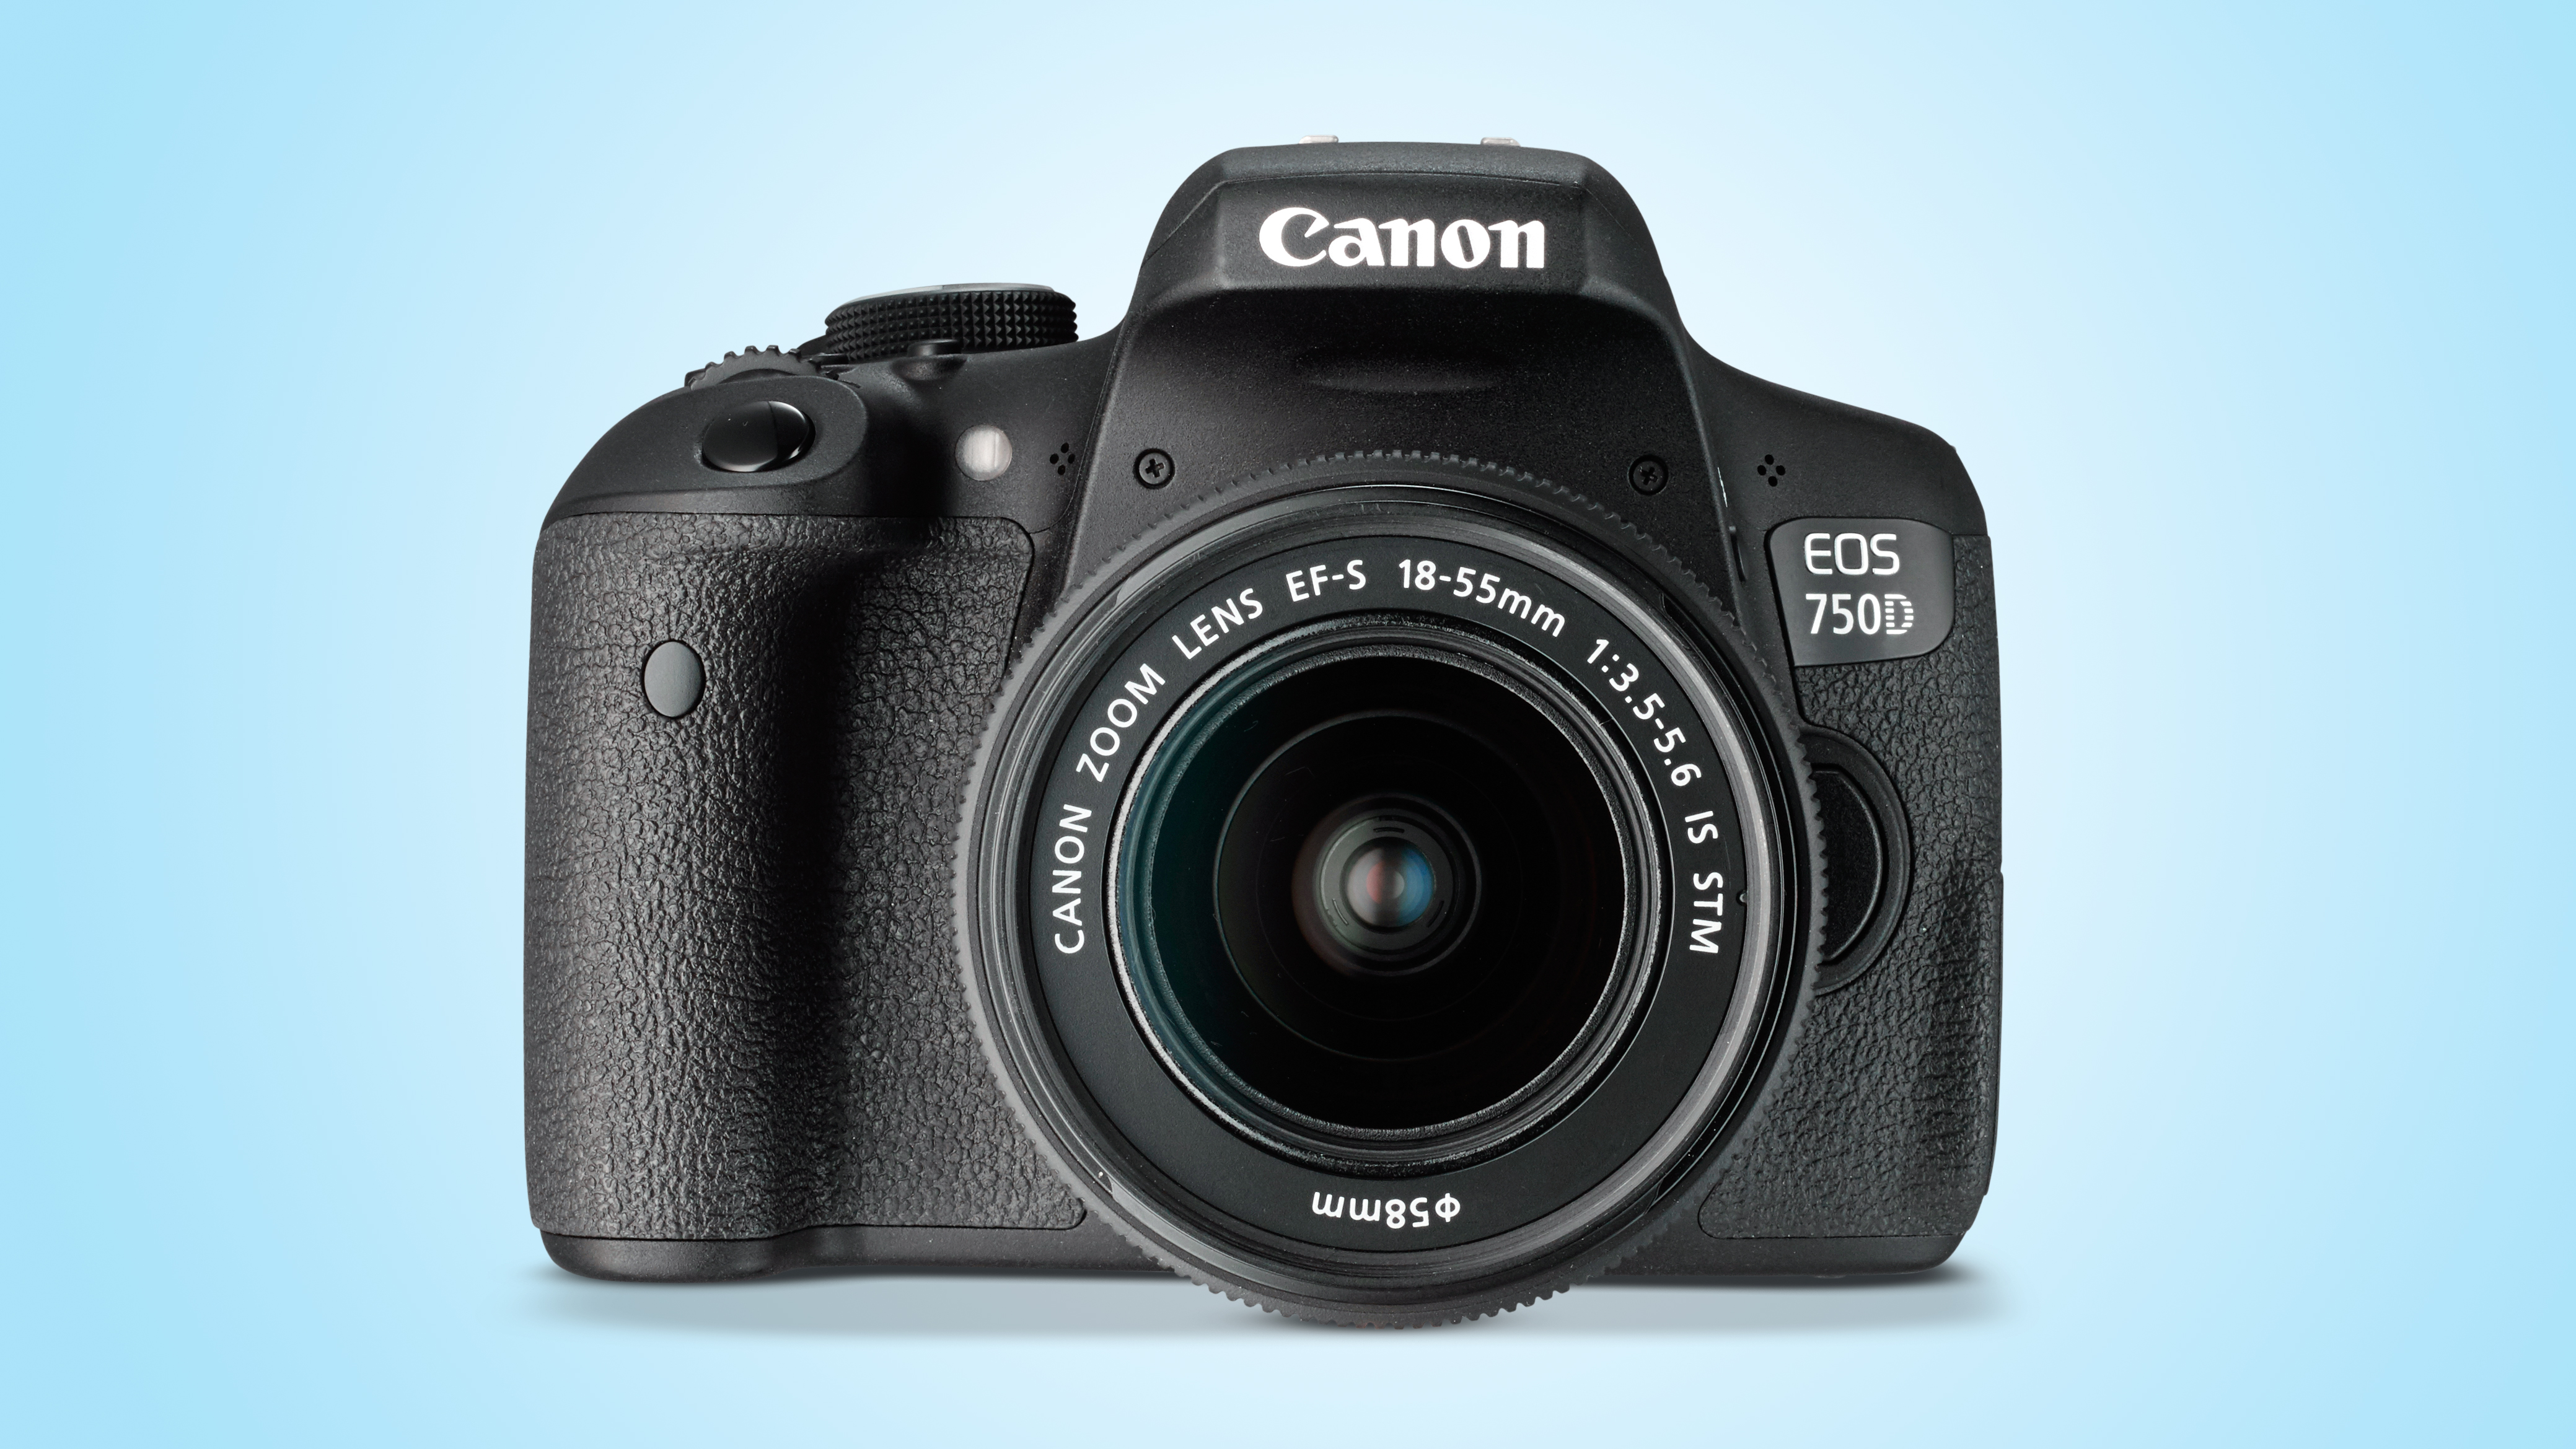
The EOS Rebel T6i (known as the EOS 750D outside the US) is Canon’s key entry-level DSLR, taking the fight to the likes of the Nikon D3300 and D5500. Announced at the same time was the EOS Rebel T6s (EOS 760D), which is virtually identical under the skin to the Rebel T6i, but with a few more features designed to tempt slightly more experienced users.

Features

  • APS-C CMOS sensor, 24MP
  • 3.0-inch, vari-angle touchscreen, 1,040,000 dots
  • 1080p video capture
Despite the step up from the 18 million pixels in the Rebel T5i / 700D, the Rebel T6i keeps the older sensor’s native sensitivity range of ISO100-12,800. There’s also an expansion setting of ISO25,600 for very low light conditions. In movie shooting the maximum native setting is ISO6400 and there’s an expansion value of ISO12,800.
In a first for Canon DSLRs, the Rebel T6i features both Wi-Fi and NFC (Near Field Communication) technology to enable it to be connected to a smartphone or tablet for remote control and image sharing. It’s even possible to connect two cameras just by touching the NFC logos together, and then transfer images wirelessly.
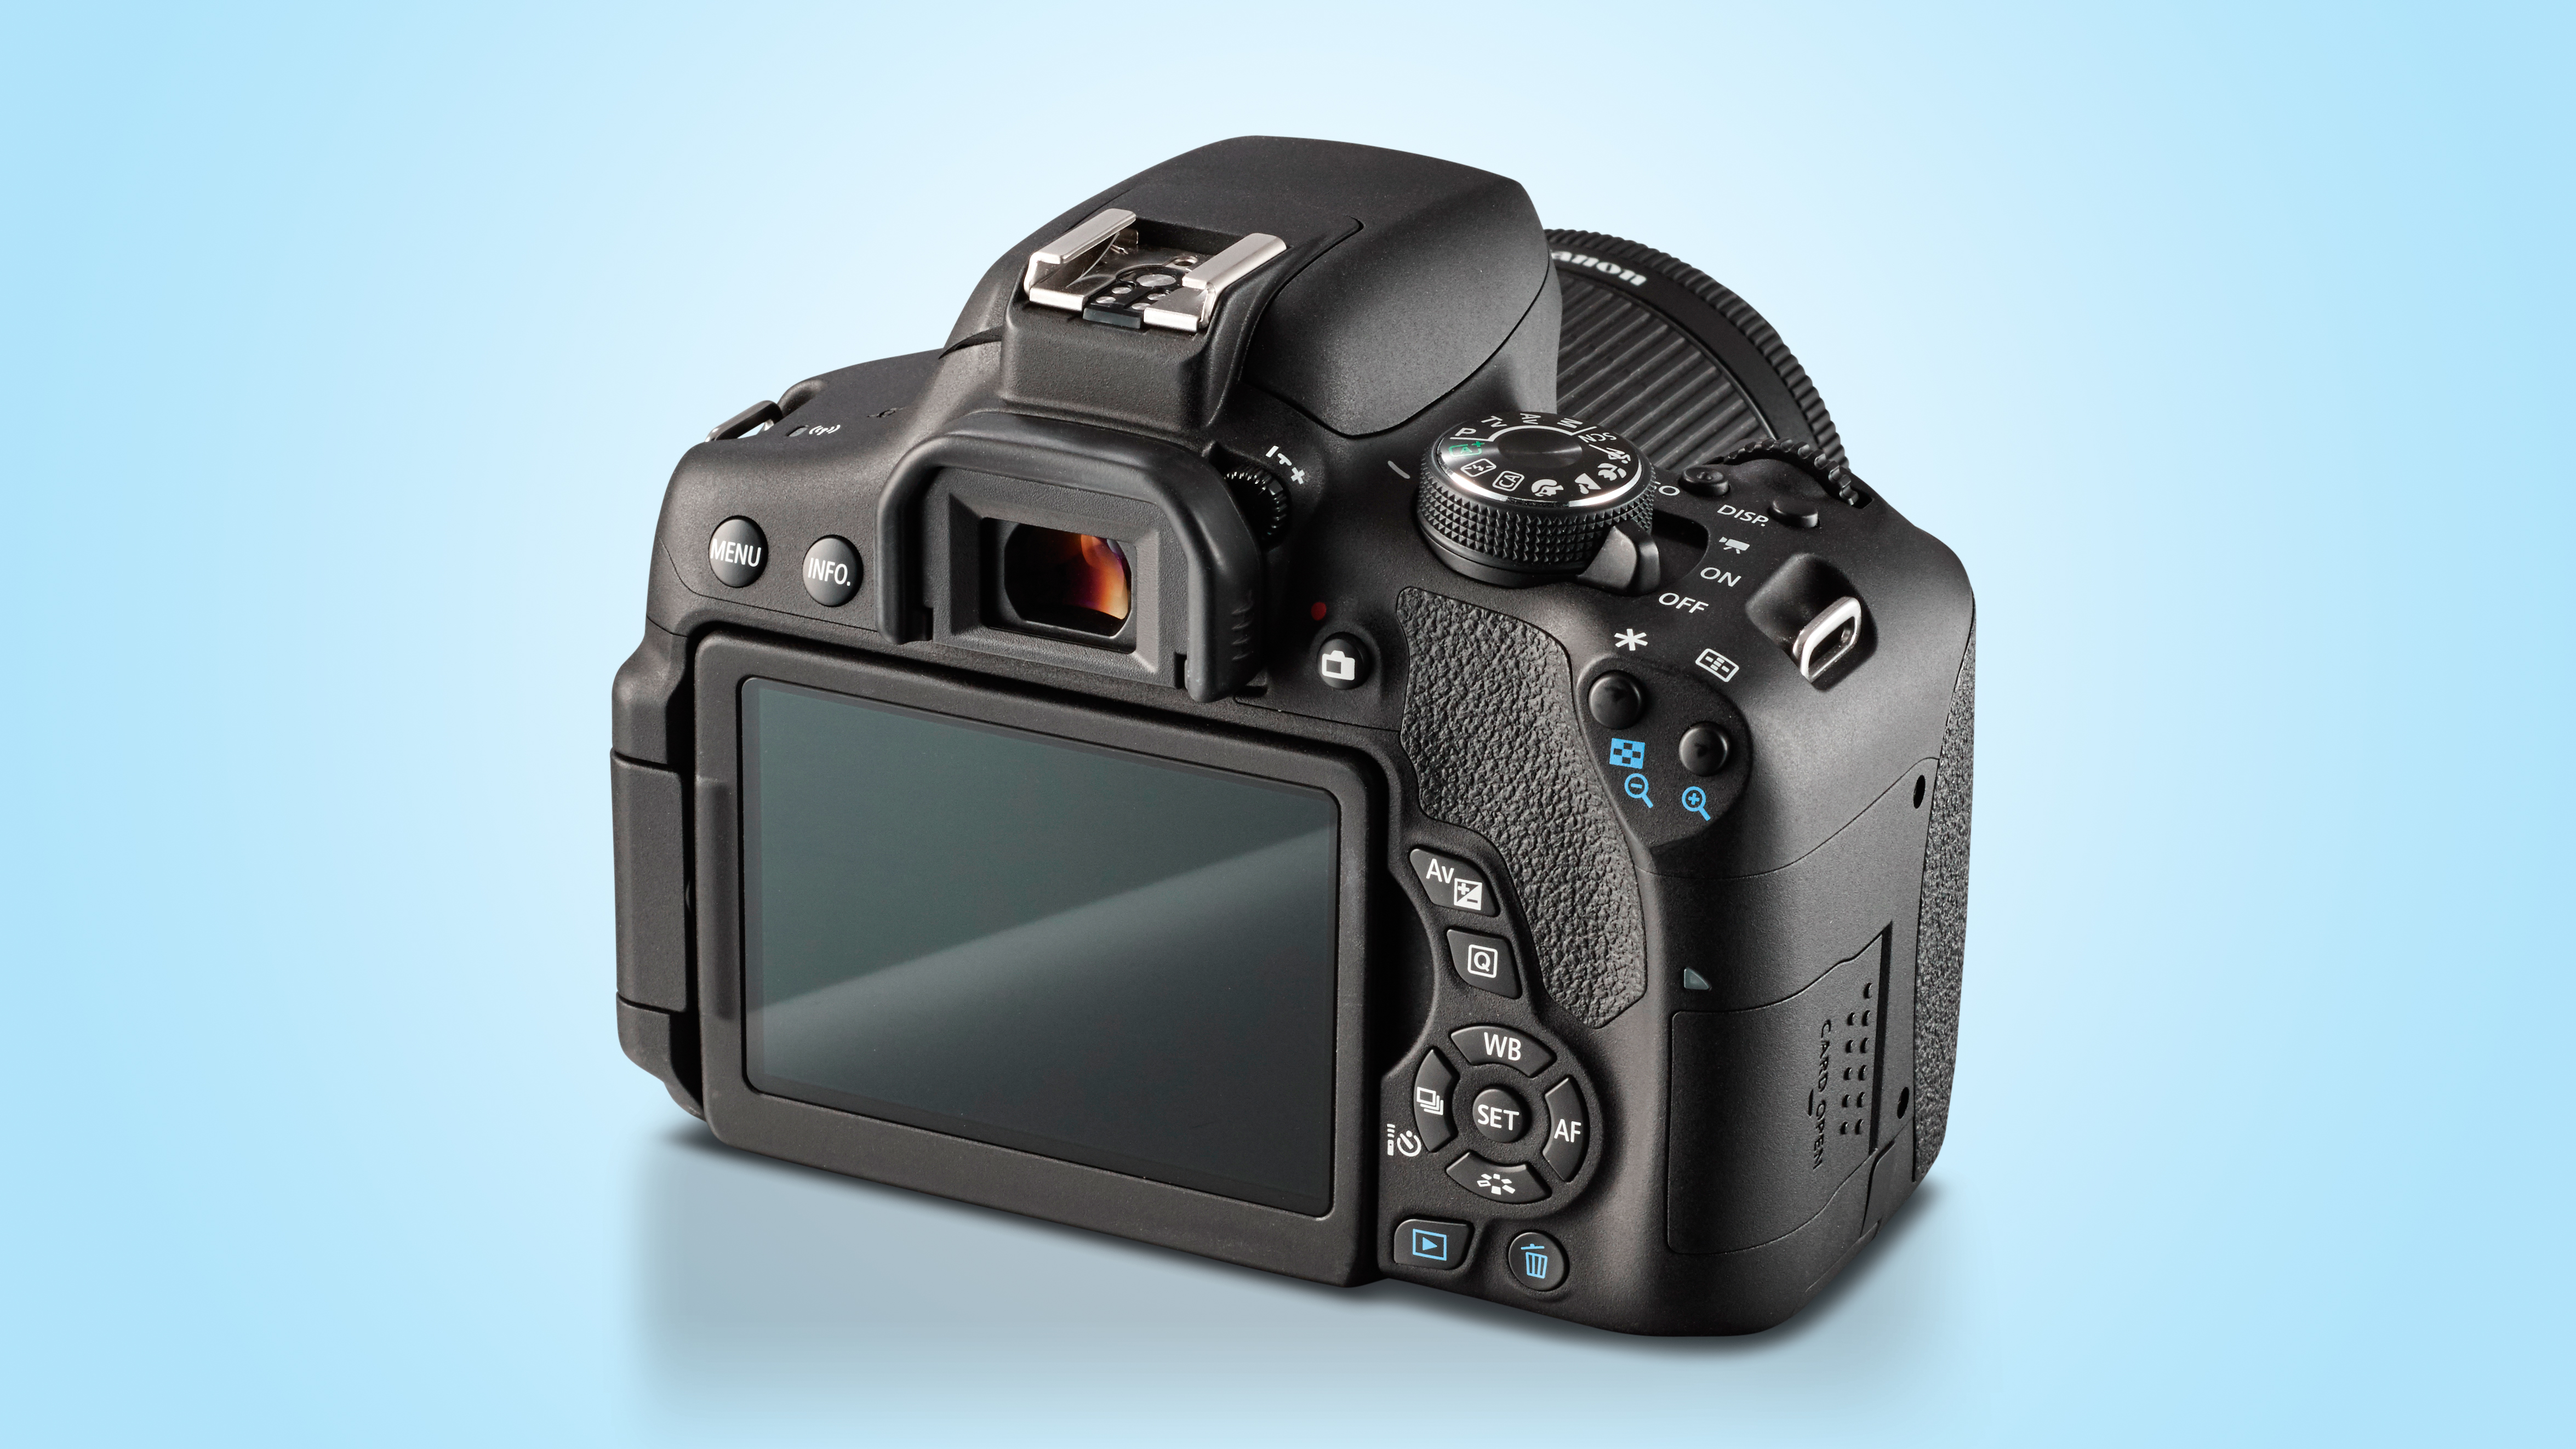
Like the older Rebel T5i, the Rebel T6i has a 3.0-inch 1,040,000-dot Clear View II TFT screen that’s touch-sensitive. It also has an aspect ratio of 3:2 to match the uncropped ratio of the imaging sensor, while the vari-angle hinge on the side of the body means it can be placed in a range of positions.
There’s a 19-point phase-detect AF system when shooting through the viewfinder. The choice of AF point can be left to the camera to decide in 19-point AF mode, or it can be set manually in Single point AF or Zone AF mode. In Zone AF mode you have the choice of five groups of points for selection, whereas in Single point mode all 19 points are available for individual selection.
Canon’s Hybrid CMOS AF III system (with Face detection, Tracking AF, FlexiZone-Multi and FlexiZone-Single modes) is available with the Rebel T6i / 750D when using Live View. This is an improved version of the Hybrid CMOS AF II system found in the Canon EOS SL1 / 100D, having a greater number of focusing pixels arranged in a more regular array than in the past. Canon says it’s about 4x faster than version II and two generations ahead of the original Hybrid CMOS AF system in the Rebel T5i.
Unlike the Rebel T6s / 760D, the Rebel T6i / 750D doesn’t have a Servo autofocus option in Live View mode so there isn’t an option for focus to adjust continuously while the shutter release is held down and subject distance changes. There is, however, a Continuous AF option in the Live View section of the main menu. When this is activated focus is adjusted fairly slowly when the shutter release isn’t pressed. It’s designed for use in video mode and to pre-focus when shooting stills.
  • What camera should I buy

Build and handling

  • Aluminium alloy and polycarbonate construction
  • Design little changed from the EOS Rebel T5i / EOS 700D
  • 555g
The Rebel T6i / 750D‘s aluminium alloy and polycarbonate resin with glass fibre chassis gives it a pretty durable feel for entry-level DSLR. Reassuringly, it doesn’t creak when it’s gripped tightly.
Textured coatings on the deep grip on the front and the small thumb bridge on the back help to make the camera feel comfortable and safe in your grasp.
Following the design of other Canon DSLRs, the Rebel T6i / 750D has a Quick menu that is accessed by pressing the Q button. This gives a quick route to some key features for adjustment. Setting adjustments can be made using the physical buttons and dials or by touching the screen. If you’re not used to using a touch-screen camera you may find that you start out using the buttons and dials, but gradually you start using the touchscreen because it’s so intuitive.
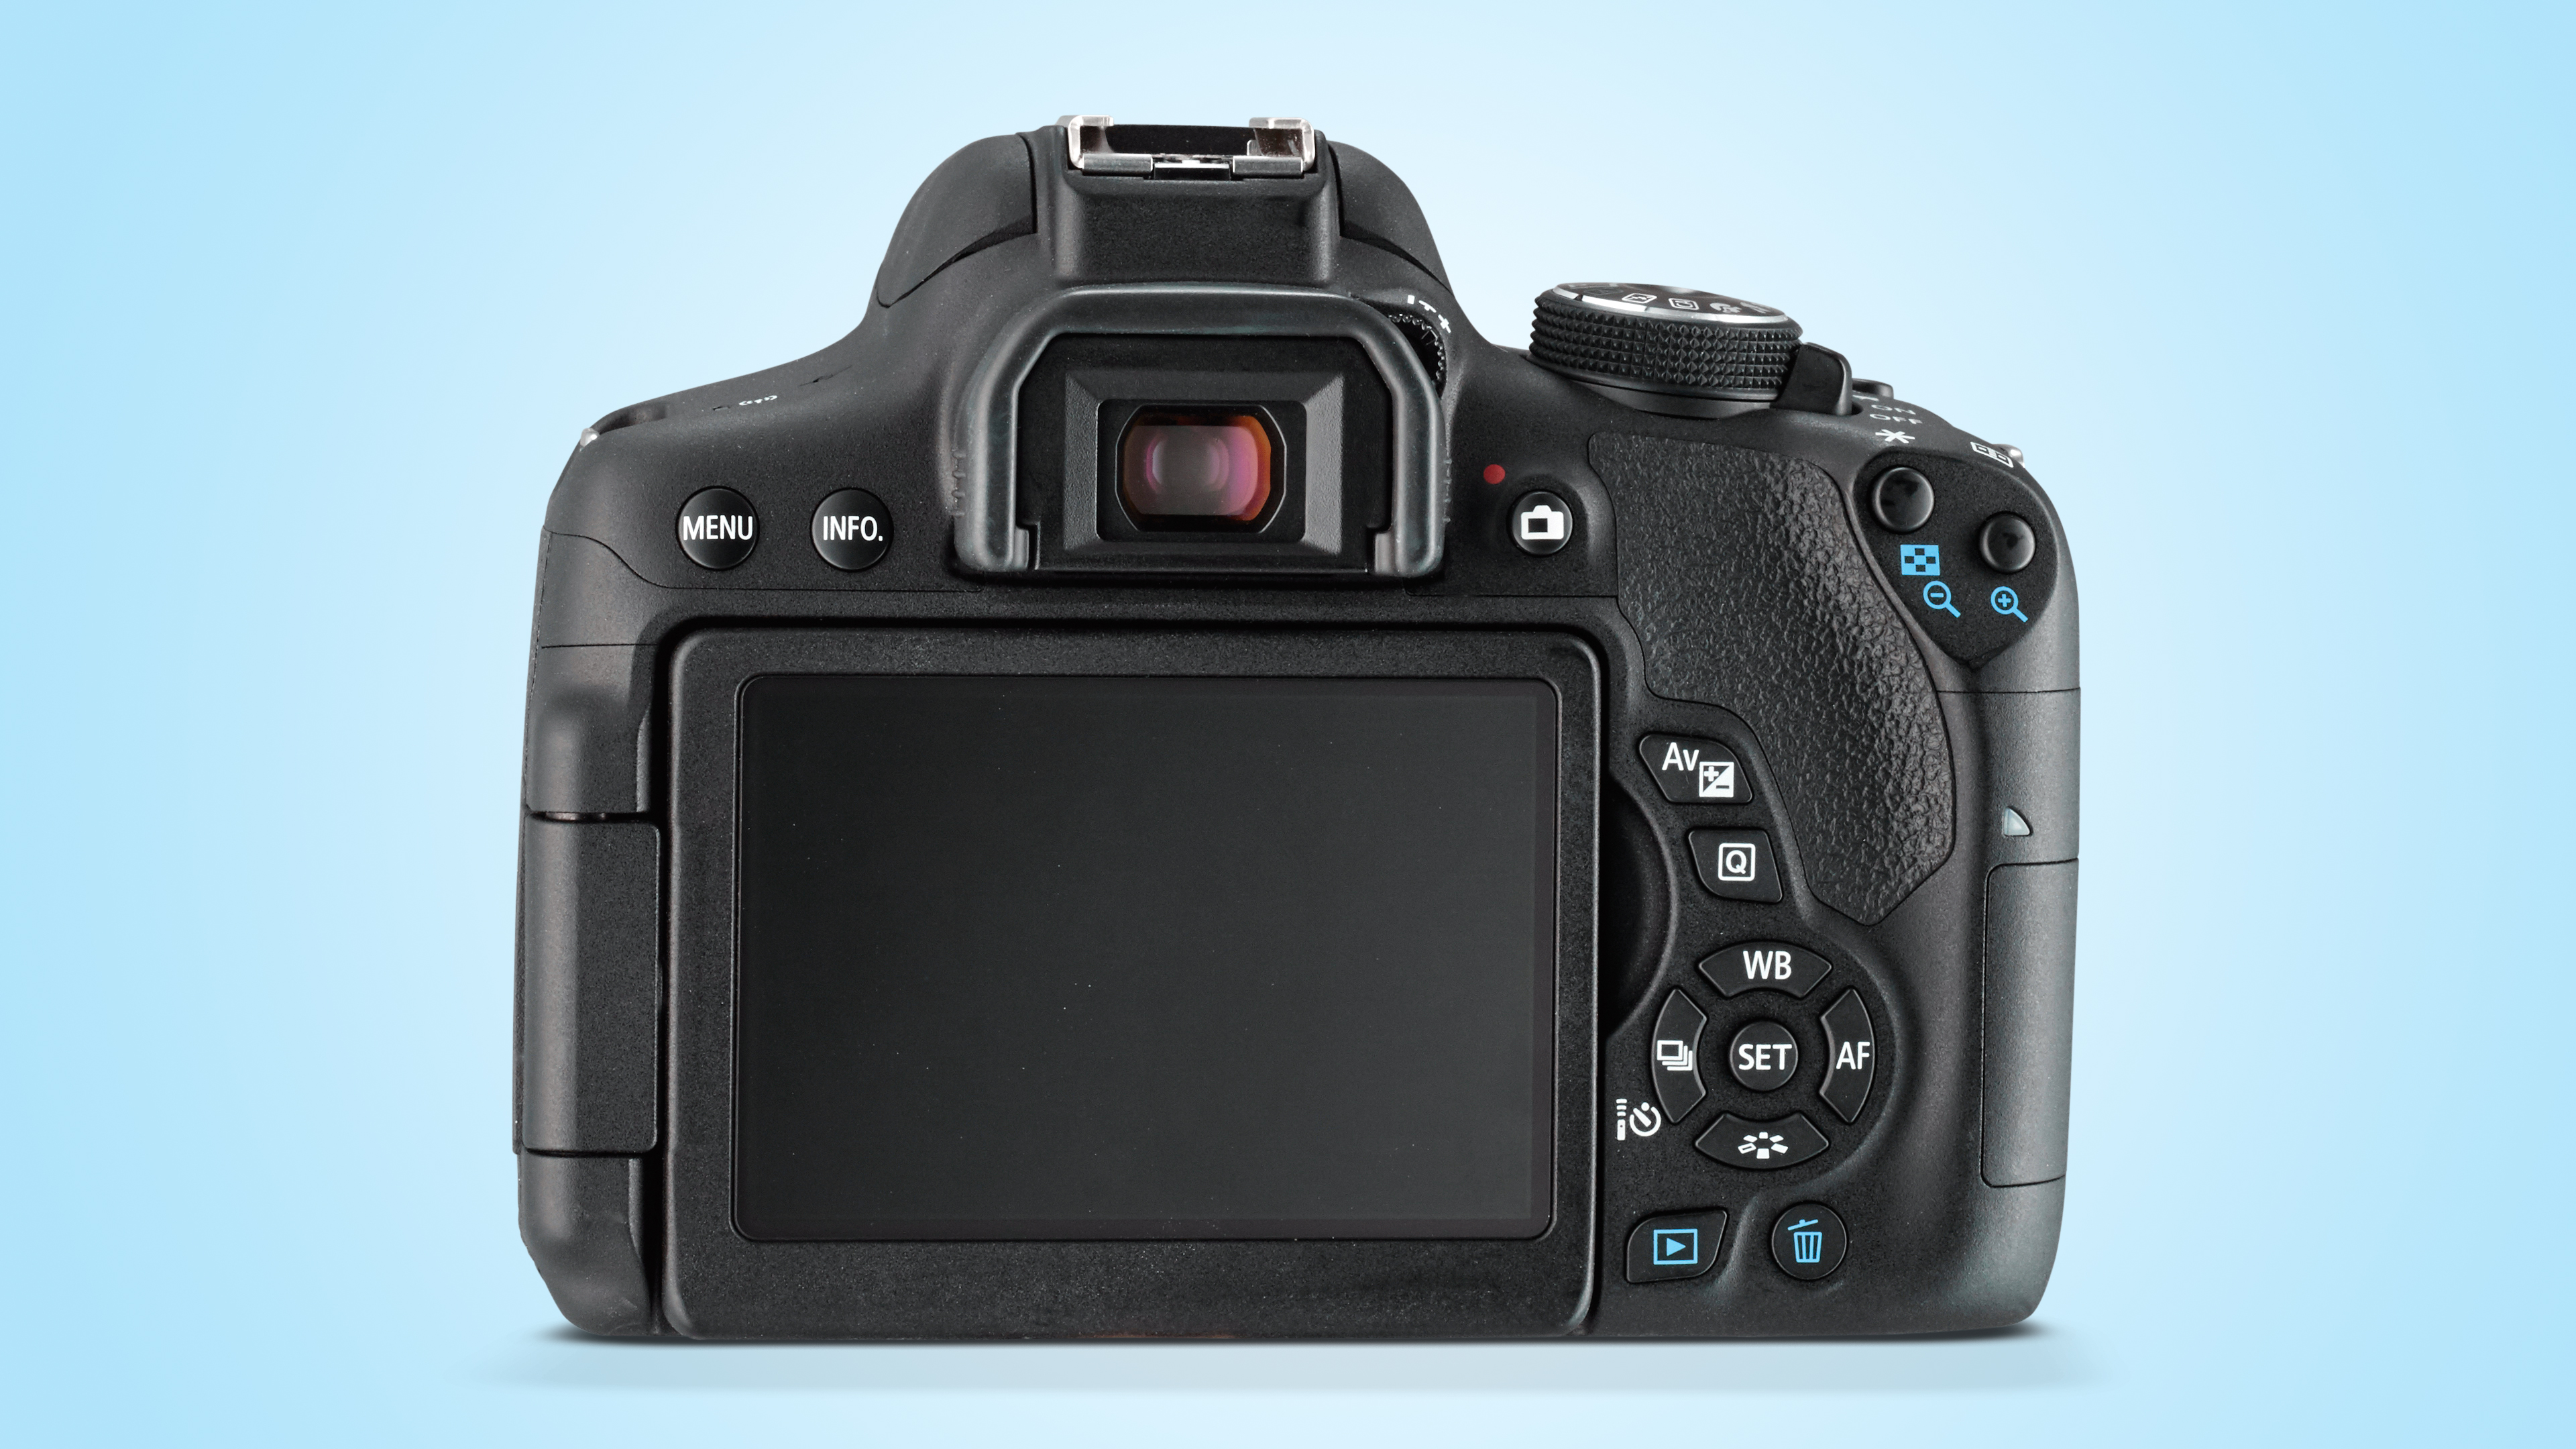
Being a DSLR, the Rebel T6i / 750D has an optical viewfinder. Canon has used a pentamirror design rather than the pentaprism versions found in more expensive cameras like the EOS 70D. This shows approximately 95% of the scene (the 70D’s covers 98%) so you may need to take care with composition to avoid including unseen elements around the edges of the frame.
As the screen is on an articulating joint it can be seen from a wide range of angles. Reflections are an issue in very bright light, but it is usually possible to see enough detail to compose images. In Live View mode it’s especially helpful to use the screen to set the AF point, or even set the AF point and trip the shutter when composing images at very awkward angles.
The viewfiner uses a 'pentamirror' design that offers 95% coverage.
Perhaps the biggest handling difference between the T6i and T6s is that the T6s has a Quick Control dial around the navigation buttons. The T6i relies on an exposure compensation button instead. In manual exposure mode this button needs to be pressed while rotating the dial near the shutter release to set aperture, in the semi automatic modes it’s used with the dial to adjust exposure compensation. It’s a quick and easy task, but the Quick Control dial on the T6s / 760D makes these adjustments a little faster.
The exposure mode is set using the dedicated dial on the right of the T6i’s top-plate – this is on the left on the T6s. Unlike the T6s there’s no lock on the dial, but it doesn’t get knocked out of position easily and it provides a route to the same same exposure modes including program, shutter priority, aperture priority and manual as well as options such as Full Automatic (Scene Intelligent Auto), Creative Auto (which allows you to take control with simple instructions using non-photographic terms) and a collection of user-selectable scene modes, including some within Special Scene (SCN) mode.

Autofocus

  • 19-point AF, all cross-type AF points
  • Predictive AF
  • AF working range down to -0.5EV
Pressing the AF Area selection button once allows the navigation buttons to be used to set the desired AF point. Pressing it multiple times toggles through the AF-point selection modes (Single-point AF, Zone AF and 19-Point automatic selection AF). There’s also an AF point selection button to the right of the thumb rest on the back of the camera, but this doesn’t allow you to toggle through the selection modes. It would be nice to be able to set the AF point on the screen while composing images in the viewfinder as you can with some Panasonic cameras and the Nikon D5500.

The phase detection AF system that’s available when composing images in the viewfinder is fast and accurate, even in quite low light with the kit lens mounted. It means it’s a much better choice when shooting sport or action. In 19-point mode it does a pretty good job of identifying the subject, but Zone-AF and Single-point mode are a better choice provided you can keep the active area over the right part of the scene.
When using Live View mode I found the T6i / 750D is capable of getting subjects sharp quickly, so it’s possible to compose images on the main screen when hand-holding the camera. However, it’s not really fast enough to use it to shoot moving subjects, and there’s no servo option, so it can’t adjust focus as subject distance changes when your finger is on the shutter release.
  • Best entry-level DSLRs

Performance

  • 5fps burst shooting
  • Exposure weighted towards active AF point
  • 440 shot battery life
The Rebel T6i / 750D can also shoot continuously at up to 5fps. This may not seem fantastic by current standards, but it’s still very useful when shooting sport. Plus, the burst depth has been increased from the 30 JPEG or 6 raw files of the Rebel T5i / 700D to a whopping 940 Large/Fine JPEGs or 8 raw files.
A dedicated 7,560-pixel RGB and Infra Red (IR) sensor is provided for measuring exposure when the viewfinder is in use. As with the T5i’s iFCL metering system, these pixels are grouped into 63 segments (9×7) with the usual options of Evaluative, Centre-weighted, Partial and Spot metering. However, the partial (6.0% of viewfinder) and Spot (3.5% of viewfinder) coverage is a little more precise than in the T5i / 700D (9% and 4% respectively) and pixels on the sensor each have their own RGB-IR filter and are read independently.
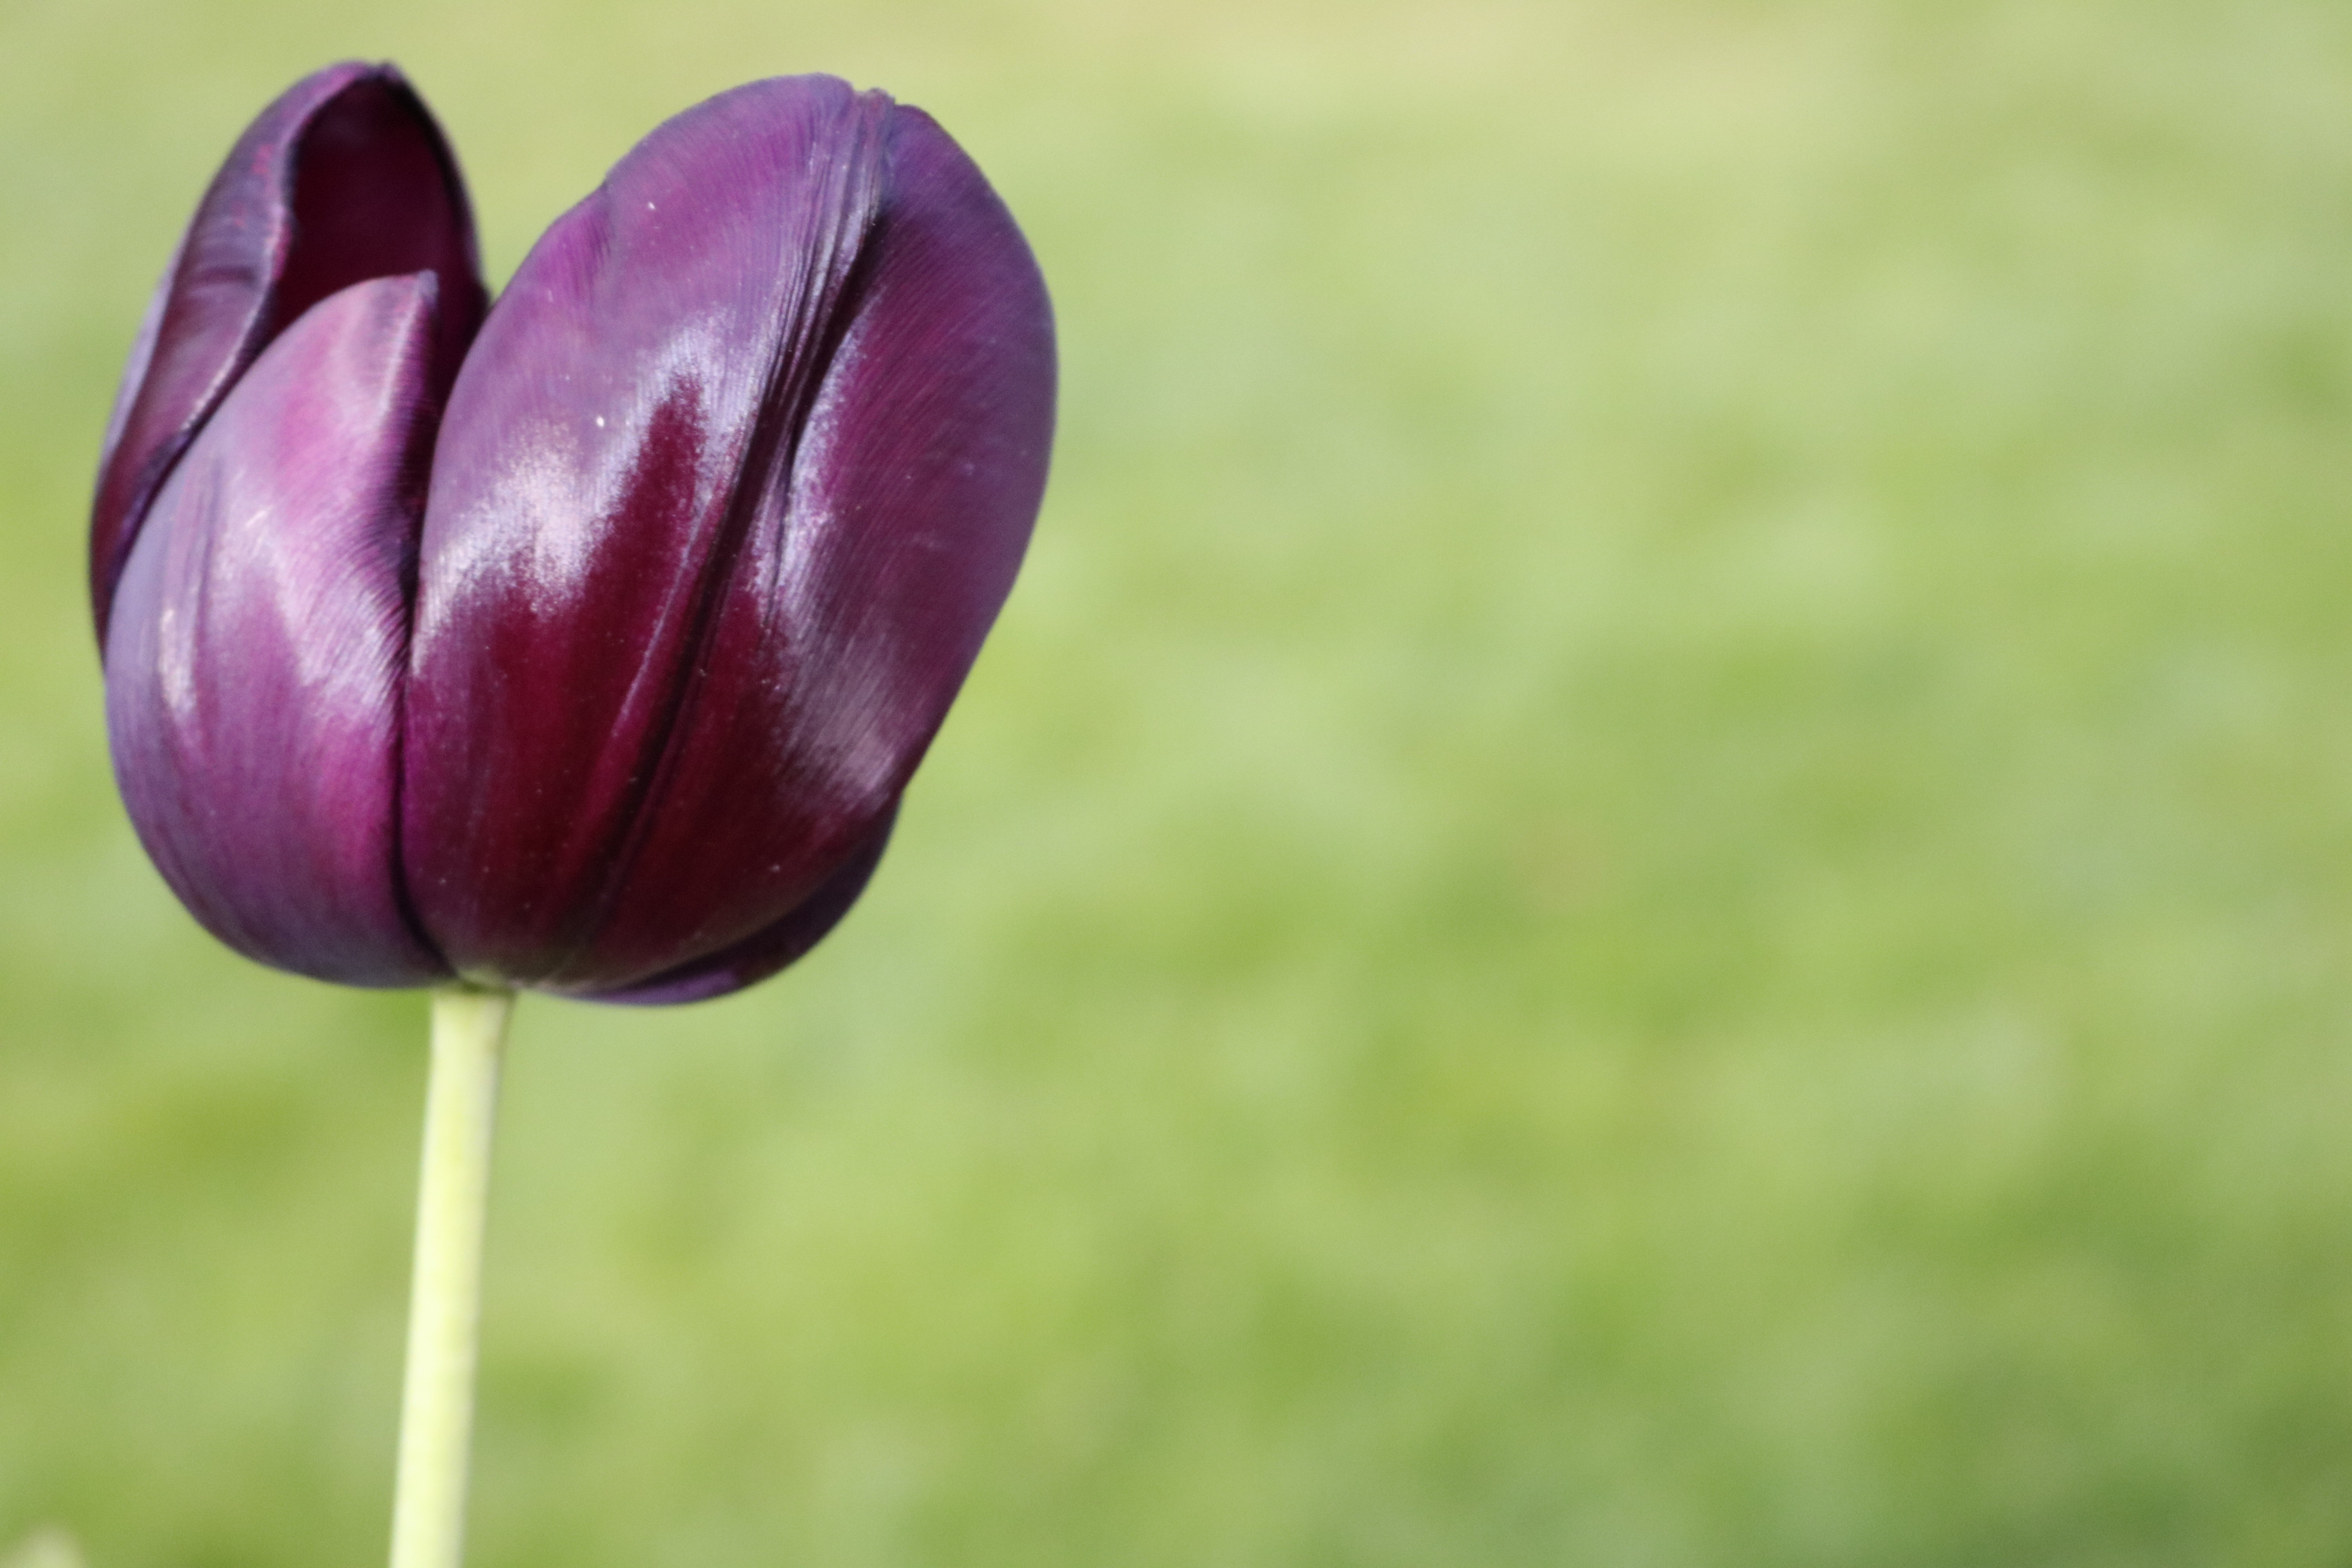
This is a similar system to the one in the excellent EOS 7D Mark II and Canon claims it’s more accurate than the T5i’s with improved colour detection. However, it’s worth remembering that even in Evaluative mode the metering is linked to the AF points, so the brightness of the subject could have an impact upon overall exposure.
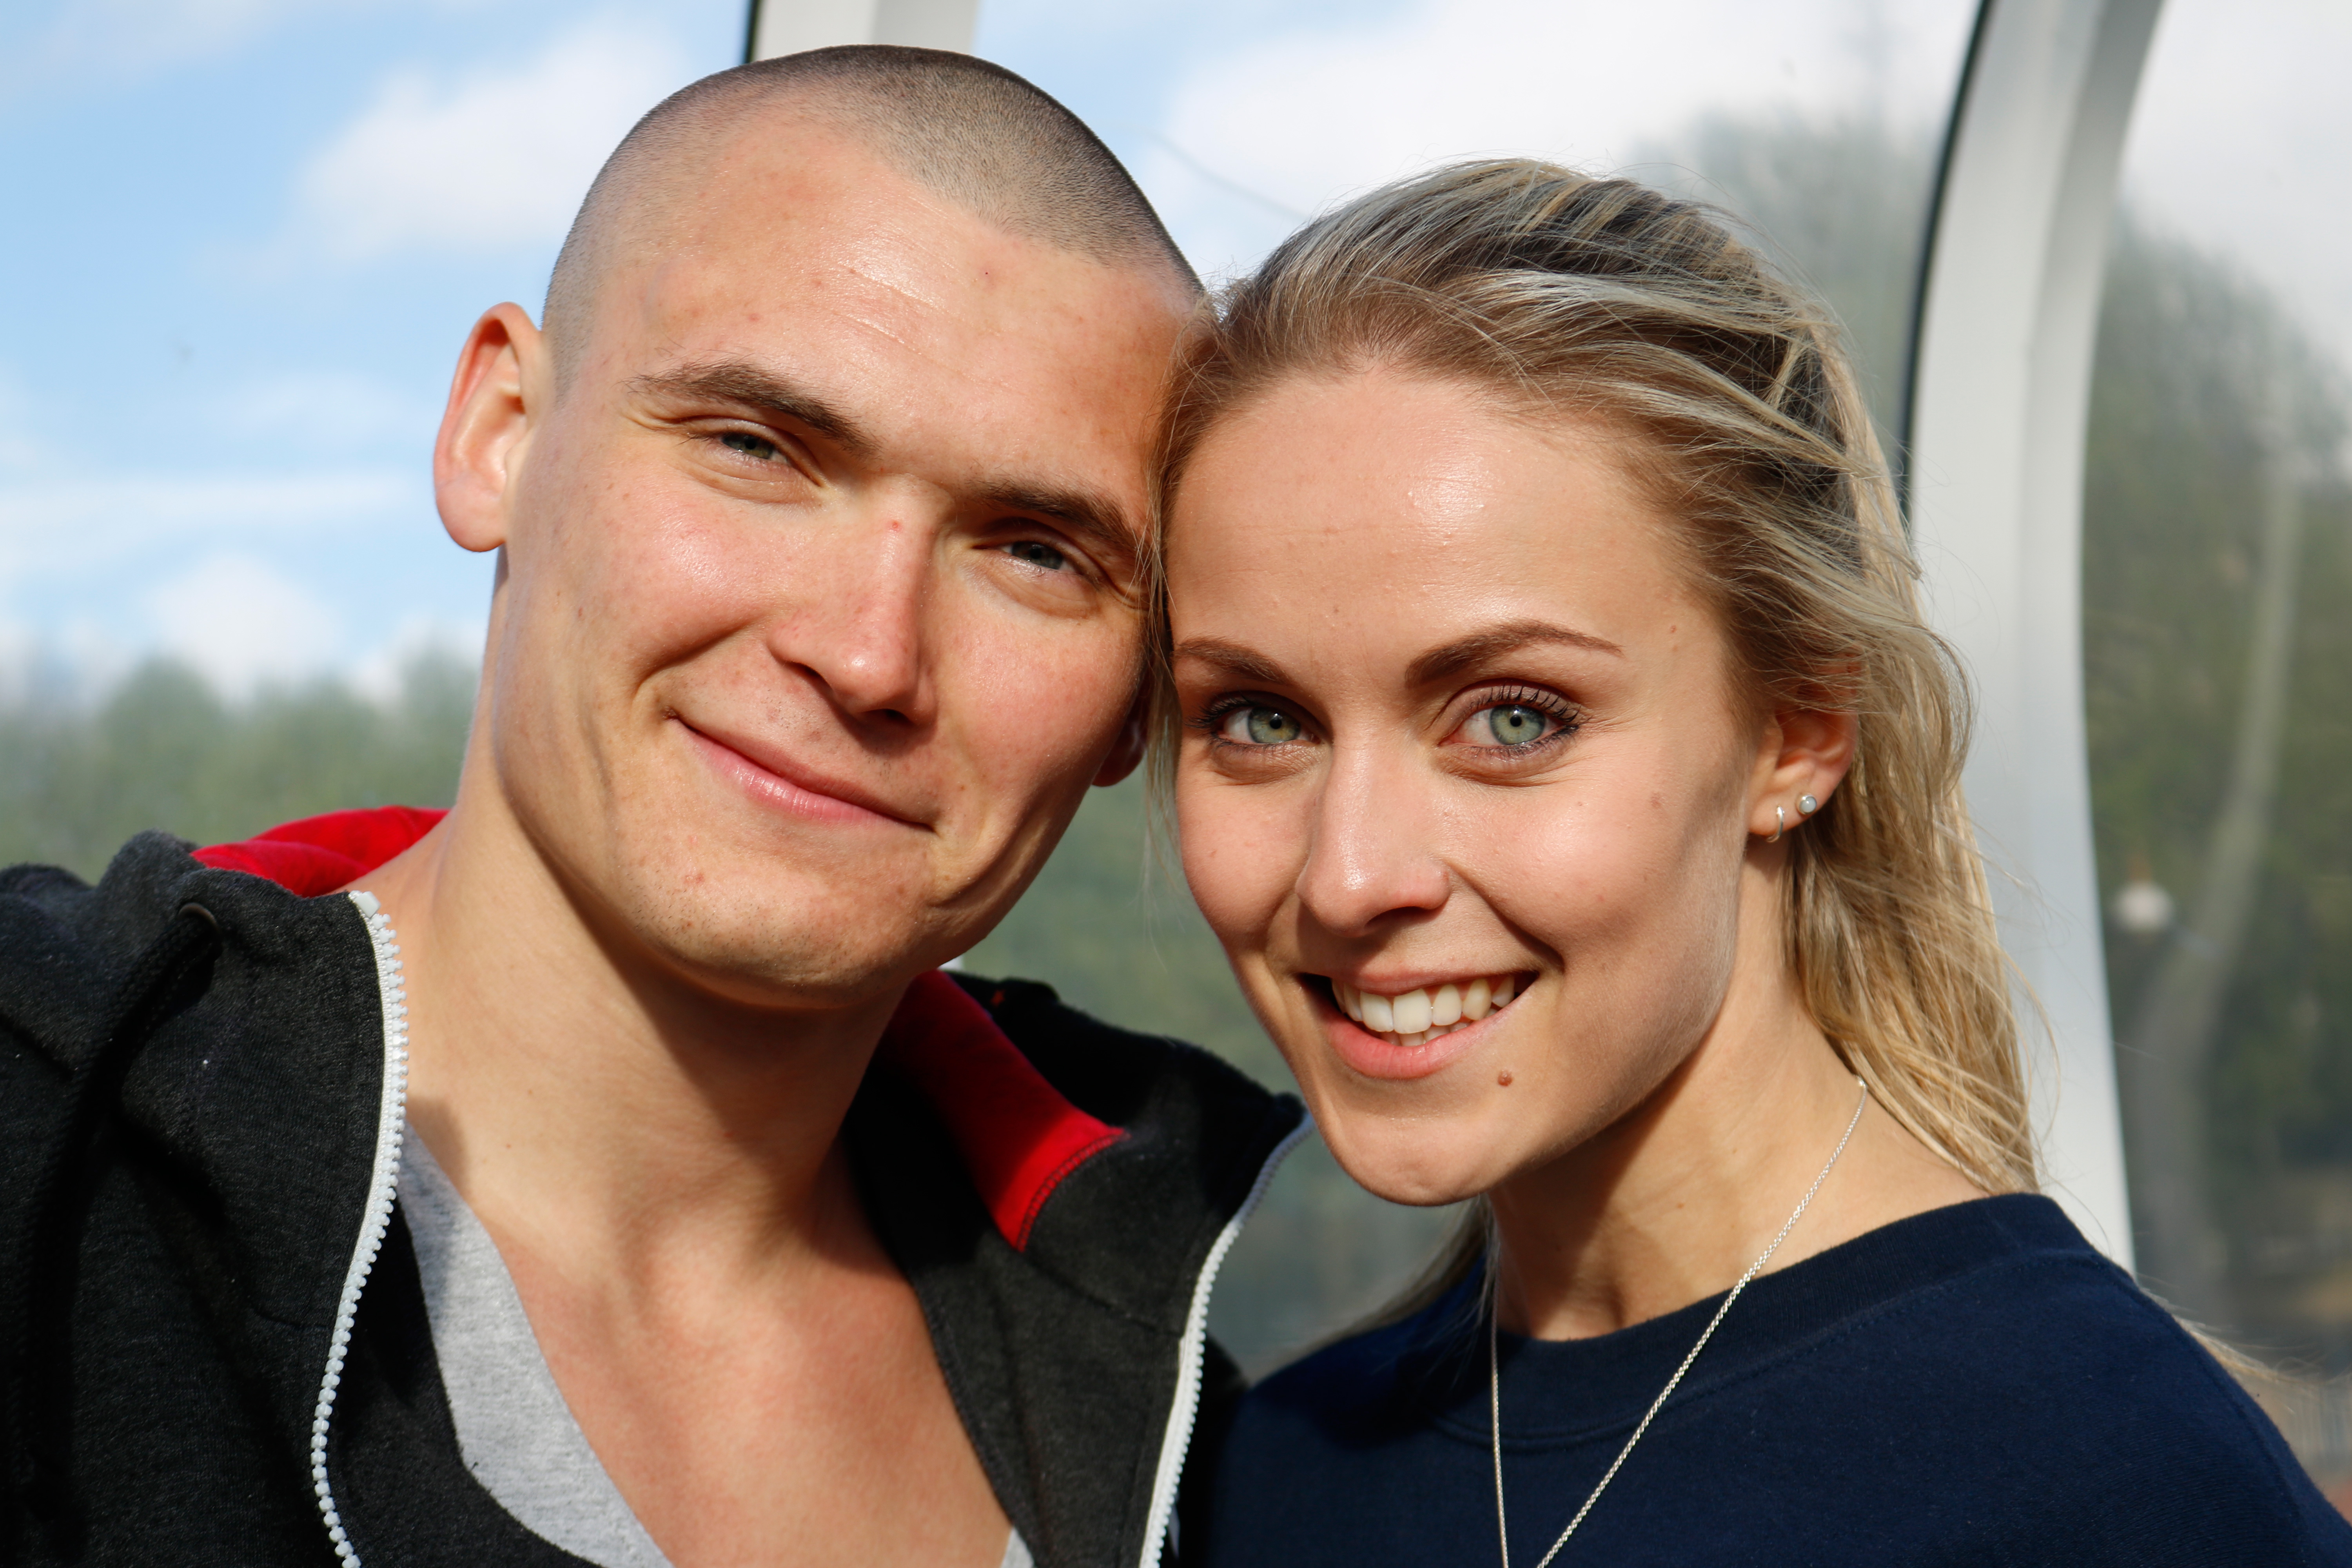
Image quality

  • ISO100-12,800, expandable to 100-25,600
  • Huge jump in image quality from the T5i / 700D
  • Pleasing skin tones
The level of detail in images is a huge leap up from that from the T5i / 700D, but noise levels are about the same despite the extra 6 million pixels on the sensor.
Viewed at 100% on-screen, the T6i / 750D’s high sensitivity JPEGs look softer than simultaneously captured raw files, but even at ISO12,800 some look good at around A3 size (16 x 12 inches).
As usual, when all noise reduction is turned off the raw files have more visible noise at 100%, but it’s fine grained and there’s no banding, so it’s possible to produce images that have a bit more ‘bite’ than the JPEGs.
Chroma noise only really becomes obvious at 100% in raw files captured at ISO1600 and above (when all noise reduction is turned off). Meanwhile the softening of detail that tends to go hand-in-hand with noise reduction in the default settings becomes apparent at 100% in JPEGs captured at ISO3200, though it’s not really an issue until ISO12,800.

  • Best DSLRs you can buy right now

Verdict

The Rebel T6i / 750D can trace its heritage back to the early days of digital photography and it shows. A very polished and well-thought out camera, the Rebel T6i / 750D is a great introduction to DSLR photography for those looking to make the step up from a compact or smartphone.
Very comfortable to hold and use, the controls are within easy reach and the touchscreen is very well implemented, allowing you to navigate the menus and make setting selections with you a few taps. It’s also very handy to be able to pinch-zoom into images to check sharpness.
We particularly liked having a vari-angle screen because it makes it easy to compose images at awkward angles and encourages you to be creative. It’s also helpful to be able to set the AF point and/or trip the shutter with a tap on the screen.
The upgrade to the 24MP sensor is a very welcome improvement over the 18MP chip found in the Rebel T5i / 700D, which combined with excellent phase detection autofocus and metering systems, adds up to a very nice camera.

Competition
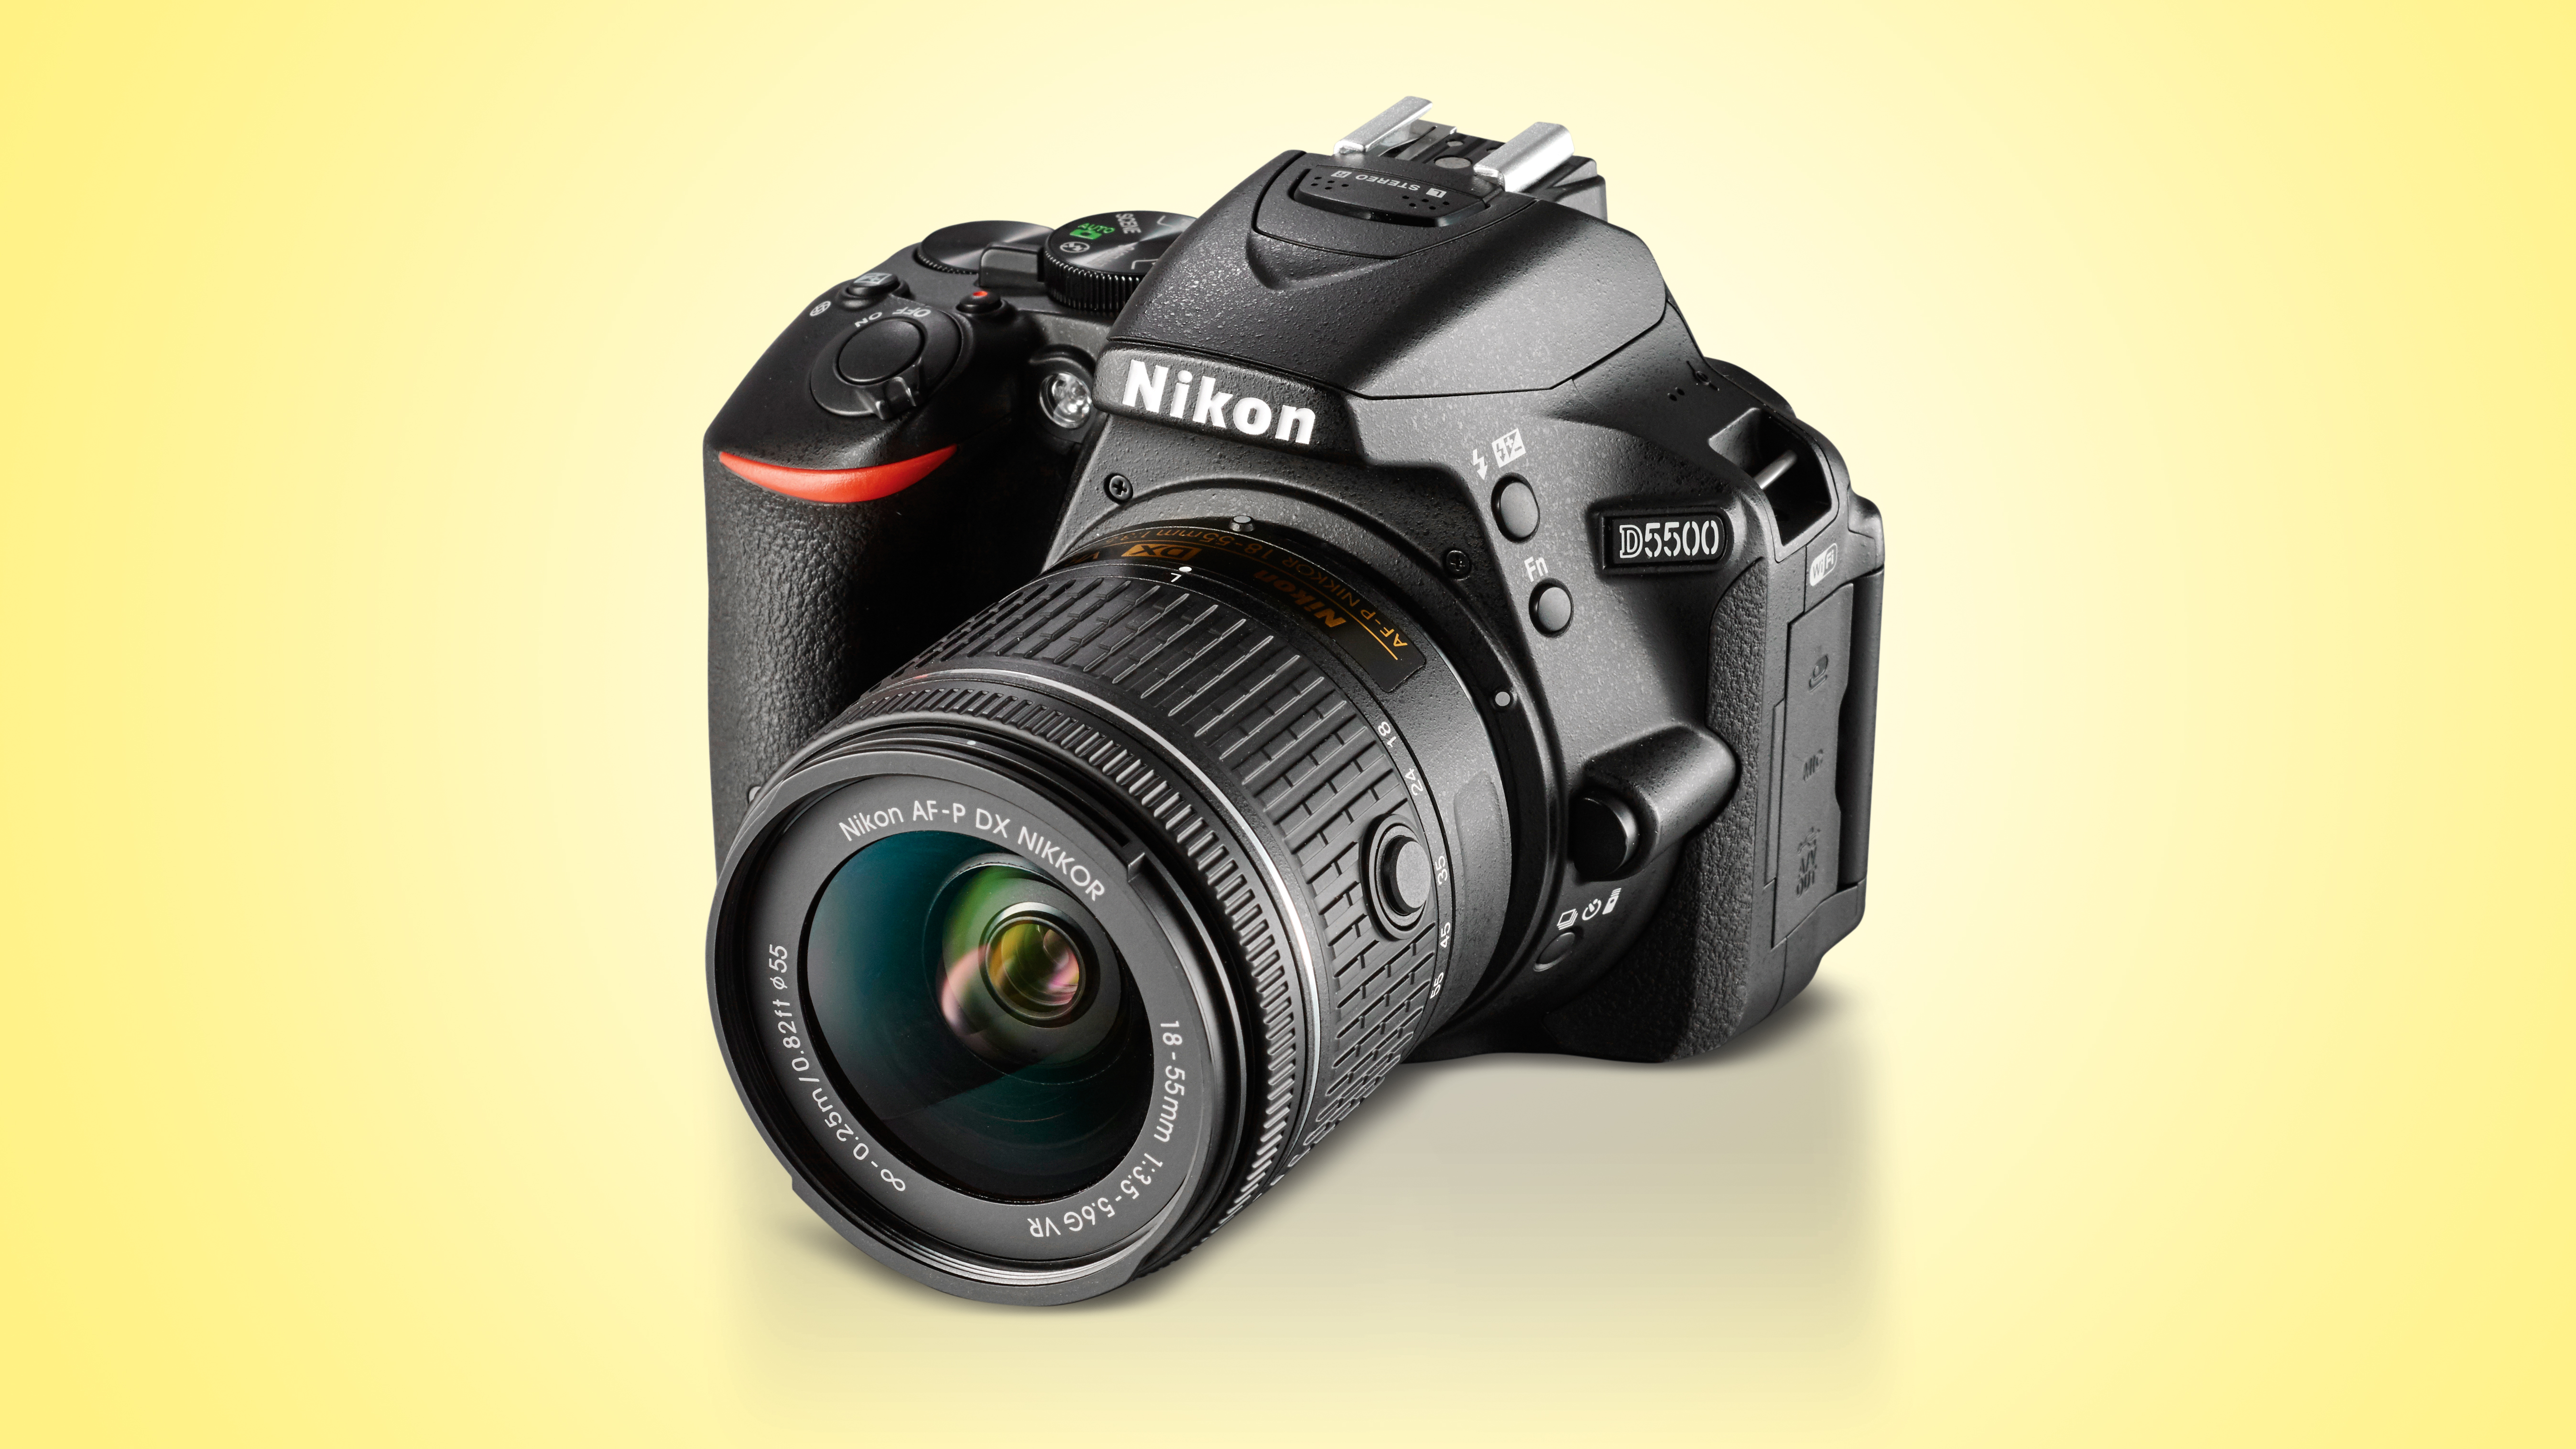

Nikon D5500

Perhaps the closest rival to the Rebel T6i / 750D, the D5500 is the first Nikon DSLR to get touchscreen control, plus there’s also built-in Wi-Fi. There isn’t much wrong with the D5500’s 24.2-megapixel, non-anti-aliased sensor, though. It may be pinched from the older D5300, but it still delivers excellent image quality, while the advanced AF system delivers the goods.
Read the full review: Nikon D5500

Canon EOS Rebel T6s / EOS 760D

As we’ve touched upon internally at least, the EOS Rebel T6i / 750D and T6s / 760D are very pretty much identical, but it’s the exterior controls where differences start to appear, notably the addition of a rear thumbwheel and top plate LCD display. Features which only normally appear on Canon’s higher end enthusiast models. For newer users, the T6i is the better bet.
Read the full review: Canon EOS Rebel T6s / EOS 760D
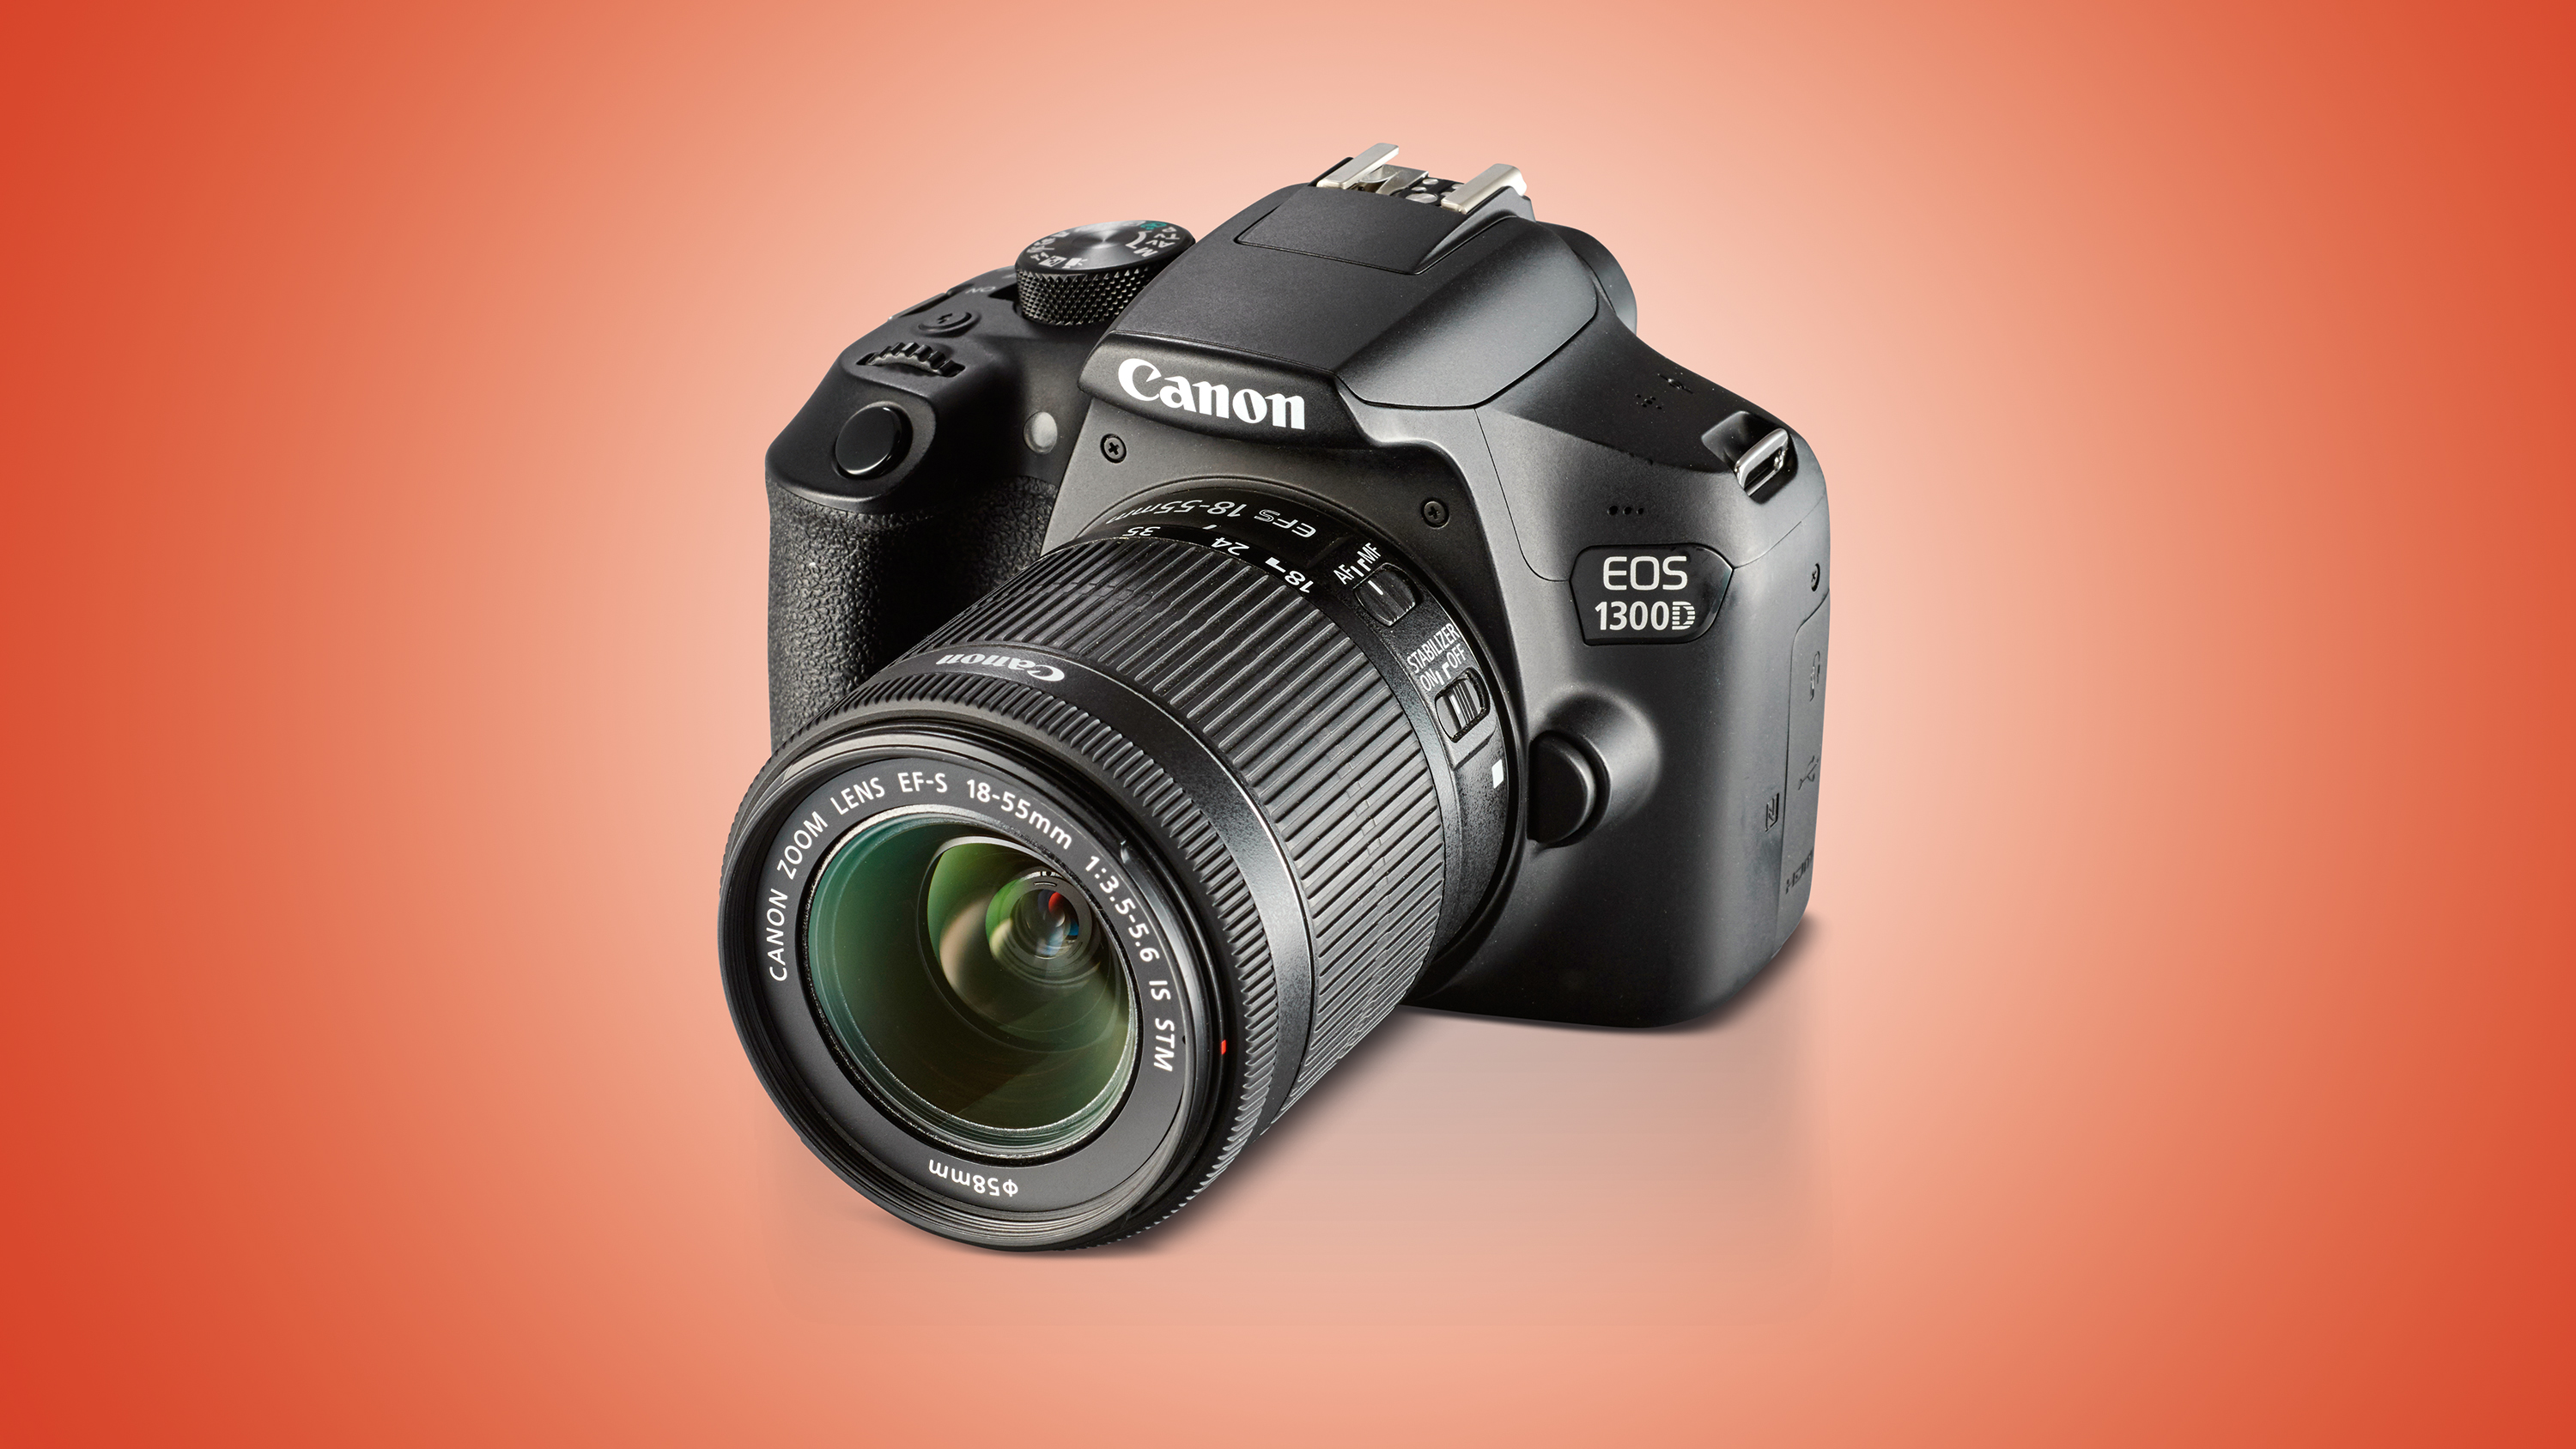
Canon EOS Rebel T6 / EOS 1300D

Fancy a Canon DSLR but don’t want to splash a load of cash? The Rebel T6 / EOS 1300D could be just the answer. This stripped down EOS doesn’t have quite the same spec as Canon’s pricier DSLRs, but it’s a solid performer for those looking for a dependable camera that will deliver pleasing images.
Read the full review: Canon EOS Rebel T6 / EOS 1300D
Buy Canon EOS Rebel T6i / EOS 750D here.
  • Mirrorless vs DSLR: 10 key differences

TechRadar: Cameras and camcorder reviews
Learn Digital Photography The Smart Way. Click Here To Get More Details About Photography Masterclass.


Visit here for more on Photography Tips.
Read more on Camera Tips.

Tuesday, November 15, 2016

How to Be Invisible as a Street Photographer

Taking photos of strangers on the street isn’t something that comes naturally to all photographers. For some, it’s the ultimate challenge. These tips from street photographer Eric Kim can help you immensely in preparing an approach for your street photography session:

Click, Pause, Move On

The most obvious giveaway that you’ve taken someone’s picture on the street is that you click the shutter and immediately drop your camera from your face. That action alone draws more attention toward you. To avoid that unwanted attention, click, hold your camera in that position for about three seconds, and then move on. Most people will feel that you’re trying to take a picture of something behind them and are simply waiting for the person to move away.
click pause move on street photography technique
Another trick is to aim your camera up or down or left or right, and then move on.

Click, Take a Step Closer, Click, Repeat

Having spotted your subject, take your first image. Move in a step closer and take another image. Repeat this process until you’re uncomfortably close. At this point your subject will probably notice you and make eye contact, which gives you another opportunity to make one more image. But don’t quit yet. Take one more step and make another image. This is just to confuse your subject into thinking that you’re taking a photo of something in the background rather than a photo of them.
street photography techniques get closer
It’s a bold approach, but it often works.

Don’t Make Eye Contact

Making eye contact can be a little disconcerting. It’s often best to avoid it in street photography. In some tght spaces, if you aim your camera at someone you’re bound to get noticed. In the image below, Kim used a flash. That was kind of asking to be noticed. But what he did not do when he was looked at, however, was to look back.
Eric Kim street photography shooting
Avoiding eye contact helps to diffuse a situation, whereas making eye contact is mostly construed as aggression. With wide angle lenses, you can make good images without having to point straight at your subject, which is an advantage.

Pretend You’re Shooting Something Behind Your Subject

Whether or not your subject takes notice of you, pretend that you’re taking a photo of something behind them. You could drop your camera, but stay fixated at anything behind the subject.
How to remain invisible when shooting street photos
Let’s say you’re trying to photograph a billboard with a subject in front of it. Take a picture and then keep looking at the billboard.

Act Like You’re Recording a Video

Often on the street, we see tourists sticking out a camera and making a video of the place they’re visiting. Even if you happen to be in the line of fire, you don’t really mind. On the contrary, you actually try to avoid blocking something they might be trying to record and move on.
street photography shooting tips act like youre filming a video
This video shooting technique can be used to make street photos as well. You could walk around with the LCD of your camera turned on in a motion that would suggest you are making video. The trick is to keep the camera up at eye level even after you’ve taken a photo.

Wear the Right Clothing

One strategy is to avoid wearing bright clothing. But, actually, wearing touristy clothing can help in keeping from being noticed.

Shoot in a Group

Shooting with friends is also recommended because that usually gives you confidence and makes you appear more touristy.
Not all of the above approaches are applicable in all situations. You as the photographer have to decide which techniques will work in which particular situation. What other tips do you have for street photography?

For Further Training on Street Photography:

This 141 page eBook covers everything about the genre even down to specific post processing techniques that can bring the best out of street scenes (& includes a bonus eBook of interviews).
Found here: The Essentials of Street Photography

Go to full article: How to Be Invisible as a Street Photographer
What are your thoughts on this article? Join the discussion on Facebook
Article from: PictureCorrect
The post How to Be Invisible as a Street Photographer appeared first on PictureCorrect.
PictureCorrect


Visit here for more on Photography Tips.

Read more on Photography .

10 Tips for Doing Your First Family Portrait Session

Photographs from a good family portrait session will be treasured for many years to come. It’s an incredibly rewarding area of photography, but it can also be a little daunting for new photographers. You need to build a rapport with the family fast, keep the children on board, and meet the parents’ expectations with gorgeous photographs.
Family portrait FAMILY GROUP
So where do you start? Which camera settings should you choose?
Here are some important pointers to make your first session go smoothly, and to help you take great family portraits.

1. Get down to their level

Get down to a child’s eye level. This will lead to far more engaging photographs, as well as helping you to interact better with the child.
Family portrait INDIV GIRL flowers

2. Use Centre point focus

Different focus settings suit different photographers, but center point focusing tends to be the most useful for family portraits. As you take more and more family portraits, you’ll get a feeling for whether this suits you, But it’s a great starting point for your first session.

3. Choose an appropriate aperture

Your aperture settings will be influenced by the style you prefer. As a starting point, many lifestyle family photographers choose to shoot wide open for individual portraits (f/2.2 works really well), and around f/5.6 for group shots to ensure everyone is in focus.
Family portrait DAD AND SON opt
This was taken at f/5.6.
Family portrait INDIV GIRL park
This was shot at f/2.2.

4. Starting shutter speed

You will probably find yourself needing a slightly faster shutter speed for family portraits than you’d need for many other kinds of portraits. Children move fast, and sometimes unpredictably! A good setting to start with is 1/250th, which will give you flexibility for children rolling over or waving. If you have a situation where someone is moving very fast, such as a child jumping or racing off into the distance, choose a much faster shutter speed like 1/800th.
Family portrait BABY opt
This was taken at 1/800th]

5. Use Auto ISO

While you’re familiarizing yourself with the apertures and shutter speeds that work for you on family portrait sessions, consider setting your ISO to auto. The results are usually satisfactory, and it’s one less thing to think about on the day. As you gain experience and confidence, you can start to select the ISO as you go along.

6. Metering mode

Certain metering options seem to suit some photographers better than others. As you take more family portraits, you’ll soon see which works best for you. To start with, try using spot metering for individual portraits, and evaluative metering for a group shot.
Family portrait MUM AND BABY
This was taken with the evaluative metering mode.

7. Shoot in RAW format

The editing options open significantly in Lightroom, and you’ll have a far greater range of colors and detail recorded if you shoot in the RAW format.

8. Auto White Balance

Set your white balance to auto if you’re doing a location shoot. You’ll be working in a variety of locations with different lighting, and you won’t have much time for setting white balance as you go. Correcting white balance is an easy edit in Lightroom, so you’d be better off spending the time engaging with the family you’re photographing.

9. Choose your lenses

Consider which lenses to take with you to the family portrait session. If your budget doesn’t stretch to having several lenses, consider renting some. It can be surprisingly economical, and it gives you the opportunity to try out different focal lengths to see which suit you best.

Family portrait BABY
This was taken with an 85mm lens.
Using several lenses throughout a family portrait session will give you lots of variety in the images, as well as meaning you can cope with most locations. A zoom lens like a 24-70mm will give you lots of flexibility, or a popular prime lens for family portraits is an 85mm lens, which is very flattering for portraits. A wide lens like a 35mm will help you to set the scene.
As you gain experience photographing families, you’ll develop a sense for which lenses suit you best. That’s a good time to invest in the best quality lenses you can afford.
Family portrait SIBLINGS INSIDE
This was taken with a 35mm lens.

10. Set limits

Limit yourself to taking five versions of each scene. This will train your eye to look for the details and expressions you want to capture and to make sure you ultimately combine them all in one photograph.

Conclusion

So there you have it – family portraits in a nutshell. Practice makes perfect, though, so be prepared to work hard and hone your camera skills. Above all, a friendly and professional attitude combined with careful preparation for each family portrait shoot should make for happy clients and repeat business.
Please share your family portrait tips and photos in the comments section below.
The post 10 Tips for Doing Your First Family Portrait Session by Louise Downham appeared first on Digital Photography School.

Digital Photography School


The Many Sad Fates of Mr. Toledano, A Photographer’s Short Film Evoking Reflection

The Many Sad Fates of Mr. Toledano, A Photographer's Short Film Evoking Reflection


The New York Times published a video about photographer Philip Toledano’s fear of growing old. Philip decided to grow old as many times as possible. Joshua Seftel produced the short film by following Phillip’s process of “seeing” himself ageing, and even dying.

[ Read More ]

Fstoppers


Read more on Camera Tips.

What to Photograph in Colorado

Colorado has been my home for the past 20 years. Having had the chance to travel all over the USA for photography and other personal and professional needs, every time I would come back to Colorado, I would tell myself that there is simply not a better place to live and be. The Centennial State is remarkable in so many ways, that the more I explore it, the more I fall in love with it. Here in Colorado, we have everything from the stunning mountain views of the Rocky Mountains to canyons, plains and deserts – a truly rich and diverse land. Without a doubt, it is a photographer’s paradise. Having been photographing in Colorado for over 10 years now, I decided to show some of its beauty through pictures and hopefully give you an idea about what locations you should visit.

If you don’t know much about Colorado, I would recommend to check out this article, which gives quite a bit of information about the state. Colorado is one of the few rectangular states on the map of the USA and it is part of the Four Corners region. That’s right, due to the way that the state borders were cut, Colorado represents the north-eastern part of the “quadripoint“. This means that if you travel to our extreme south-western part of the state, you could be standing on four states (Utah, Colorado, Arizona and New Mexico) at the same time! How cool is that? Well, that’s an interesting fact about Colorado and we have many other great ones like that. For example, did you know that we get more than 300 days of sun on average, making us a sunnier state than the state of Florida? Yes, contrary to what people think about Colorado, we actually have a lot of sunny days in a year, so we have very few people who suffer from depression and other weather-induced issues. With so much sun, we have quite a lot of days with rich or pale blue skies:
Why I Love Colorado (29)
Canon EOS 5D Mark IV + EF24-70mm f/4L IS USM @ 61mm, ISO 100, 1/10, f/8.0
But the beauty of it, is that those blue skies rarely stay that boring – moisture usually builds up pretty quickly at higher altitudes and we get some of the most stunning cloud formations. It is interesting how it all happens, because we have very little humidity; in fact, we are probably one of the driest states in the US. That’s why our clouds look so stunning, often taking beautiful, patchy forms. In fact, one could spend quite a bit of time photographing clouds, their ever-changing formations and colors. Although I like photographing beautiful clouds with a solid foreground subject, sometimes I cannot resist to grab a shot with whatever I have with me, even if it ends up being my cellphone:
Why I Love Colorado (24)
iPhone 6 Plus + iPhone 6 Plus back camera 4.15mm f/2.2 @ 4.15mm, ISO 32, 1/40, f/2.2
Abundance of sun surely makes us a very happy state! And if we have anyone who is unhappy, there is a cure for that too – we have legalized herbs now that take care of those in need of…extra happiness 🙂 So herbs and weeds are definitely in abundance nowadays!
Why I Love Colorado (33)
ILCE-7RM2 + FE 24-70mm F2.8 GM @ 49mm, ISO 800, 1/60, f/11.0
Wildlife can’t resist such abundance of weed, so they start stocking quite a bit of it up for those tough winter months:
Why I Love Colorado (16)
NIKON D3S + 800mm f/5.6 @ 800mm, ISO 3200, 1/500, f/11.0
Even pikas can’t resist the freshness of the high-altitude stuff:
Why I Love Colorado (2)
NIKON D3S + 300mm f/2.8 @ 500mm, ISO 1600, 1/800, f/8.0
Speaking of pikas, did you know that they are lagomorphs? Yup, this cute creature is basically a rabbit.
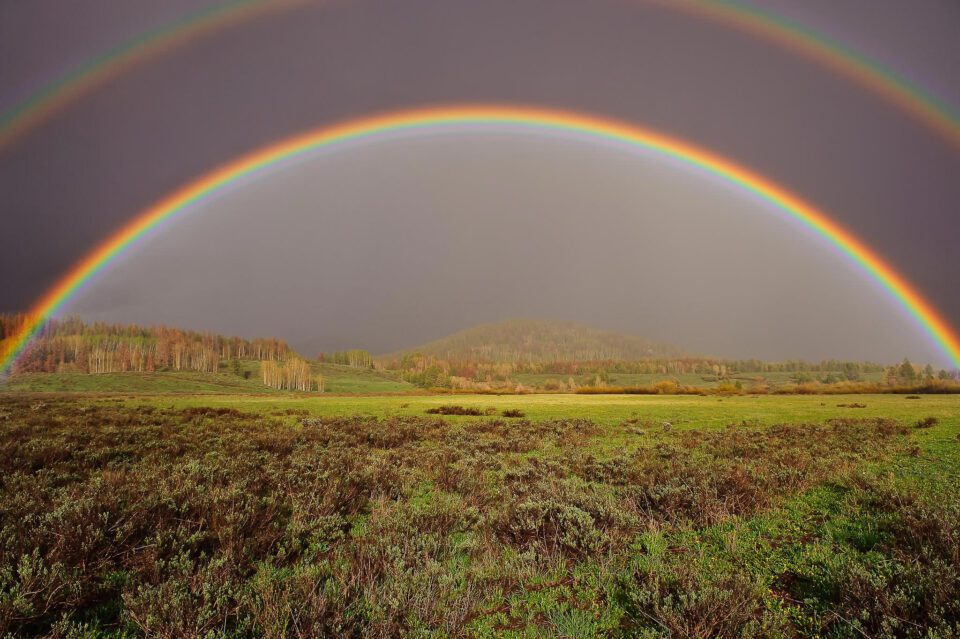
Late spring and mid summer can bring quite a bit of rain to some areas of Colorado, but we don’t get those nasty tropical downpours that last forever. If we get heavy rain, it usually happens because of a storm cloud. Once it passes, the rain is gone and the sun shows up right away. That makes us a wonderful place to catch those crazy double rainbows:
Why I Love Colorado (3)
NIKON D700 + 24-70mm f/2.8 @ 24mm, ISO 800, 1/1600, f/8.0
And local storms can be really cool to watch, because you can see all kinds of crazy patterns, especially when the sun breaks through and illuminates the foreground:
Why I Love Colorado (7)
NIKON D700 + 16-35mm f/4 @ 19mm, ISO 200, 1/100, f/14.0
Oh, and we do have canyons too, although they might not be as “grande” as the ones in Utah and Arizona. Colorado National Monument can be amazing to check out if you are in the Grand Junction area. Our deepest canyon known as the Black Canyon of the Gunnison is very impressive. If you do a bit of hiking, you can get to some areas that will make your head spin, with those crazy 2000 foot cliff drops!
Black Canyon Panorama
NIKON D700 + 24-70mm f/2.8 @ 50mm, ISO 200, 1/160, f/5.6
The nice thing is, you don’t have to travel far in Colorado to see its beauty. You might live right next to mountains and if you stay in larger towns, the drive to the nearest mountain or a state park could be less than an hour away.
Why I Love Colorado (12)
NIKON D3S + 24-70mm f/2.8 @ 38mm, ISO 3200, 1/50, f/8.0
We have plenty of state parks to enjoy the scenery and you will find a lot of people enjoying the great outdoors every weekend, even in winter. If you don’t feel like driving far, you can visit local state parks, which offer beautiful views and plenty of wildlife. For example, I captured the below shot at Cherry Creek State Park, which is very close to Denver Tech Center area, where I used to live a few years back:
Why I Love Colorado (8)
NIKON D90 + 35mm f/1.8 @ 35mm, ISO 200, 1/100, f/8.0
Speaking of wildlife, birds and animals are equally attracted to the state. Throughout the year we have resident animals and birds and during spring and fall, we get plenty of migrating birds from all over the world. Large birds such as hawks, eagles and herons can be found pretty much everywhere:
Why I Love Colorado (20)
NIKON D810 + 150-600mm f/5-6.3 @ 600mm, ISO 1100, 1/1250, f/8.0
While local parks can be a great place to visit during fall color to photograph birds against stunning backgrounds:
Why I Love Colorado (23)
NIKON D750 + 400mm f/2.8 @ 550mm, ISO 2200, 1/2500, f/8.0
Driving around and hiking will get you to see all kinds of large animals. Moose, goats, bears, mountain lions and other large animals can be spotted outside towns and cities, while deer and elk are very common even within town and city limits. Sadly, we don’t have a big number of predators to tackle the growing population of deer and elk, although hunting definitely keeps some of the growth under control. If you are after smaller mammals, you will find coyotes and foxes pretty much everywhere and if you start scouting with your camera in spring, you can come across fox and coyote kits, who are always curious about the sound of the camera:
Why I Love Colorado (1)
NIKON D700 + 300mm f/4 @ 420mm, ISO 800, 1/1250, f/6.3
Although this year has been unusually warm (we are yet to see a snowstorm in the Denver region!), we definitely have four seasons! In winter it can get cold, but we never get the crazy winds of the coastal areas, so even when temperatures drop low below freezing, it is still quite tolerable. Snow does bring the magic out of our landscape though! Here, we are always happy to see a lot of snow, especially when it buries some of the higher altitude roads completely:
Why I Love Colorado (11)
NIKON D3S + 24-70mm f/2.8 @ 50mm, ISO 400, 1/40, f/5.6
Our snow provides water to many surrounding states and if we don’t get the snow, we all suffer. So each year, we patiently wait for the weather to deliver us lots of snow, so that we can enjoy it to its fullest.
Why I Love Colorado (19)
NIKON D600 + 58mm f/1.4 @ 58mm, ISO 100, 1/4000, f/2.5
Snow makes our landscapes look dramatic, even in winter:
Why I Love Colorado (18)
NIKON D600 + 58mm f/1.4 @ 58mm, ISO 200, 1/400, f/11.0
And early snow in the fall brings the real magic of our grand vistas, which look like a surreal painting with those stunning fall colors:
Why I Love Colorado (14)
NIKON D3S + 24-70mm f/2.8 @ 42mm, ISO 200, 1/160, f/8.0
When it snows in the fall, people rush out with their cars to see the beauty, which does not last very long, since the sun quickly melts the snow within a matter of hours:
Why I Love Colorado (13)
NIKON D7000 + 10.5mm f/2.8 @ 10.5mm, ISO 100, 1/160, f/8.0
Fall brings stunning beauty to our state. Once aspen, cottonwood and other vegetation feel the first breeze of the winter, they immediately start their magical transformation. Aspen leaves go from dark green to light green, then to yellow, then to gold, then to red and finally to brown, that’s if the wind or the snow do not bring the leaves down. And the various shrubs and bushes can also turn into bright red colors, bringing out amazing beauty of the landscape. Couple fall colors with an amazing sunrise and sunset, and you will have a stunning combination:
Why I Love Colorado (31)
Canon EOS 5D Mark IV + EF24-70mm f/4L IS USM @ 53mm, ISO 100, 2/1, f/8.0
Fall is a magical time of the year – it brings people from all over the world to enjoy the visual spectacle.
Why I Love Colorado (30)
Canon EOS 5D Mark IV + EF24-70mm f/4L IS USM @ 39mm, ISO 200, 1/4, f/8.0
Colorado’s southwest is my favorite place to go each fall. After going there for a number of years, I decided to run workshops there and I have been doing it ever since, with this year marking my sixth year conducting workshops. Check out my page for Colorado Fall Photography Workshops. I will most likely be hosting two workshops in that region next year as well.
Why I Love Colorado (27)
ILCE-7RM2 + FE 70-200mm F4 G OSS @ 70mm, ISO 100, 1/1, f/8.0
The region around San Juan Mountains is full of grand beauty, thanks to the high peaks that make them stand out as beautiful background elements:
Why I Love Colorado (15)
NIKON D600 + 14-24mm f/2.8 @ 24mm, ISO 400, 1/30, f/8.0
And if you are willing to explore, you will find all kinds of scenic views in the region:
Why I Love Colorado (34)
NIKON D810 + 105mm f/1.4 @ 105mm, ISO 64, 1/8, f/8.0
The experience of immersing yourself in aspen mini-forests is simply unforgettable!
Why I Love Colorado (32)
NIKON D810 + 105mm f/1.4 @ 105mm, ISO 100, 1/10, f/16.0
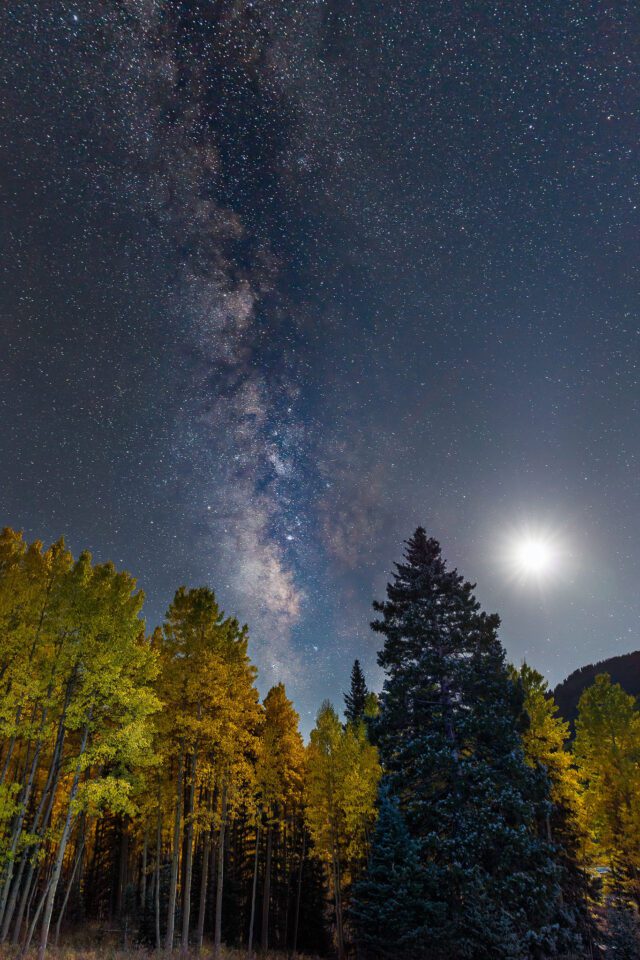
Late September is usually the best time to visit the region. Cloudless days can be a lot of fun, because they also typically translate to cloudless nights. Due to lack of air and light pollution, you can do some astrophotography as well:
Why I Love Colorado (26)
Canon EOS 5DS R + EF24-70mm f/2.8L II USM @ 24mm, ISO 3200, 20/1, f/2.8
If you get greeted by a full moon on such occasion, you never know what kind of possibilities it might create. Perhaps you could shoot an amazing landscape at night using just moonlight, as if it was a day:
Why I Love Colorado (10)
NIKON D3S + 24-70mm f/2.8 @ 29mm, ISO 800, 30/1, f/3.2
If you drive south, don’t forget to check out Mesa Verde National Park. It is a very historic park that allows you to see how the Ancestral Pueblo people used to live from 600 to 1300 AD. You will have a chance to see their ancient buildings and their rooms known as “kivas“:
Why I Love Colorado (9)
NIKON D700 + 24-70mm f/2.8 @ 24mm, ISO 800, 1/25, f/5.6
It is definitely a fun place to explore, especially with your family.
If you drive north, you could come up to much higher altitudes and enjoy the scenery from there. At Rocky Mountain National Park, for example, you can experience very high altitudes by driving through the Trail Ridge Road.
Why I Love Colorado (17)
X-Pro1 + Touit 2.8/12 @ 12mm, ISO 200, 1/3, f/11.0
But be careful when you do it – at 12 thousand feet, your body might not be able to take it. My son Ozzy cannot handle such high altitudes – he literally starts passing out at around 11 thousand feet. Be especially careful when hiking at such altitudes!
On your way back from the mountains, you might find even more beauty:
Why I Love Colorado (21)
NIKON D750 + 24-70mm f/2.8 @ 60mm, ISO 100, 1/3, f/5.6
Such regions are usually very busy in winter, when the ski season opens. And by the way, Colorado’s economy is hugely dependent on snow, since we have so many world-class snow resorts that draw people from all over the USA and the world.
If you think Colorado is all about mountains and grand vistas, you would be wrong. Drive south towards New Mexico from Denver and you will encounter desert-like conditions. The Great Sand Dunes National Park is a real spectacle, any time of the year! I visit the Grand Sand Dunes almost every year, since there is always something new to see and enjoy there:
Why I Love Colorado (4)
NIKON D700 + 24-70mm f/2.8 @ 45mm, ISO 200, 1/100, f/10.0
And if you catch it at the right time, you might come across gorgeous clouds that will paint your scene with color:
Why I Love Colorado (5)
NIKON D700 + 24-70mm f/2.8 @ 35mm, ISO 800, 1/200, f/5.0
Unlike Death Valley’s Mesquite Dunes, the Great Sand Dunes NP has massive dune formations. I always like hiking up to see other dune peaks, especially in contrast with vegetation and mountains in the background:
Why I Love Colorado (28)
PENTAX K-1 + HD PENTAX D FA* 70-200mm F2.8 ED DC AW @ 83mm, ISO 100, 1/100, f/8.0
Great Sand Dunes NP is also a very unique location, because it is probably one of the few dunes in the world where you can experience both snow and sand at the same time:
Why I Love Colorado (6)
NIKON D700 + 24-70mm f/2.8 @ 50mm, ISO 200, 1/200, f/13.0
Speaking of which, make sure to be prepared to visit the park in winter, since the park is located in one of the coldest regions of Colorado. When I drove down there a few years back, the temperature at night reached -15 F. With wind chill, it was probably -20-25 F!
Lastly, keep in mind that there is a lot to photograph in Denver and other surrounding towns. Aside from local parks, you will find plenty of museums, zoos and other attractions worth checking out:
Why I Love Colorado (22)
NIKON D750 + 0mm f/0 @ 50mm, ISO 100, 1/250, f/8.0
Denver downtown is beautiful as well, with plenty of great views all over the place:
Why I Love Colorado (25)
ILCE-7S + E 35mm F2 @ 35mm, ISO 640, 1/60, f/8.0
Keep in mind that I only scratched the surface when it comes to the photographic potential of Colorado. There are so many more amazing places to check out and visit in the state, which I never even mentioned. But I will leave the rest of the discovery to you – it is a lot more fun to explore the state on your own and take your car off the beaten path, with so many great treasures to find and discover.
Hope you’ve enjoyed the article and the images. If you haven’t visited Colorado yet, definitely put it in your bucket list of places you must see in your lifetime! And if you have other great locations to share with our readers, please do so in the comments section below!
The post What to Photograph in Colorado appeared first on Photography Life.
Photography Life


Visit here for more on Camera Tips.

Read more on Digital Photography Tips.