Tuesday, December 13, 2016

How to See and Photograph Light – 6 Tips to Help you Take Better Photos

I was teaching a class recently and someone asked me how they could have made a particular set of landscape images better. Should they have used a different aperture, shutter speed, etc.? “You couldn’t have made those photos any better because the light was terrible.” I explained. You must learn to see and photograph light to take [...]

The post How to See and Photograph Light – 6 Tips to Help you Take Better Photos appeared first on SLR Camera.


Read more on Photography here.

Panasonic Lumix ZS100 / TZ100

The ZS100 looks fairly similar to the LX100, Panasonic’s other current premium compact. It has fairly clean lines, along with a step in the top-plate. The camera will be available in black, or black and silver finishes, with the black and silver version having a red band around the small silver portion of the top-plate. This is a new styling for Panasonic, so it will be interesting to see if this appears elsewhere in the future.
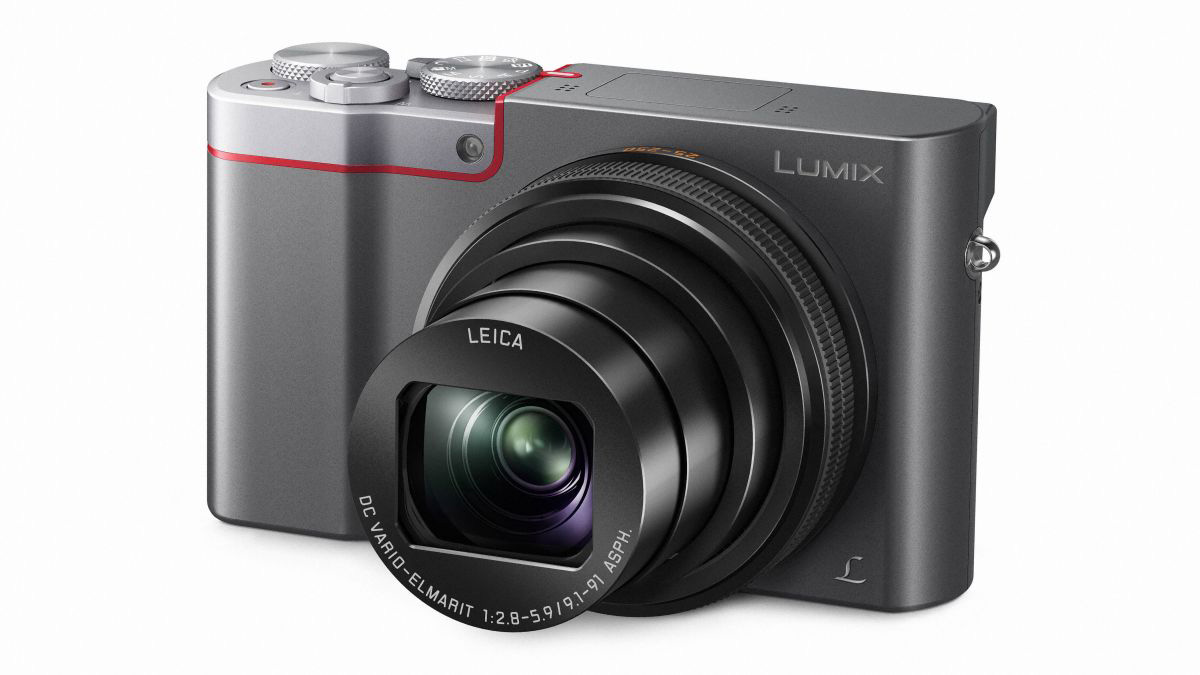
Panasonic TZ100
On the front of the camera there’s no texture or grip, but there’s an indent which helps the camera to sit nicely in your hand. Nevertheless, it makes sense to attach the wrist strap to give an extra degree of security.
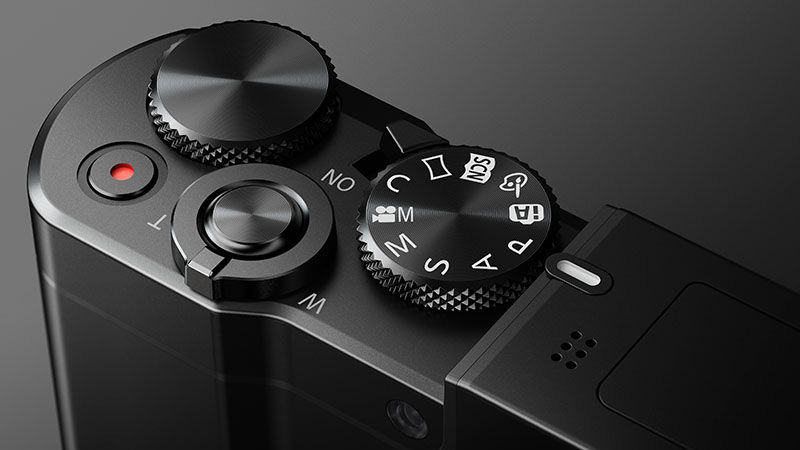
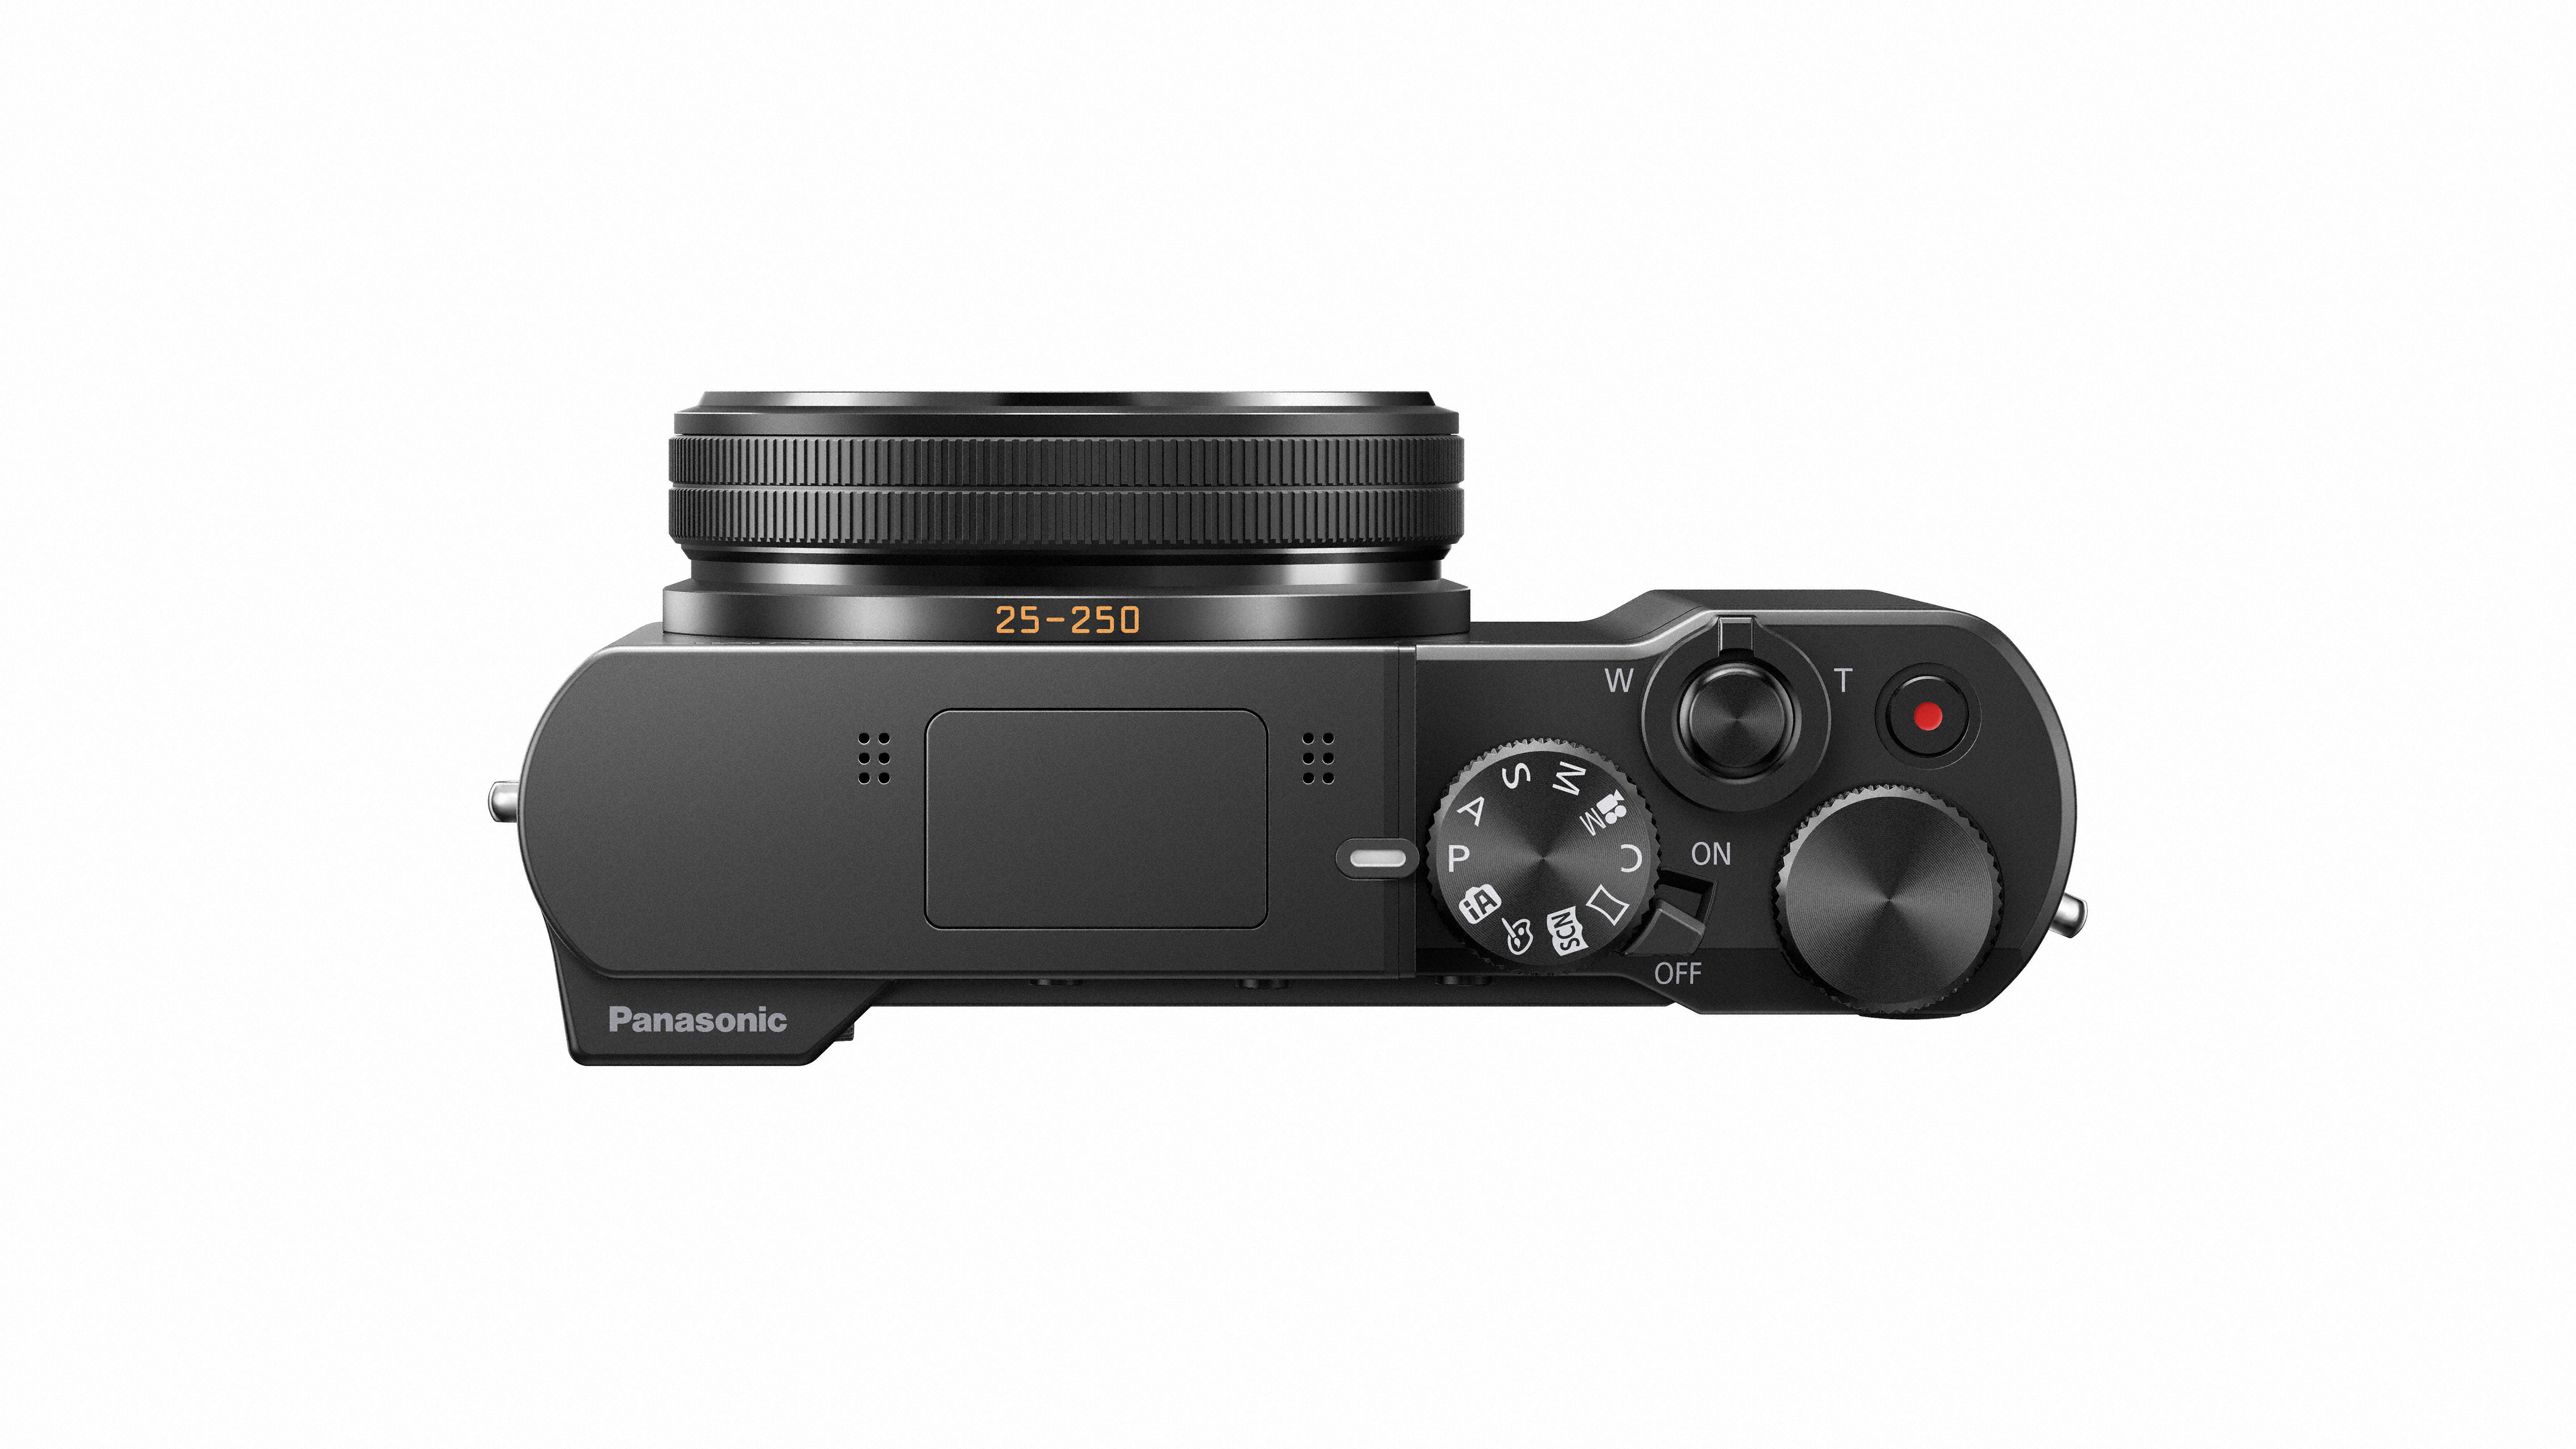
Almost all of the ZS100’s buttons are grouped towards the right hand side of the camera, making it easy to use one-handed. On top of the camera are two large dials. One is an exposure mode dial which means you can quickly switch between shooting modes (there’s a collection of automated and scene modes, along with more advanced program, aperture priority, shutter priority and manual options).
Panasonic TZ100
The second dial controls different functions depending on the shooting mode you’re in. If you’re working in aperture priority, you can use it to alter aperture, or shutter speed if in shutter priority. It’s in a convenient position for your thumb and has a satisfying amount of stiffness when you turn it.
There’s also a ring around the camera’s lens which, again, has a different default function depending on the shooting mode. Both this and the dial on top of the camera can be customised to change something else if you prefer. There are also a further four function buttons (marked Fn), which each have default functions, but can be changed to suit a different purpose if you wish. There are five more “virtual” function buttons, which are accessed via the touchscreen and are also customisable.
The (physical) Fn3 button accesses the ZS100 / TZ100’s quick menu by default. You can use this menu to move quickly between common settings, such as ISO, metering and white balance. By default, two of the function buttons are used to access the camera’s 4K photo modes.
Panasonic TZ100
Unlike the electronic viewfinder in Sony’s popular RX100 III and RX100 IV compact cameras with 1-inch type sensors, the ZS100’s electronic viewfinder is ready for action at any time that the camera is powered up and it doesn’t need to be popped out for use. Furthermore, there’s a sensor which automatically detects when the camera has been lifted to your eye to switch on the viewfinder, and switch the screen off. Although undoubtedly useful and a bonus on a pocketable compact camera, the ZS100’s viewfinder is small, and while the image is clear and sharp, because of its small size it’s unlikely you’ll want to use the viewfinder for every shot.
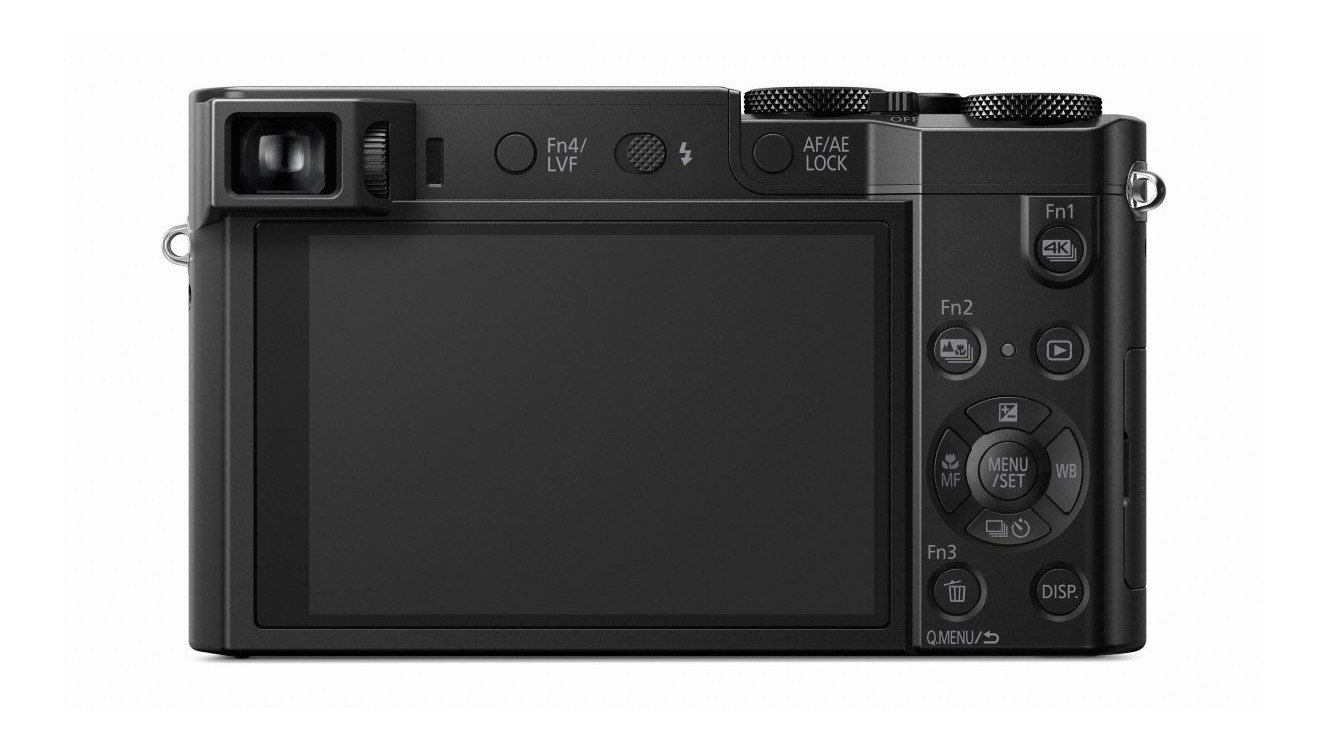
The ZS100 / TZ100’s screen is touch-sensitive, which means you can use it to set the focus point, simply tapping an area on the screen you want to use (if you have 1-Area focusing selected). You can also use it to navigate through and around the main menu and the function menu. If you don’t like using touch screens, the good news is that everything can also be controlled by a physical button, or a combination of buttons, if you prefer.
In order to use the super fast shutter speeds that the electronic shutter facilitates, you’ll need to change from mechanical shutter in the camera’s main menu. Once you’ve done this, you can move past the 1/2000 fastest shutter speed offered by the mechanical shutter and reach speeds up to 1/16000.

Autofocus

  • 49-point AF
  • Face/Eye detection
  • Post-focus function
Lumix cameras have always delivered the goods when it comes to AF speed, and the ZS100 / TZ100 is no different – in good light you can expect the camera to lock-on quickly with almost no delay.
Even when the light levels drop, the ZS100 performs very well, though the contrast-detect AF will start to struggle when light levels are really poor – but that’s to be expected.
  • The 10 best compact cameras

Performance

  • 10fps burst shooting (6fps with continuous AF)
  • Decent optical quality
  • 300 shot battery life
The ZS100 / TZ100’s all-purpose metering system provides generally accurate exposures, only failing slightly when photographing something with areas of high contrast – but it’s no more than we would expect from any camera. Similarly, the automatic white balance system copes well when faced with different lighting conditions. Slightly warmer tones are produced when photographing under artificial light, so if you’re concerned with ultimate accuracy, either switch to a preset value or set a custom white balance.
Detail is kept well throughout the ZS100’s optical zoom range, with roughly the same amount of detail at the far reach of the telephoto zoom as seen at the wide angle end.
The ability to shoot at 10 frames per second (fps) is pretty impressive, while even with it dropping down to 6fps when you want to use the ZS100’s continuous AF is nothing to be sniffed at.
At 300 shots, battery life is reasonable, but if you’re intending to use the viewfinder quite a bit, this does drop to 240 shots, so if you’re going to be away for a long weekend or longer, then it might be worth thinking about investing in another battery.

Image quality

  • ISO125-12,800, expandable to 80-25,600
  • Can record plenty of detail
  • Pleasing images straight from camera
As the ZS100 / TZ100 uses the same sensor as the FZ1000, we had high hopes that image quality would be good. Happily, those hopes have been borne out both by results from our labs and real-world images.
JPEG images display a great amount of vibrance and punch, without straying too far into unrealistic territory, while the overall impression of detail is fantastic.
At normal printing (A4 or smaller) or on-screen viewing sizes, the ZS100’s images, have detail comparable with shots taken on cameras with much larger sensors, such as the GF7 (which has a Four Thirds sensor). And at 100% on screen, despite a little smoothing, it’s hard to tell the ZS100’s low sensitivity JPEG images apart from the GF7’s.

Our lab tests indicate that the ZS100 / TZ100 competes very strongly with the Sony RX100 IV and Canon G5 X, all of which have 1.0-inch type sensors. For signal to noise ratio, the ZS100 beats the other cameras on test throughout the ISO 100-800 range, and most significantly at ISO200. From ISO 1600, the ZS100 is extremely closely matched to the other cameras, while at ISO 3200, the ZS100 beats both the Sony and the Canon.
It’s a slightly more complicated picture for the raw format files, where at the lower end of the scale (ISO100-200) the ZS100 is beaten by the Sony and Canon cameras, but from ISO800 right up to ISO12,800, it beats all of the other cameras on test.
For dynamic range, the story is also a little more patchy. For JPEG images taken at the lower end of the scale (ISO200-800), the ZS100 is beaten by the Canon and Sony, but is still pretty good. At 1600, the ZS100 is pretty much tied with the Sony and Canon, while at ISO3200, the Canon beats the ZS100 very slightly, but the ZS100 beats the Sony. At 6400, all of the cameras are closely matched, but at 12800, the ZS100 wins out more significantly.
Looking at the raw format files, performance is particularly impressive. Although at ISO200 it is beaten ever so slightly by the Canon, from ISO 400 the ZS100 beats the other cameras on test, at times by quite a significant margin.
In terms of resolution, we can use a combination of the labs test and the real world images to make a judgement on how well detail is resolved. At the low-medium end of the ISO run (ISO200-1600), the ZS100 is capable of matching Canon’s G5 X sensor, and is slightly worse than Sony’s RX100 IV. However, at the higher end of the spectrum (ISO3200-6400), it’s better than Canon and matches the Sony’s capability, while at 12,800, the ZS100 is the best performer.
Looking at a corresponding raw file, it’s clear that the camera is applying a fair amount of noise reduction to JPEG images. While that noise reduction generally results in natural-looking, low-noise images, if you’re photographing something particularly detailed, you may appreciate the ability to bring that back by editing the raw format files.

When all noise reduction is turned off, images taken at ISO3200 (see shot above) and 6400 have visible chroma noise at 100%, but it’s fairly evenly spread throughout the image and therefore easily tackled by noise reduction software. Even without noise reduction being applied the images still look decent at normal printing and viewing sizes.

Using the electronic shutter allows you to shoot at wide apertures in bright sunlight – this image above has been taken with a 1/16000 sec shutter speed.
  • The 10 best cameras you can buy right now

Verdict

Panasonic takes aim squarely at the pocket-friendly 1.0-inch sensor compact camera market with the ZS100 / TZ100, upping the stakes with a 10x optical zoom, something which other manufacturers haven’t yet produced.
Although 1.0-inch sensors aren’t particularly new or exciting any more, when you couple one with a 10x optical zoom, the resulting camera becomes a much more flexible option which is bound to appeal to travelling photographers looking for something high quality, but convenient.

The ZS100 / TZ100 produces lovely JPEG images, while the raw format images give you good scope to bring out extra detail should you need it. The sensor happily competes with Sony and Canon, who have so far been the big players in the 1.0-inch sensor market. The large sensor facilitates decent low-light shooting, making it a good all-rounder camera.
It’s also an enjoyable camera to use, with a good number of buttons and dials, a very responsive touch sensitive screen and an (albeit small) electronic viewfinder. There’s also inbuilt Wi-Fi and a range of creative filters. It would perhaps have been nice to see a tilting or articulating screen, but that may have added extra bulk, and certainly extra cost to the camera.
Panasonic claims that it has created a new segment of the market with this camera, and it’s hard to disagree with that claim.

Competition

Panasonic Lumix ZS50 / TZ70

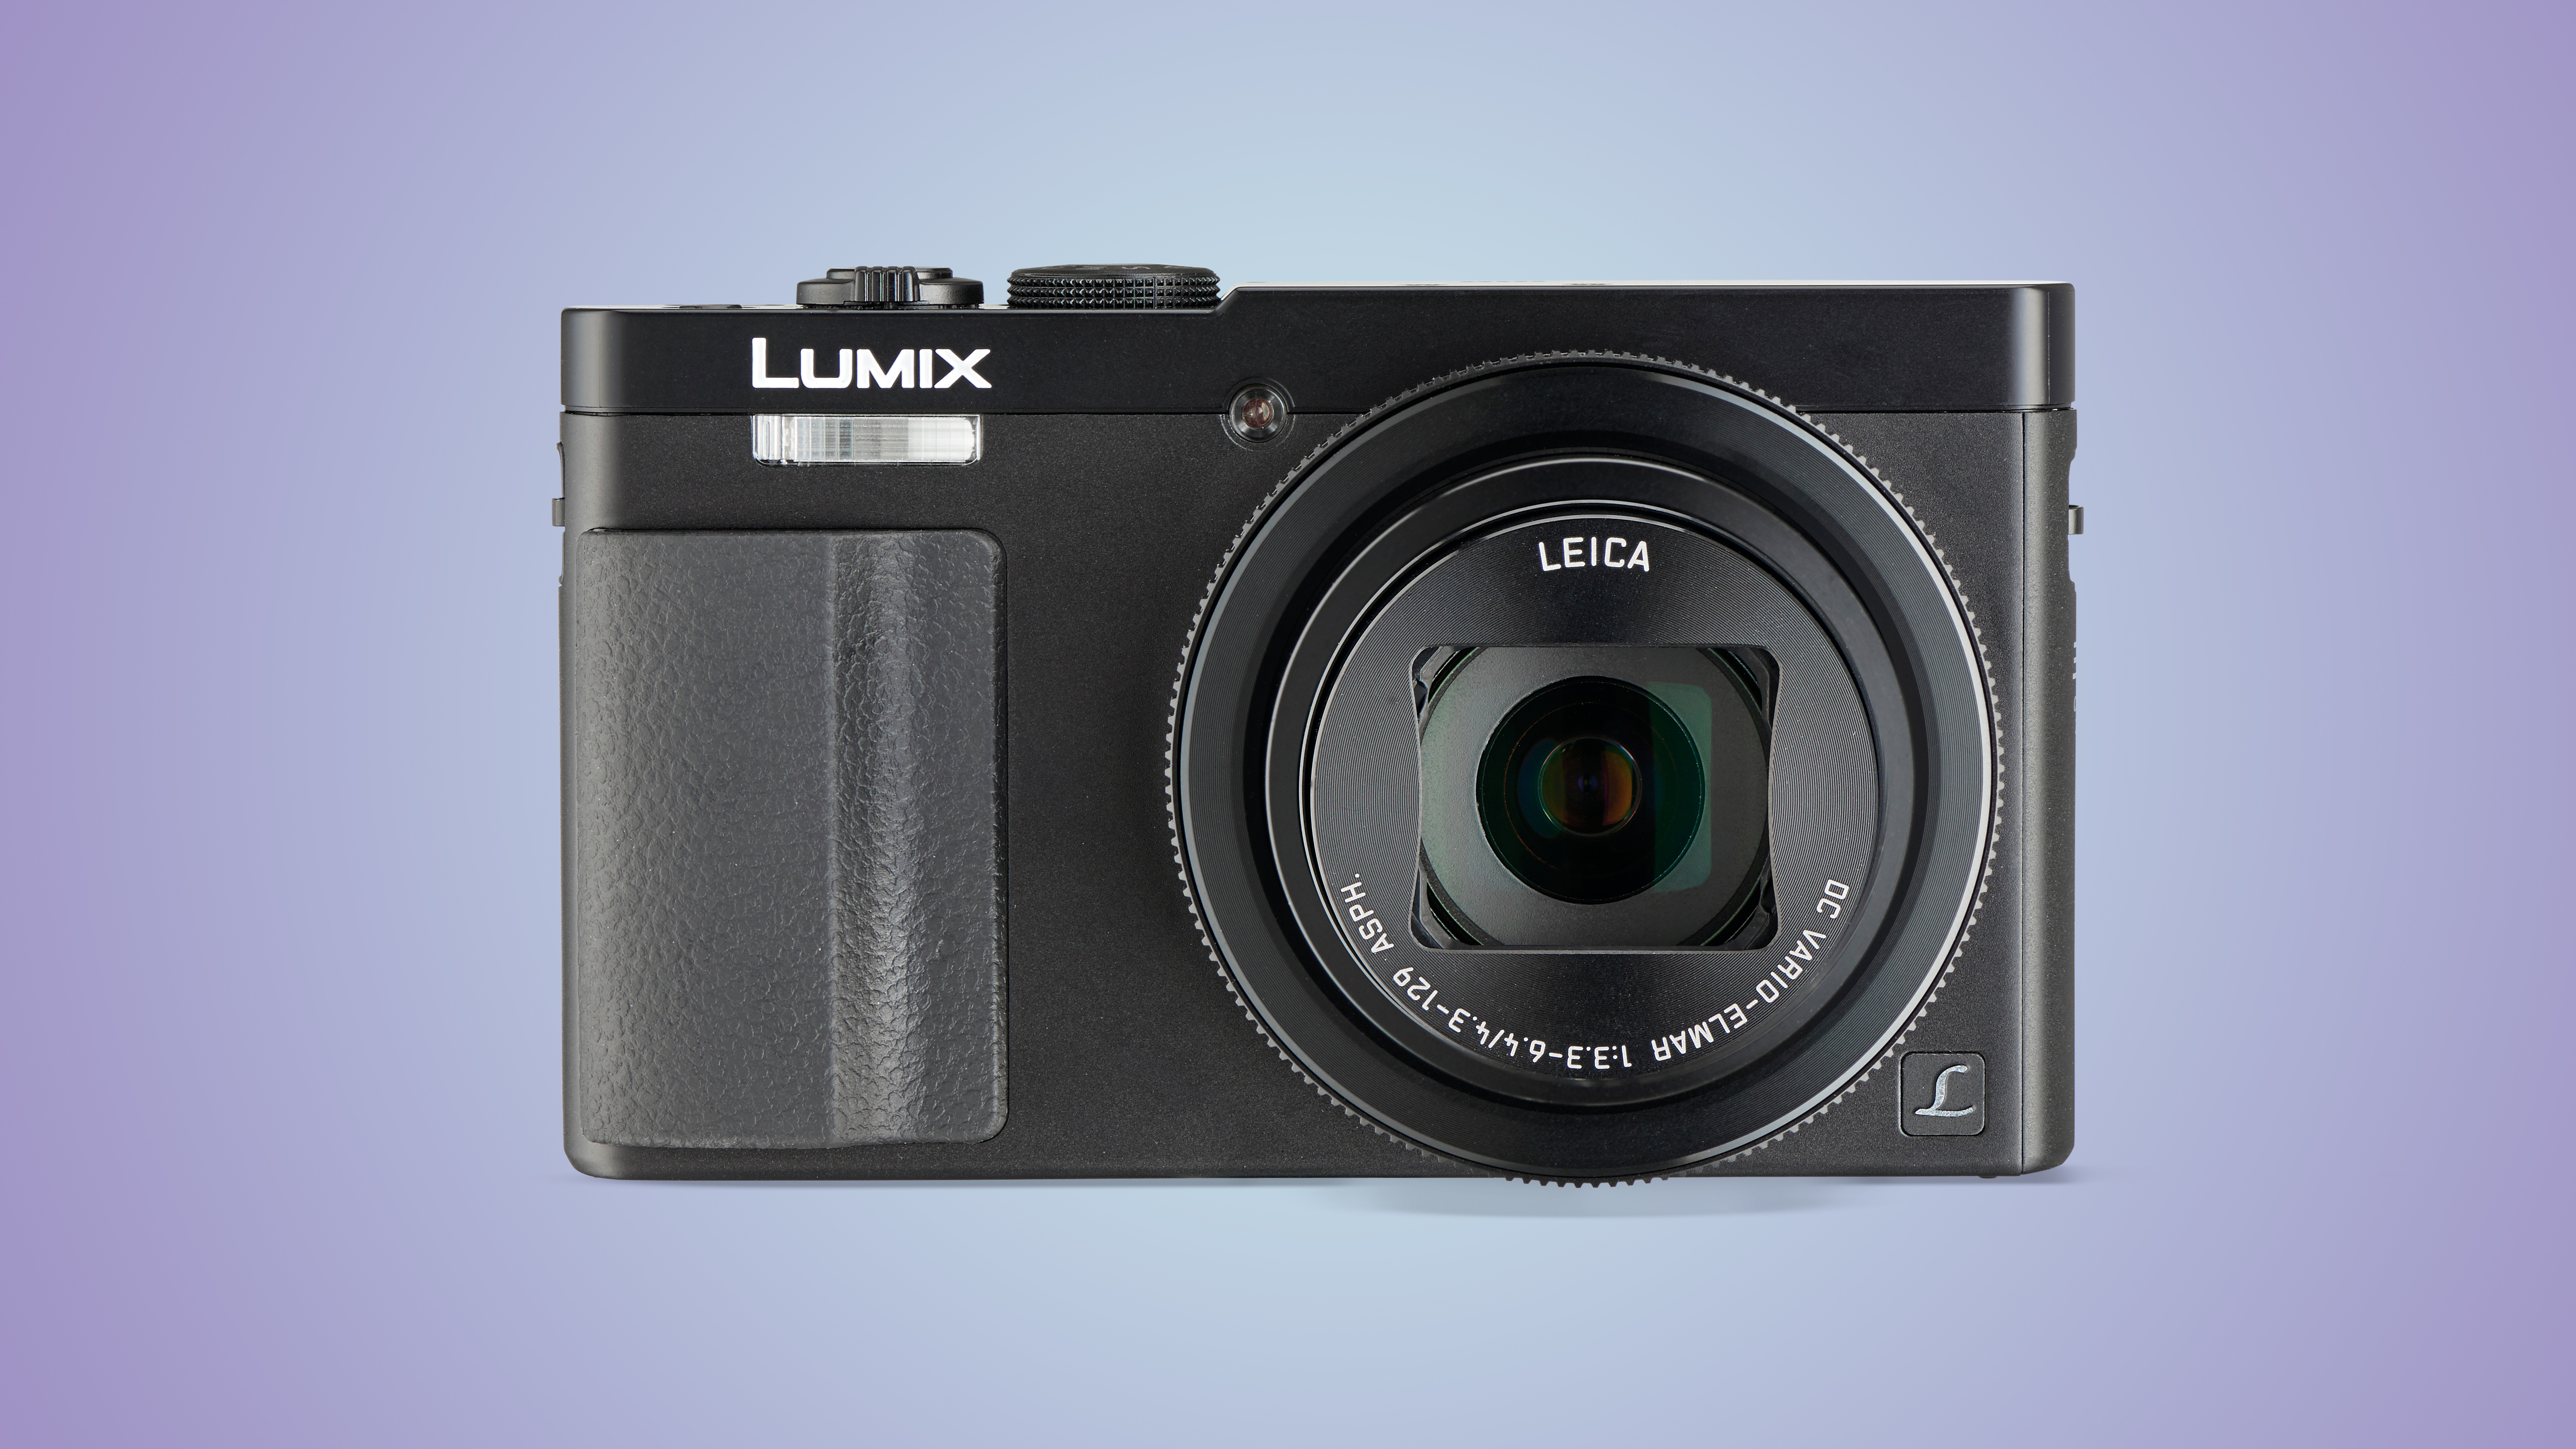
If you’re not that fussed about a 1.0-inch sensor, then the ZS50 (TZ70 outside the US) might be the camera for you. With a big 30x zoom, auto and manual controls and the ability to shoot raw files – a big bonus for keen photographers who want the best quality from a small camera, there’s little to fault for the price. The ZS50 even squeezes in an electronic viewfinder. It’s the Swiss Army Knife of travel cameras, combining convenience, quality and control.
Read the full review: Panasonic Lumix ZS50 / TZ70
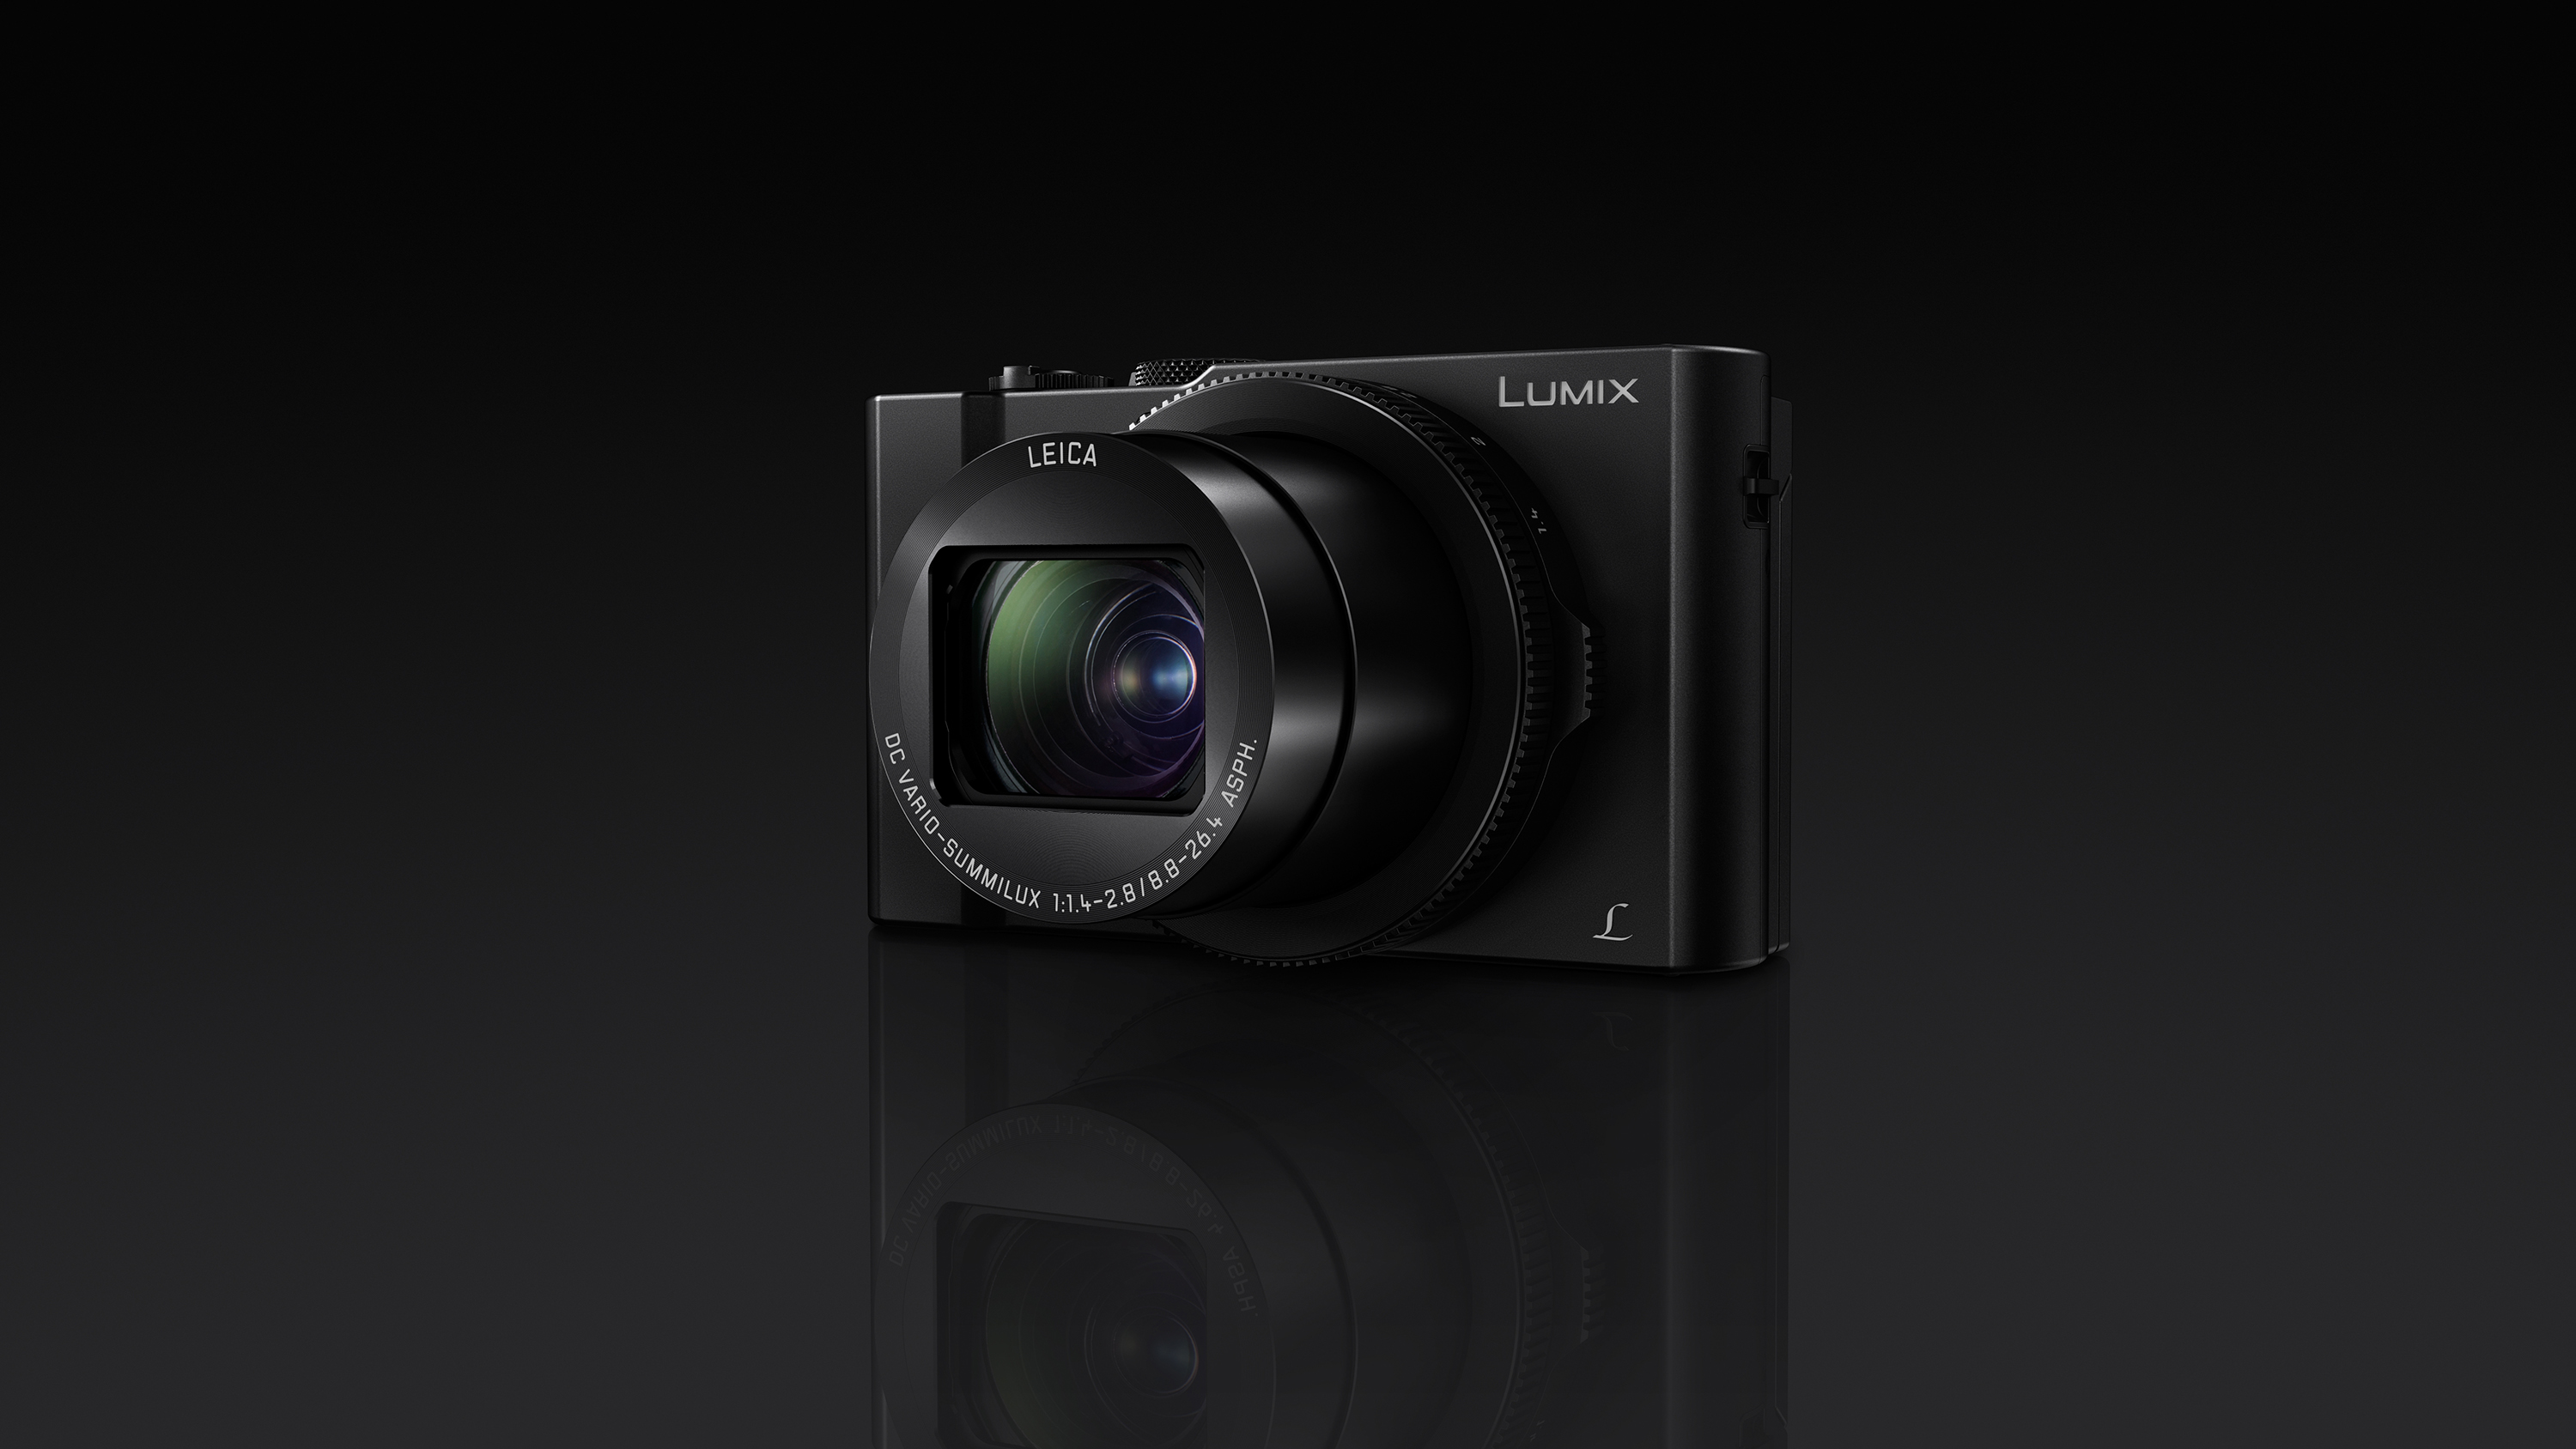
Panasonic Lumix LX10 / LX15

Panasonic’s answer to the RX100 series, the LX10 (known as the LX15 outside the US) is a very capable premium pocket compact camera. There’s no EVF like the ZS100 / TZ100, but does benefit from a faster (if shorter) zoom lens and more enthusiast-focused handling, making it a joy to use.
Read the full review: Panasonic Lumix LX10 / LX15

Sony RX100 III

First things first, it doesn’t have such an impressive zoom, but the 24-70mm zoom is fast (f/1.8-2.8) and the viewfinder is that much bigger that the ZS100 / TZ100. While the RX100 V is almost double the price, this represents great value.
Read the full review: Sony RX100 III
  • What camera should I buy?

Learn Digital Photography The Smart Way. Click Here To Get More Details About Photography Masterclass.


Visit here for more on Digital Camera.
Read more on Photography
Tips
.

Sunday, November 27, 2016

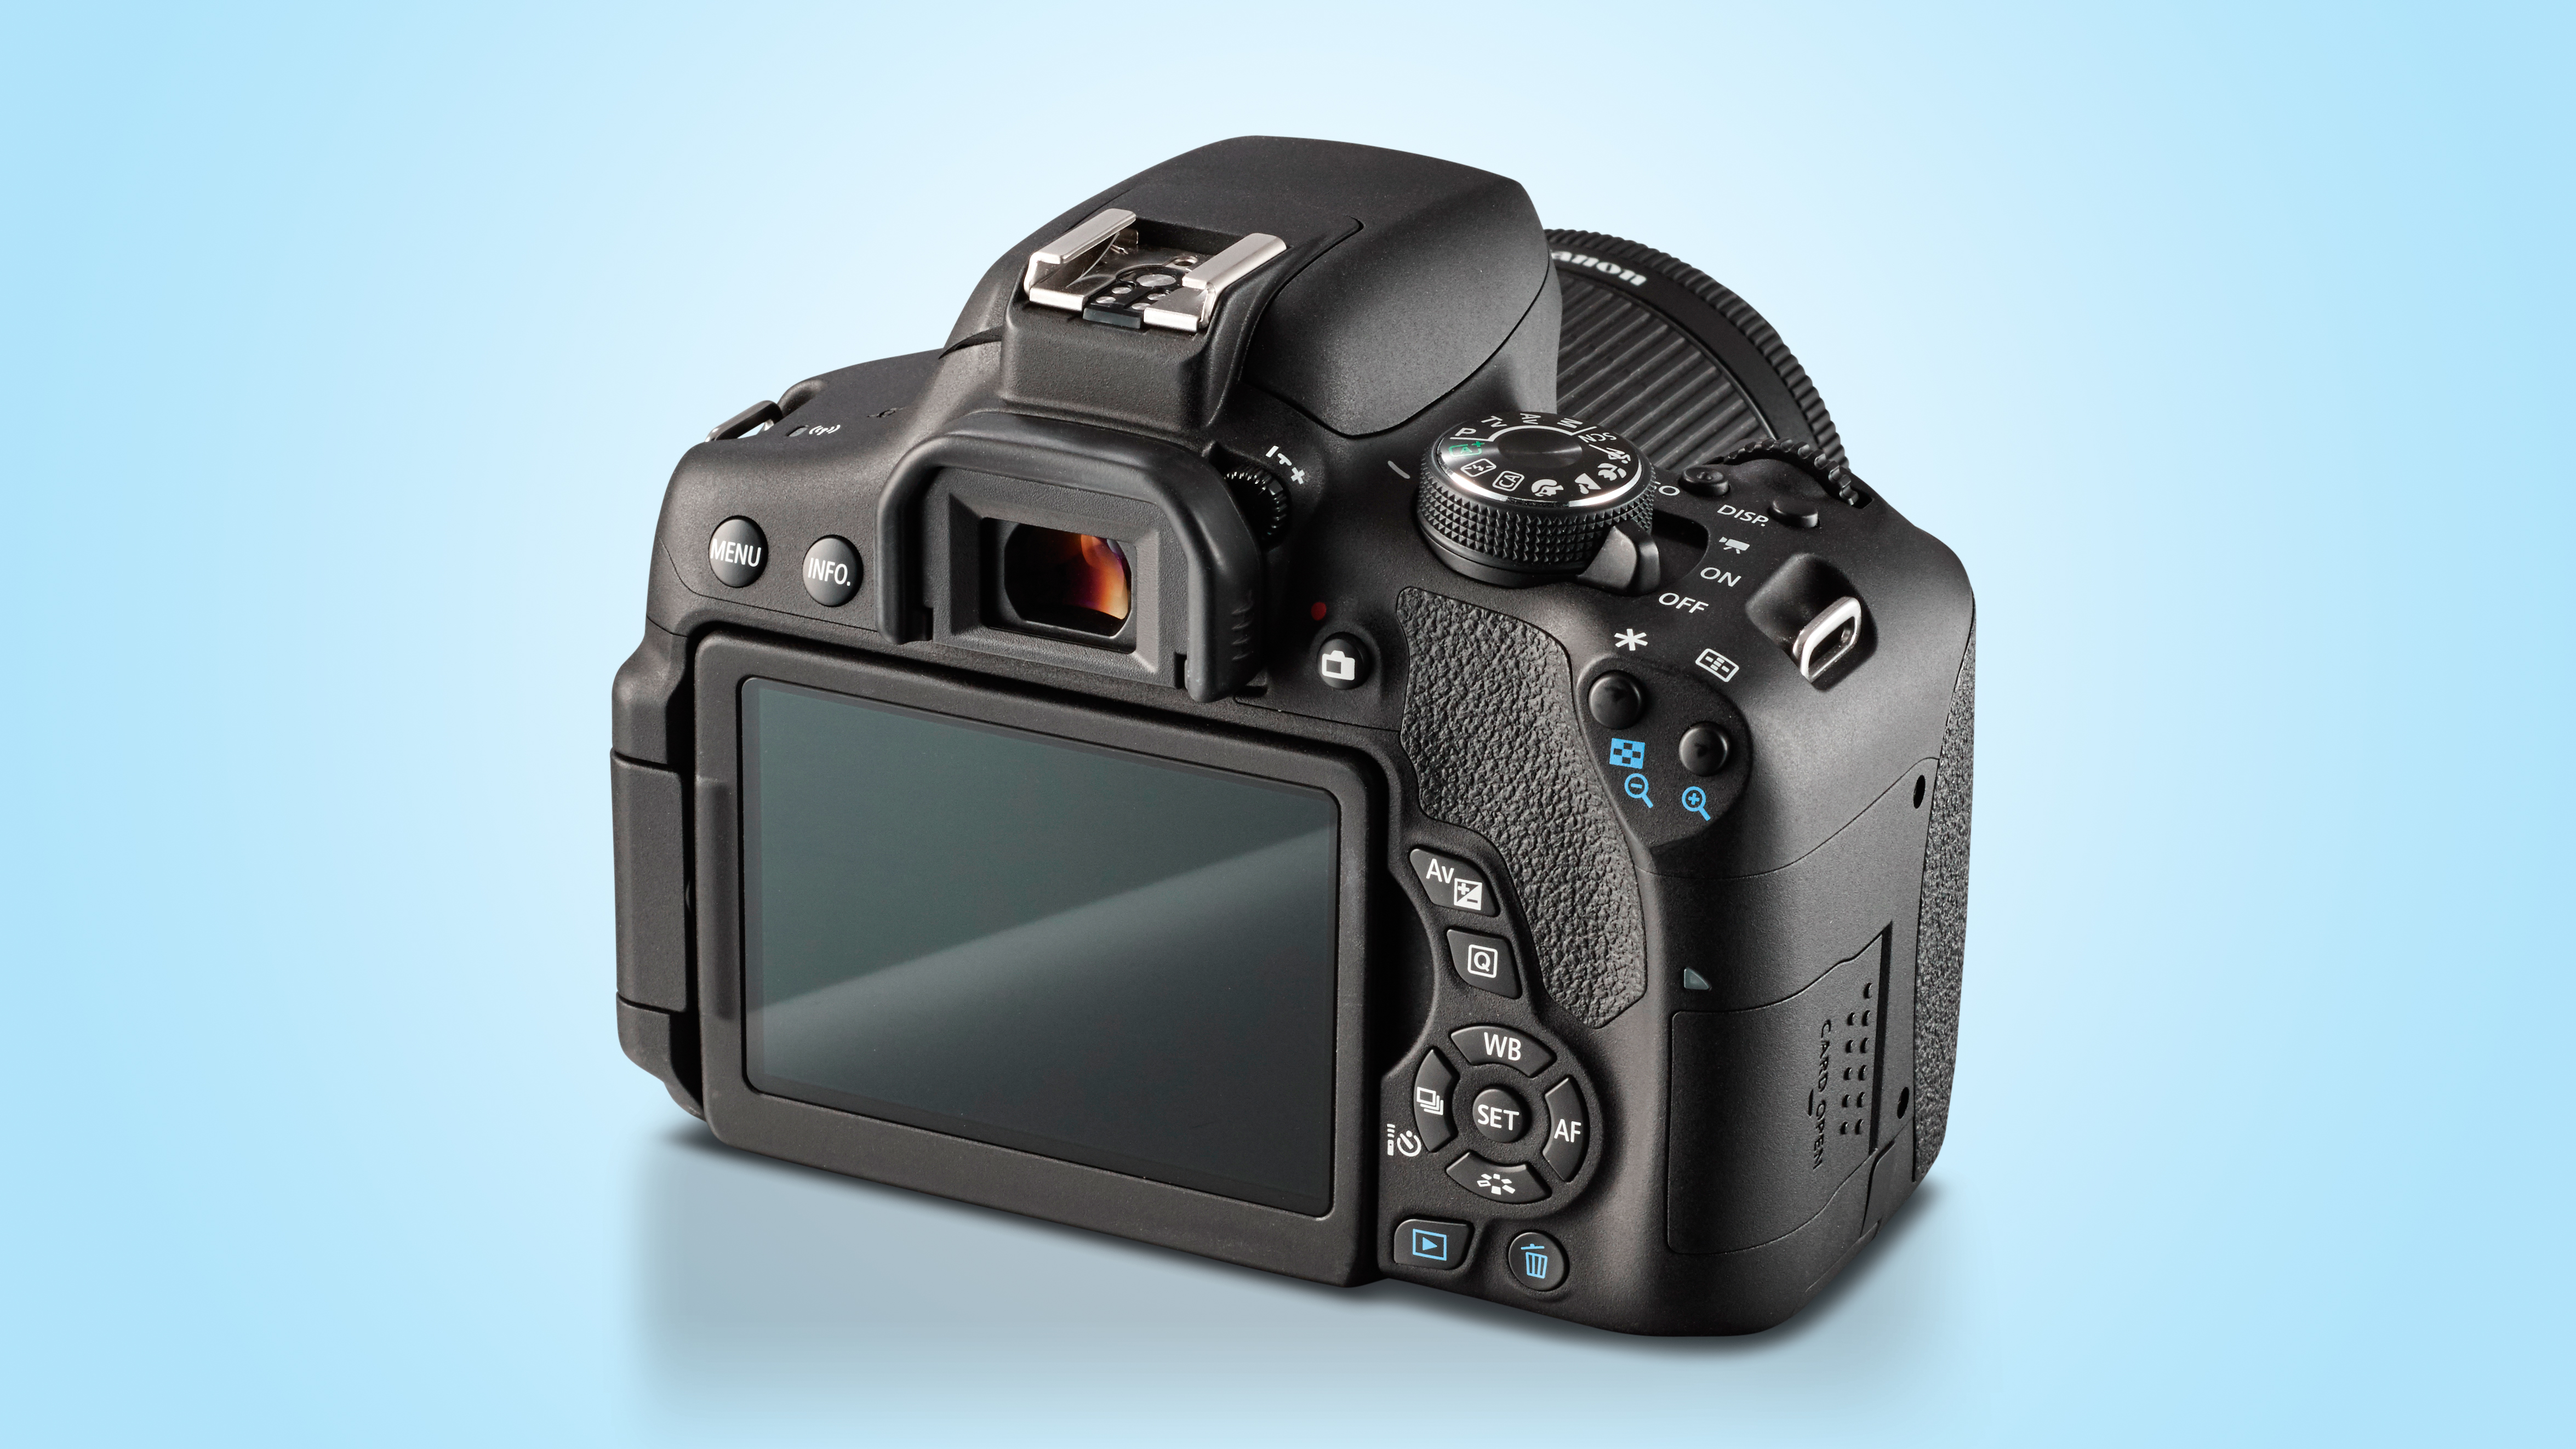
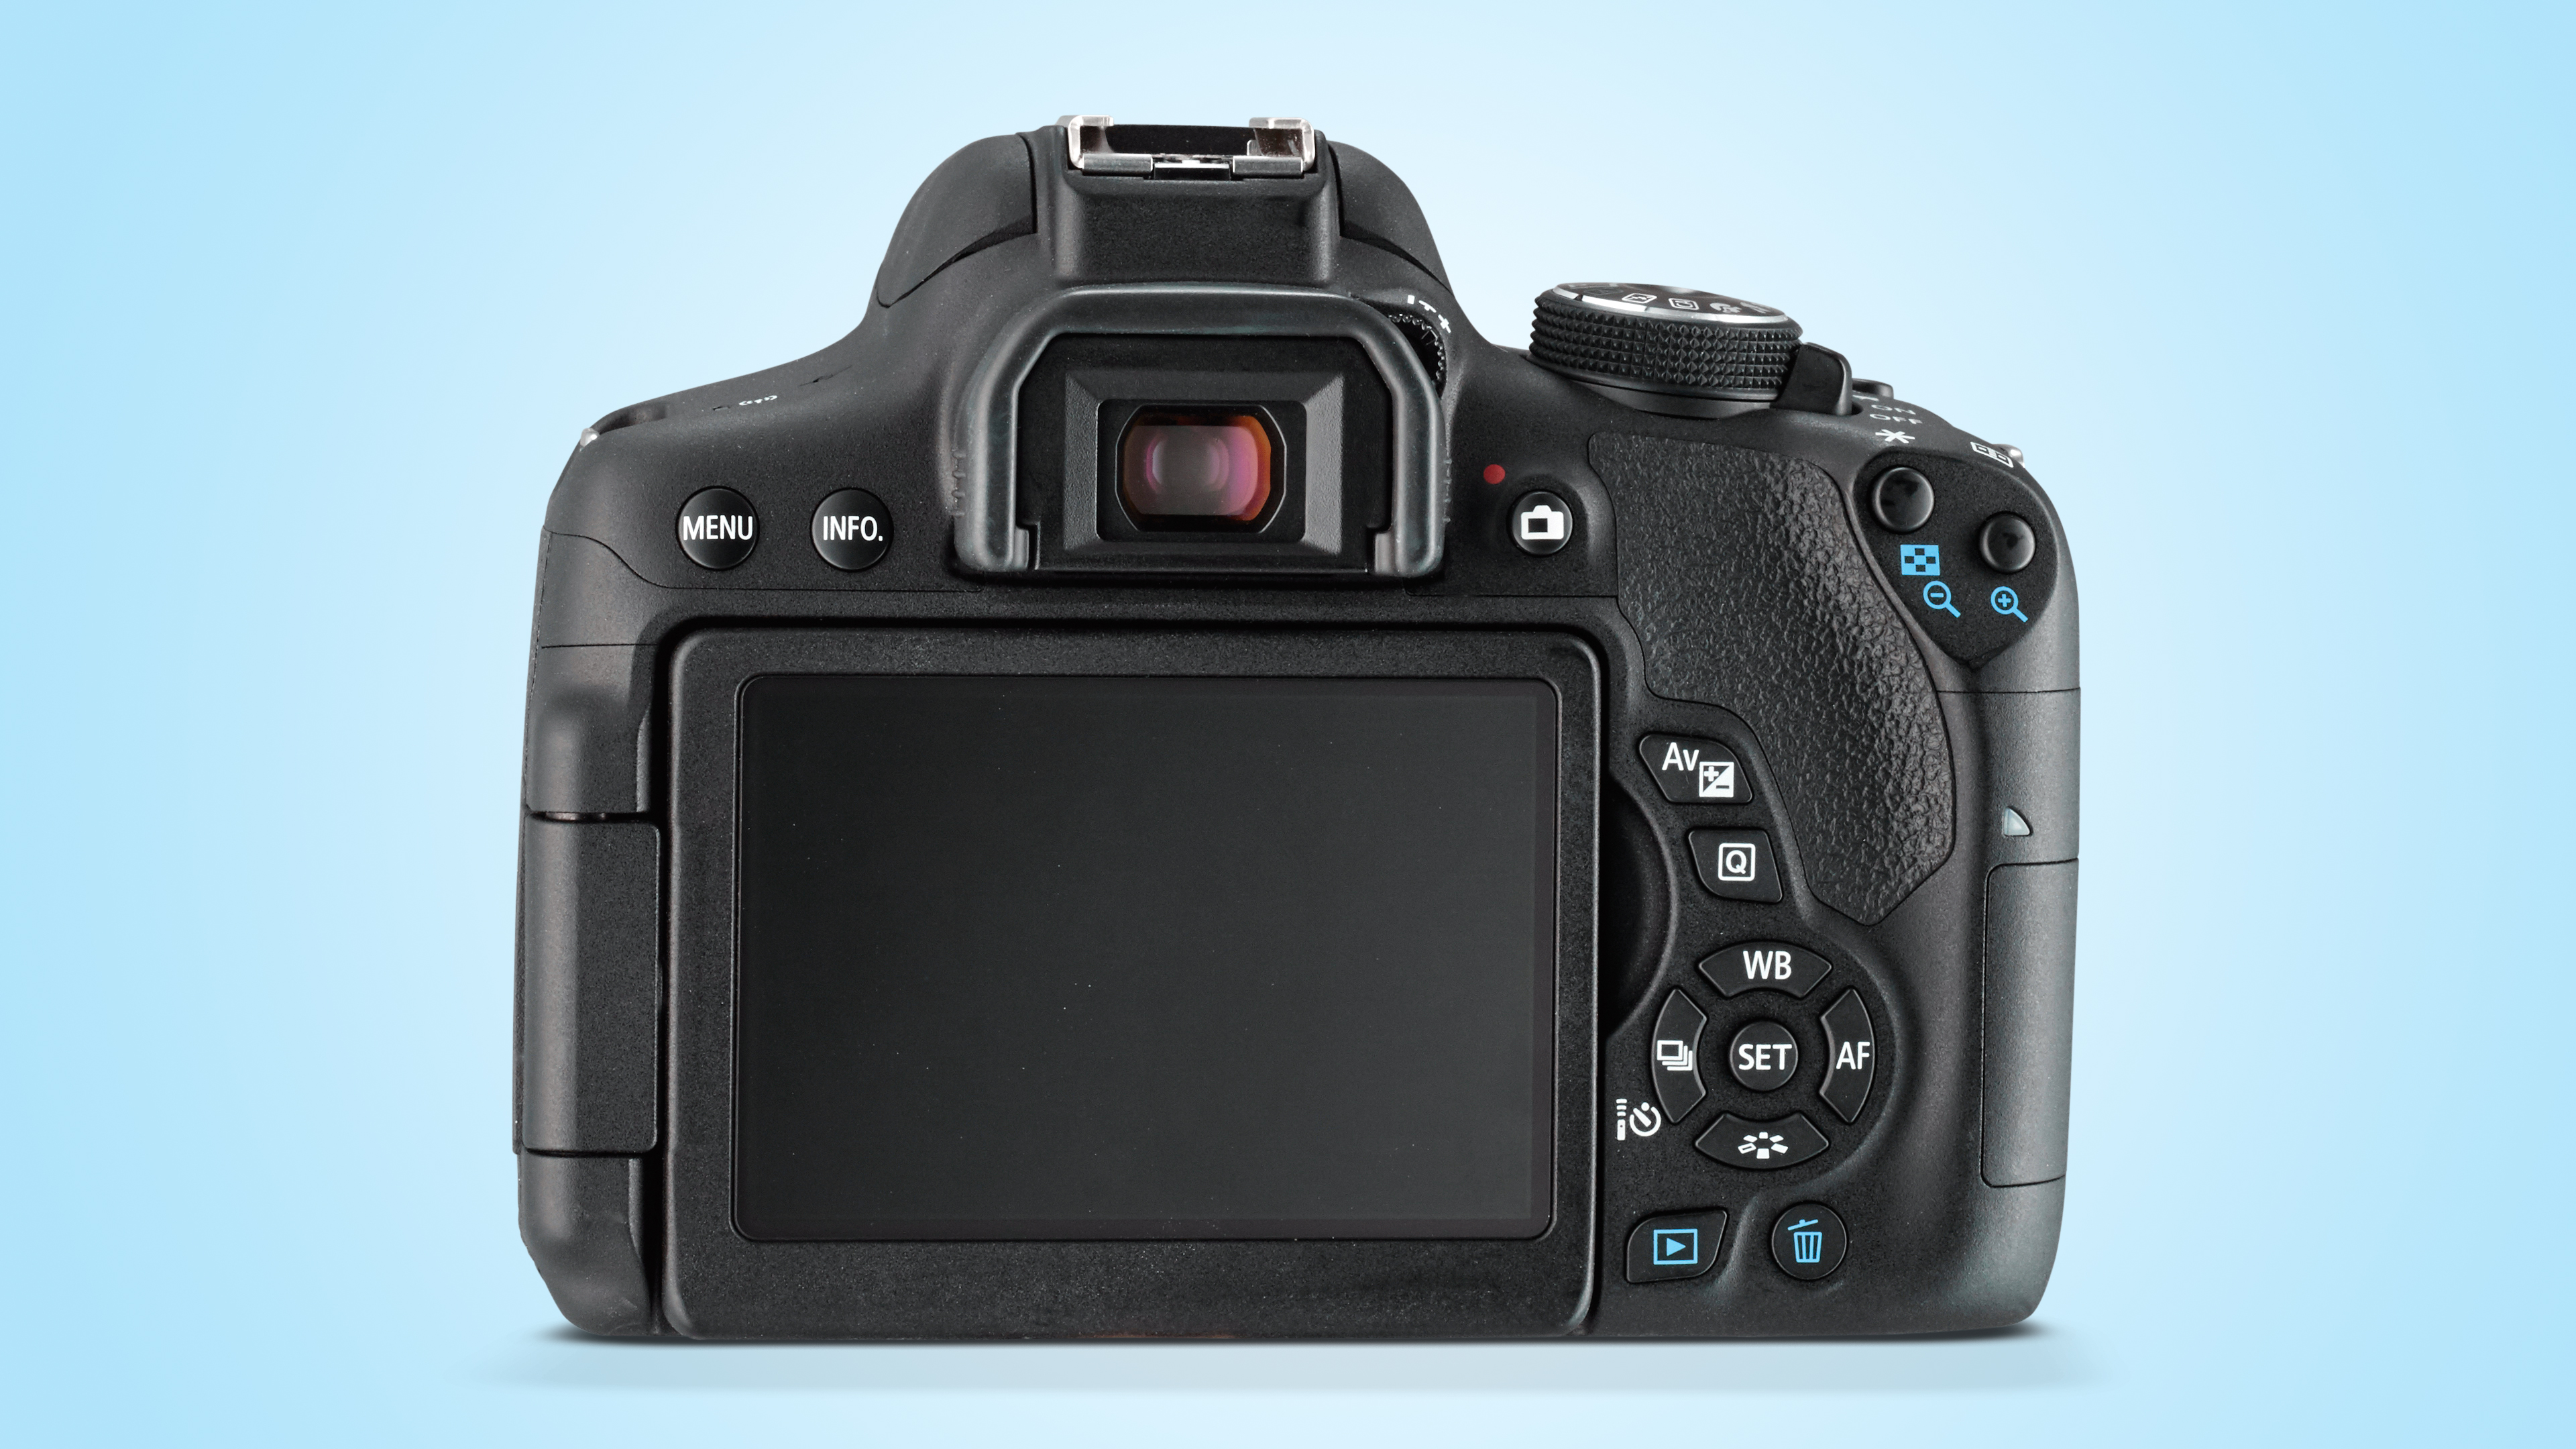
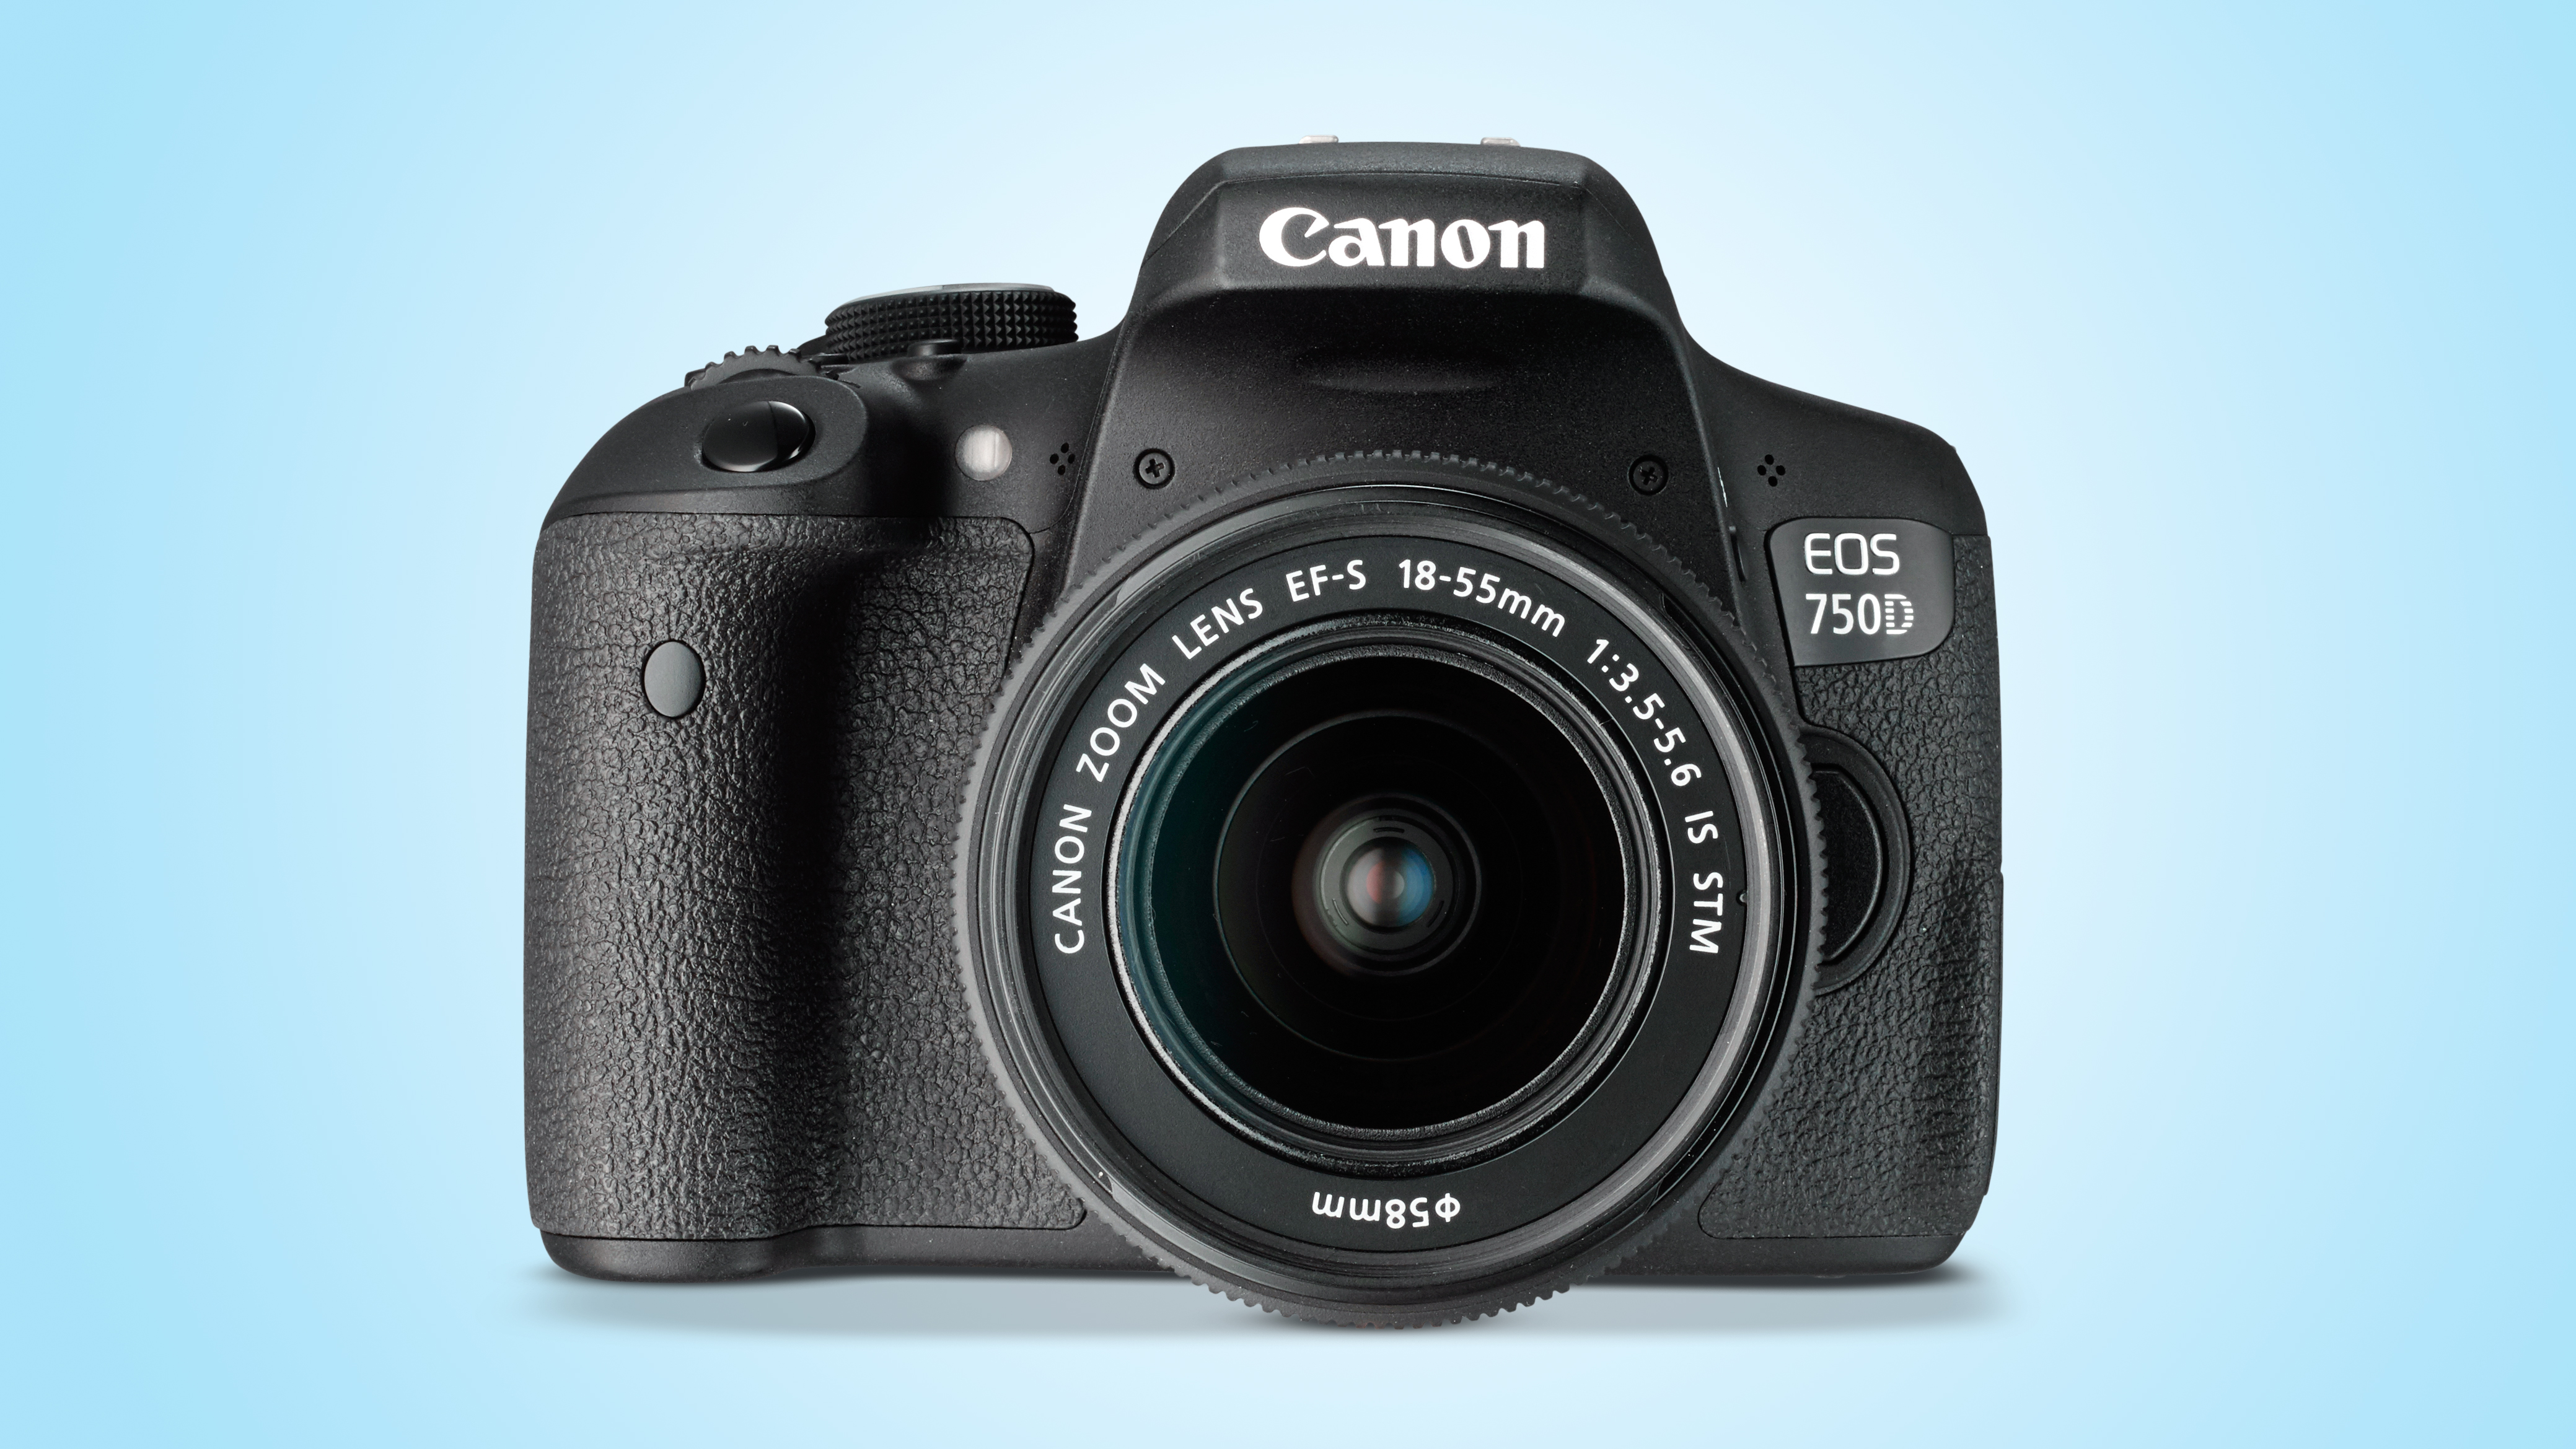
Canon EOS Rebel T6i / EOS 750D Review

The EOS Rebel T6i (known as the EOS 750D outside the US) is Canon’s key entry-level DSLR, taking the fight to the likes of the Nikon D3300 and D5500. Announced at the same time was the EOS Rebel T6s (EOS 760D), which is virtually identical under the skin to the Rebel T6i, but with a few more features designed to tempt slightly more experienced users.

Features

  • APS-C CMOS sensor, 24MP
  • 3.0-inch, vari-angle touchscreen, 1,040,000 dots
  • 1080p video capture
Despite the step up from the 18 million pixels in the Rebel T5i / 700D, the Rebel T6i keeps the older sensor’s native sensitivity range of ISO100-12,800. There’s also an expansion setting of ISO25,600 for very low light conditions. In movie shooting the maximum native setting is ISO6400 and there’s an expansion value of ISO12,800.
In a first for Canon DSLRs, the Rebel T6i features both Wi-Fi and NFC (Near Field Communication) technology to enable it to be connected to a smartphone or tablet for remote control and image sharing. It’s even possible to connect two cameras just by touching the NFC logos together, and then transfer images wirelessly.

Like the older Rebel T5i, the Rebel T6i has a 3.0-inch 1,040,000-dot Clear View II TFT screen that’s touch-sensitive. It also has an aspect ratio of 3:2 to match the uncropped ratio of the imaging sensor, while the vari-angle hinge on the side of the body means it can be placed in a range of positions.
There’s a 19-point phase-detect AF system when shooting through the viewfinder. The choice of AF point can be left to the camera to decide in 19-point AF mode, or it can be set manually in Single point AF or Zone AF mode. In Zone AF mode you have the choice of five groups of points for selection, whereas in Single point mode all 19 points are available for individual selection.
Canon’s Hybrid CMOS AF III system (with Face detection, Tracking AF, FlexiZone-Multi and FlexiZone-Single modes) is available with the Rebel T6i / 750D when using Live View. This is an improved version of the Hybrid CMOS AF II system found in the Canon EOS SL1 / 100D, having a greater number of focusing pixels arranged in a more regular array than in the past. Canon says it’s about 4x faster than version II and two generations ahead of the original Hybrid CMOS AF system in the Rebel T5i.
Unlike the Rebel T6s / 760D, the Rebel T6i / 750D doesn’t have a Servo autofocus option in Live View mode so there isn’t an option for focus to adjust continuously while the shutter release is held down and subject distance changes. There is, however, a Continuous AF option in the Live View section of the main menu. When this is activated focus is adjusted fairly slowly when the shutter release isn’t pressed. It’s designed for use in video mode and to pre-focus when shooting stills.
  • What camera should I buy

Build and handling

  • Aluminium alloy and polycarbonate construction
  • Design little changed from the EOS Rebel T5i / EOS 700D
  • 555g
The Rebel T6i / 750D‘s aluminium alloy and polycarbonate resin with glass fibre chassis gives it a pretty durable feel for entry-level DSLR. Reassuringly, it doesn’t creak when it’s gripped tightly.
Textured coatings on the deep grip on the front and the small thumb bridge on the back help to make the camera feel comfortable and safe in your grasp.
Following the design of other Canon DSLRs, the Rebel T6i / 750D has a Quick menu that is accessed by pressing the Q button. This gives a quick route to some key features for adjustment. Setting adjustments can be made using the physical buttons and dials or by touching the screen. If you’re not used to using a touch-screen camera you may find that you start out using the buttons and dials, but gradually you start using the touchscreen because it’s so intuitive.

Being a DSLR, the Rebel T6i / 750D has an optical viewfinder. Canon has used a pentamirror design rather than the pentaprism versions found in more expensive cameras like the EOS 70D. This shows approximately 95% of the scene (the 70D’s covers 98%) so you may need to take care with composition to avoid including unseen elements around the edges of the frame.
As the screen is on an articulating joint it can be seen from a wide range of angles. Reflections are an issue in very bright light, but it is usually possible to see enough detail to compose images. In Live View mode it’s especially helpful to use the screen to set the AF point, or even set the AF point and trip the shutter when composing images at very awkward angles.
The viewfiner uses a 'pentamirror' design that offers 95% coverage.
Perhaps the biggest handling difference between the T6i and T6s is that the T6s has a Quick Control dial around the navigation buttons. The T6i relies on an exposure compensation button instead. In manual exposure mode this button needs to be pressed while rotating the dial near the shutter release to set aperture, in the semi automatic modes it’s used with the dial to adjust exposure compensation. It’s a quick and easy task, but the Quick Control dial on the T6s / 760D makes these adjustments a little faster.
The exposure mode is set using the dedicated dial on the right of the T6i’s top-plate – this is on the left on the T6s. Unlike the T6s there’s no lock on the dial, but it doesn’t get knocked out of position easily and it provides a route to the same same exposure modes including program, shutter priority, aperture priority and manual as well as options such as Full Automatic (Scene Intelligent Auto), Creative Auto (which allows you to take control with simple instructions using non-photographic terms) and a collection of user-selectable scene modes, including some within Special Scene (SCN) mode.

Autofocus

  • 19-point AF, all cross-type AF points
  • Predictive AF
  • AF working range down to -0.5EV
Pressing the AF Area selection button once allows the navigation buttons to be used to set the desired AF point. Pressing it multiple times toggles through the AF-point selection modes (Single-point AF, Zone AF and 19-Point automatic selection AF). There’s also an AF point selection button to the right of the thumb rest on the back of the camera, but this doesn’t allow you to toggle through the selection modes. It would be nice to be able to set the AF point on the screen while composing images in the viewfinder as you can with some Panasonic cameras and the Nikon D5500.

The phase detection AF system that’s available when composing images in the viewfinder is fast and accurate, even in quite low light with the kit lens mounted. It means it’s a much better choice when shooting sport or action. In 19-point mode it does a pretty good job of identifying the subject, but Zone-AF and Single-point mode are a better choice provided you can keep the active area over the right part of the scene.
When using Live View mode I found the T6i / 750D is capable of getting subjects sharp quickly, so it’s possible to compose images on the main screen when hand-holding the camera. However, it’s not really fast enough to use it to shoot moving subjects, and there’s no servo option, so it can’t adjust focus as subject distance changes when your finger is on the shutter release.
  • Best entry-level DSLRs

Performance

  • 5fps burst shooting
  • Exposure weighted towards active AF point
  • 440 shot battery life
The Rebel T6i / 750D can also shoot continuously at up to 5fps. This may not seem fantastic by current standards, but it’s still very useful when shooting sport. Plus, the burst depth has been increased from the 30 JPEG or 6 raw files of the Rebel T5i / 700D to a whopping 940 Large/Fine JPEGs or 8 raw files.
A dedicated 7,560-pixel RGB and Infra Red (IR) sensor is provided for measuring exposure when the viewfinder is in use. As with the T5i’s iFCL metering system, these pixels are grouped into 63 segments (9×7) with the usual options of Evaluative, Centre-weighted, Partial and Spot metering. However, the partial (6.0% of viewfinder) and Spot (3.5% of viewfinder) coverage is a little more precise than in the T5i / 700D (9% and 4% respectively) and pixels on the sensor each have their own RGB-IR filter and are read independently.

This is a similar system to the one in the excellent EOS 7D Mark II and Canon claims it’s more accurate than the T5i’s with improved colour detection. However, it’s worth remembering that even in Evaluative mode the metering is linked to the AF points, so the brightness of the subject could have an impact upon overall exposure.

Image quality

  • ISO100-12,800, expandable to 100-25,600
  • Huge jump in image quality from the T5i / 700D
  • Pleasing skin tones
The level of detail in images is a huge leap up from that from the T5i / 700D, but noise levels are about the same despite the extra 6 million pixels on the sensor.
Viewed at 100% on-screen, the T6i / 750D’s high sensitivity JPEGs look softer than simultaneously captured raw files, but even at ISO12,800 some look good at around A3 size (16 x 12 inches).
As usual, when all noise reduction is turned off the raw files have more visible noise at 100%, but it’s fine grained and there’s no banding, so it’s possible to produce images that have a bit more ‘bite’ than the JPEGs.
Chroma noise only really becomes obvious at 100% in raw files captured at ISO1600 and above (when all noise reduction is turned off). Meanwhile the softening of detail that tends to go hand-in-hand with noise reduction in the default settings becomes apparent at 100% in JPEGs captured at ISO3200, though it’s not really an issue until ISO12,800.

  • Best DSLRs you can buy right now

Verdict

The Rebel T6i / 750D can trace its heritage back to the early days of digital photography and it shows. A very polished and well-thought out camera, the Rebel T6i / 750D is a great introduction to DSLR photography for those looking to make the step up from a compact or smartphone.
Very comfortable to hold and use, the controls are within easy reach and the touchscreen is very well implemented, allowing you to navigate the menus and make setting selections with you a few taps. It’s also very handy to be able to pinch-zoom into images to check sharpness.
We particularly liked having a vari-angle screen because it makes it easy to compose images at awkward angles and encourages you to be creative. It’s also helpful to be able to set the AF point and/or trip the shutter with a tap on the screen.
The upgrade to the 24MP sensor is a very welcome improvement over the 18MP chip found in the Rebel T5i / 700D, which combined with excellent phase detection autofocus and metering systems, adds up to a very nice camera.

Competition


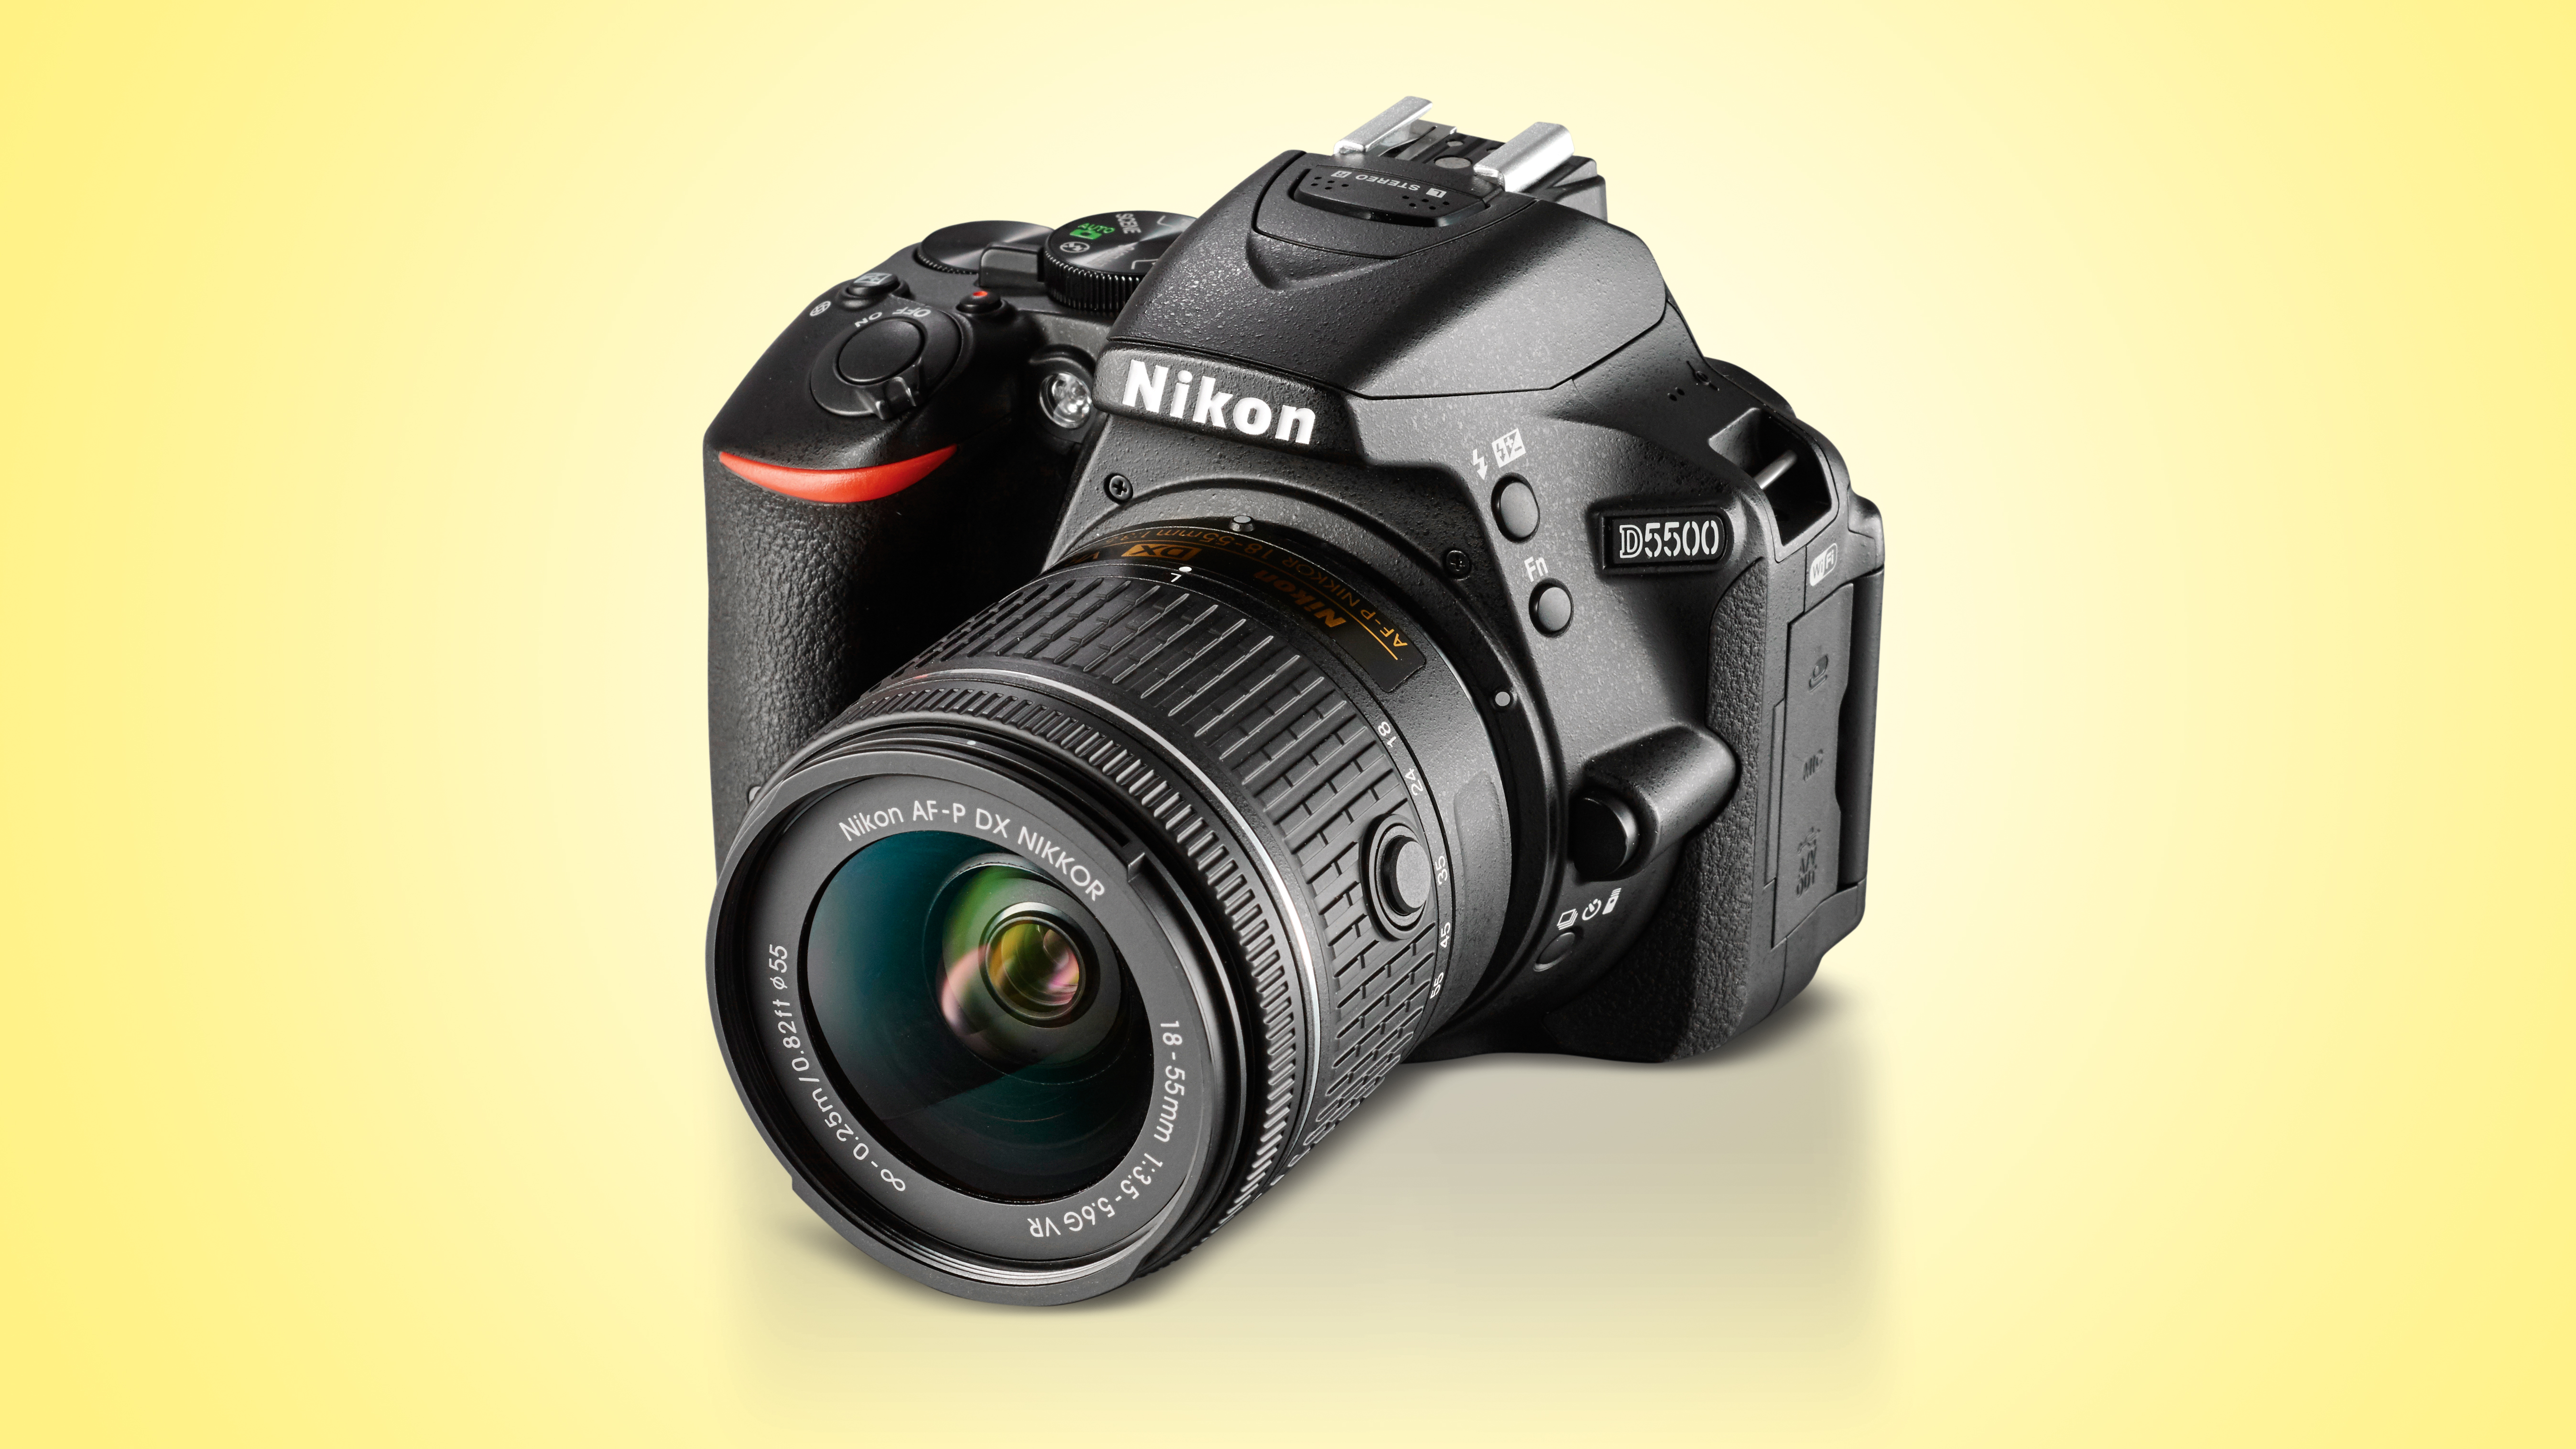
Nikon D5500

Perhaps the closest rival to the Rebel T6i / 750D, the D5500 is the first Nikon DSLR to get touchscreen control, plus there’s also built-in Wi-Fi. There isn’t much wrong with the D5500’s 24.2-megapixel, non-anti-aliased sensor, though. It may be pinched from the older D5300, but it still delivers excellent image quality, while the advanced AF system delivers the goods.
Read the full review: Nikon D5500

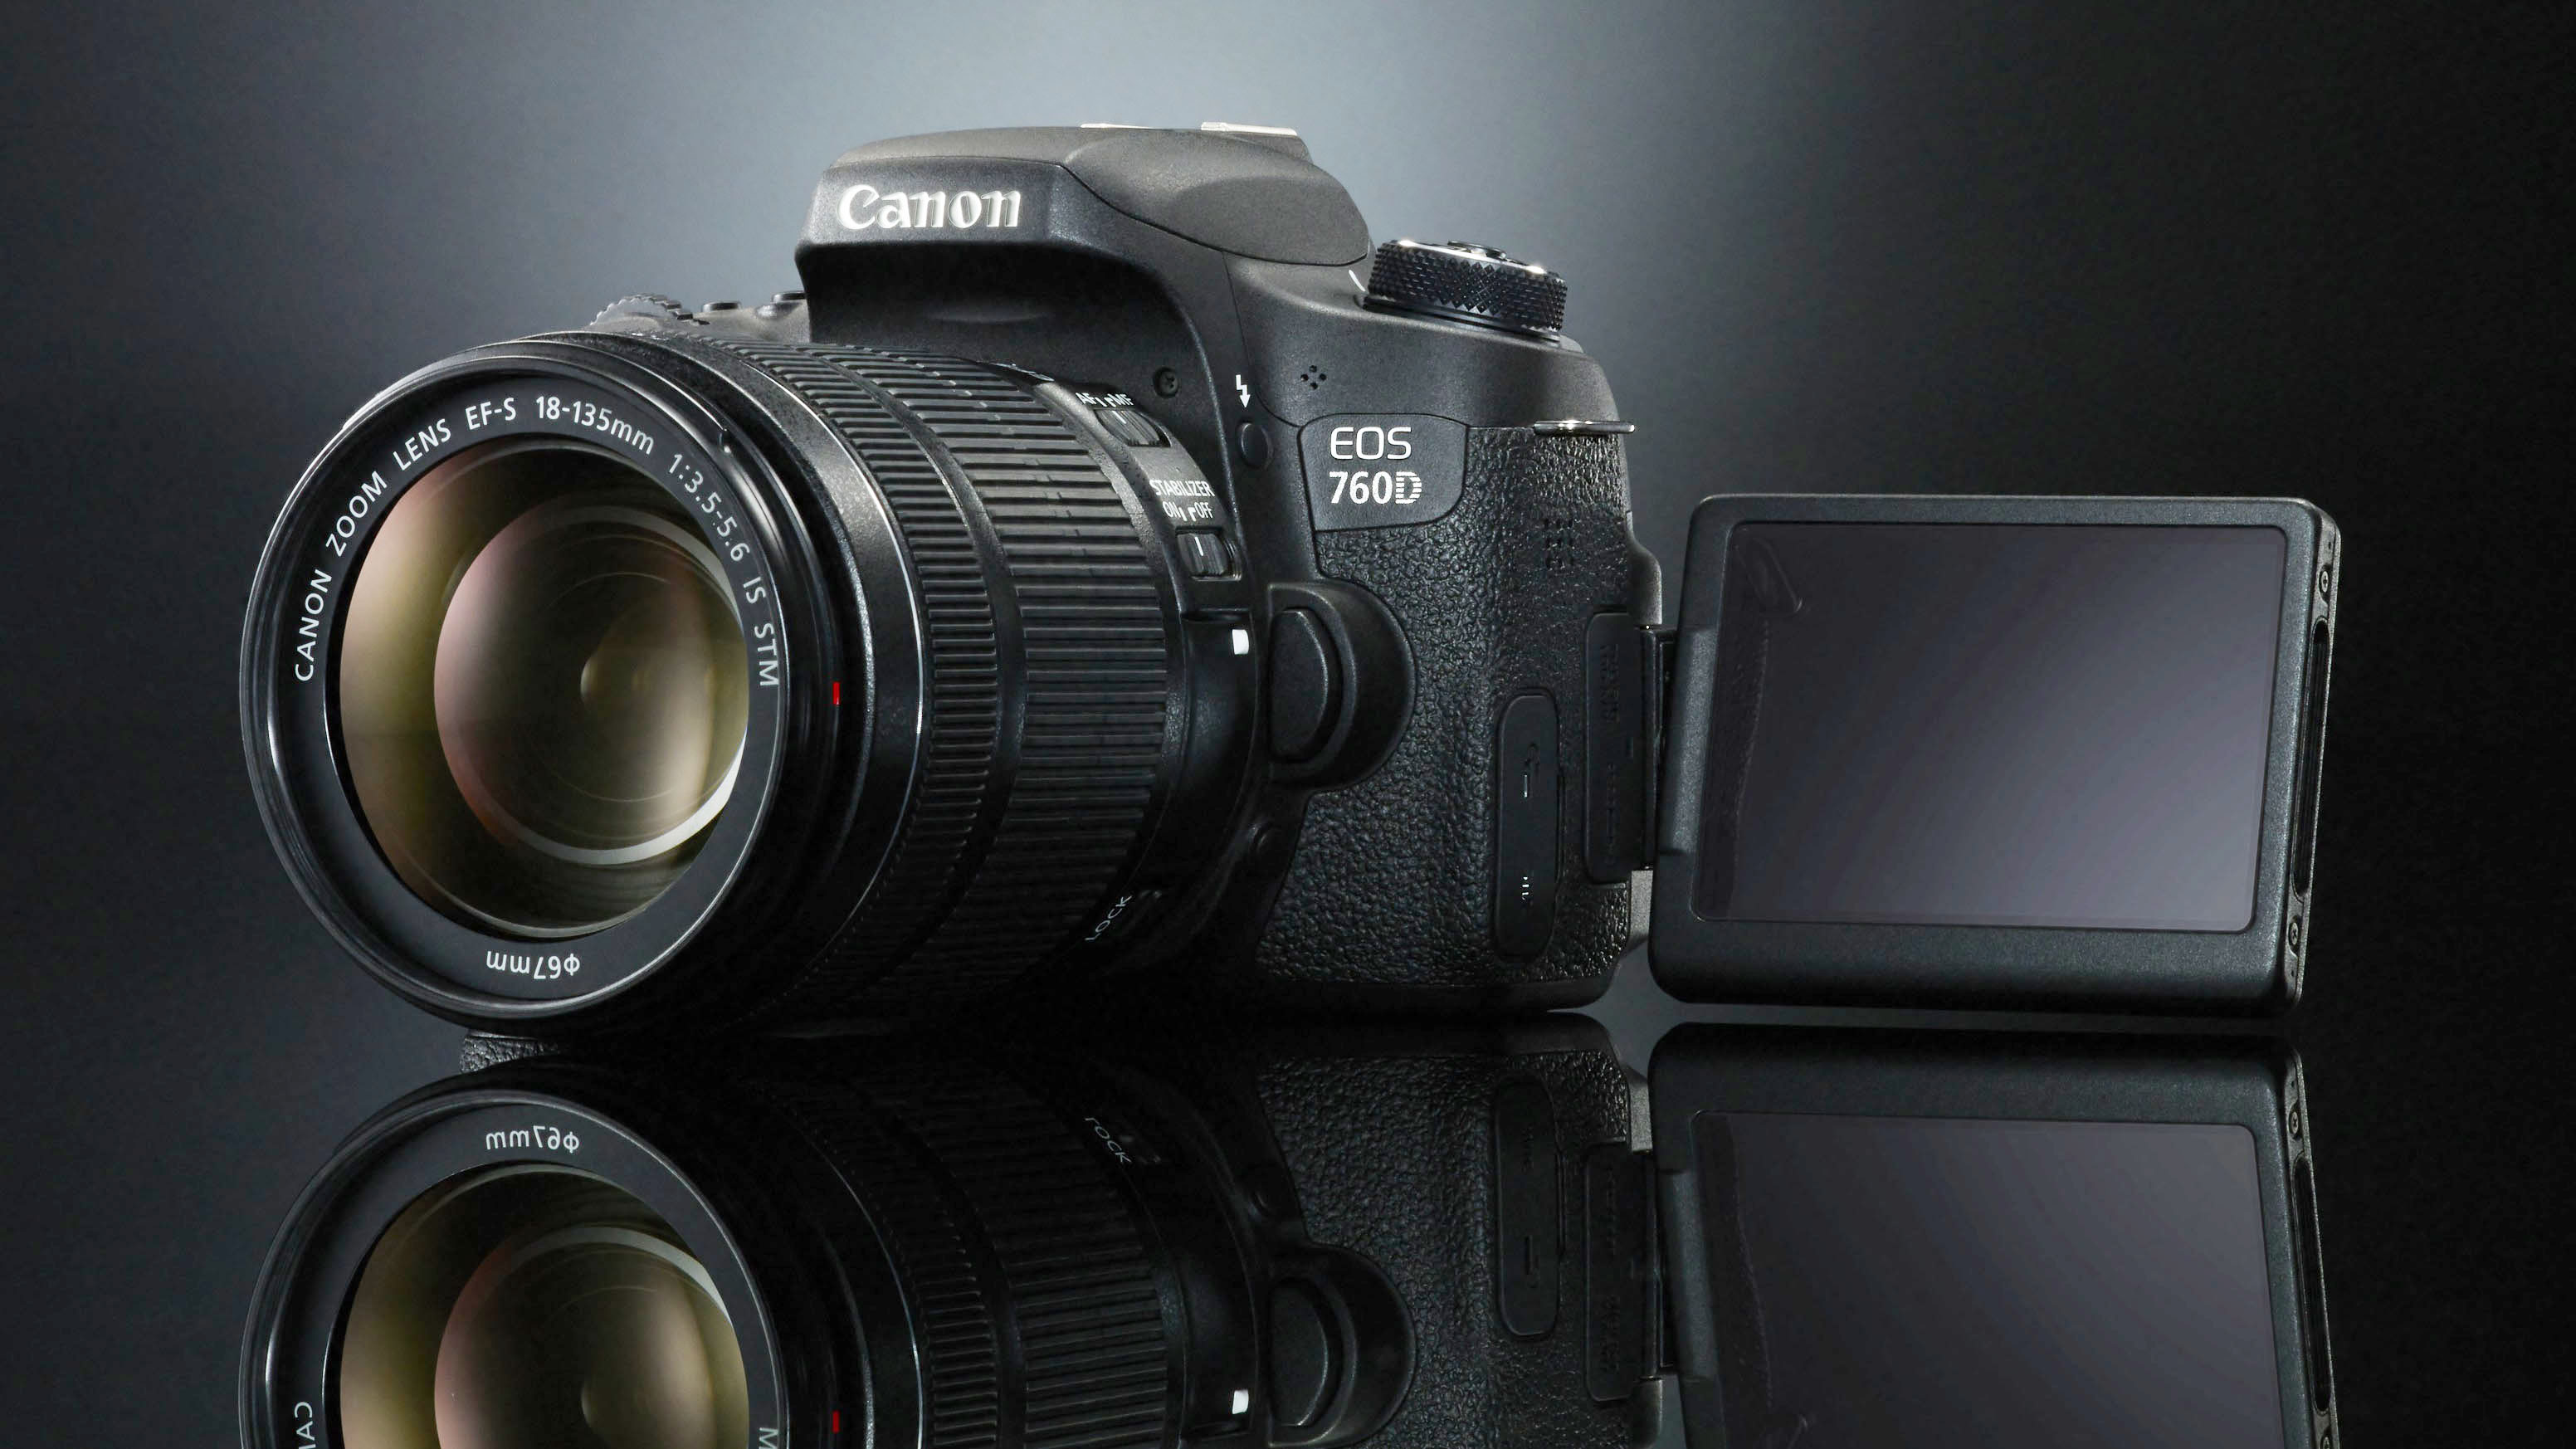
Canon EOS Rebel T6s / EOS 760D

As we’ve touched upon internally at least, the EOS Rebel T6i / 750D and T6s / 760D are very pretty much identical, but it’s the exterior controls where differences start to appear, notably the addition of a rear thumbwheel and top plate LCD display. Features which only normally appear on Canon’s higher end enthusiast models. For newer users, the T6i is the better bet.
Read the full review: Canon EOS Rebel T6s / EOS 760D

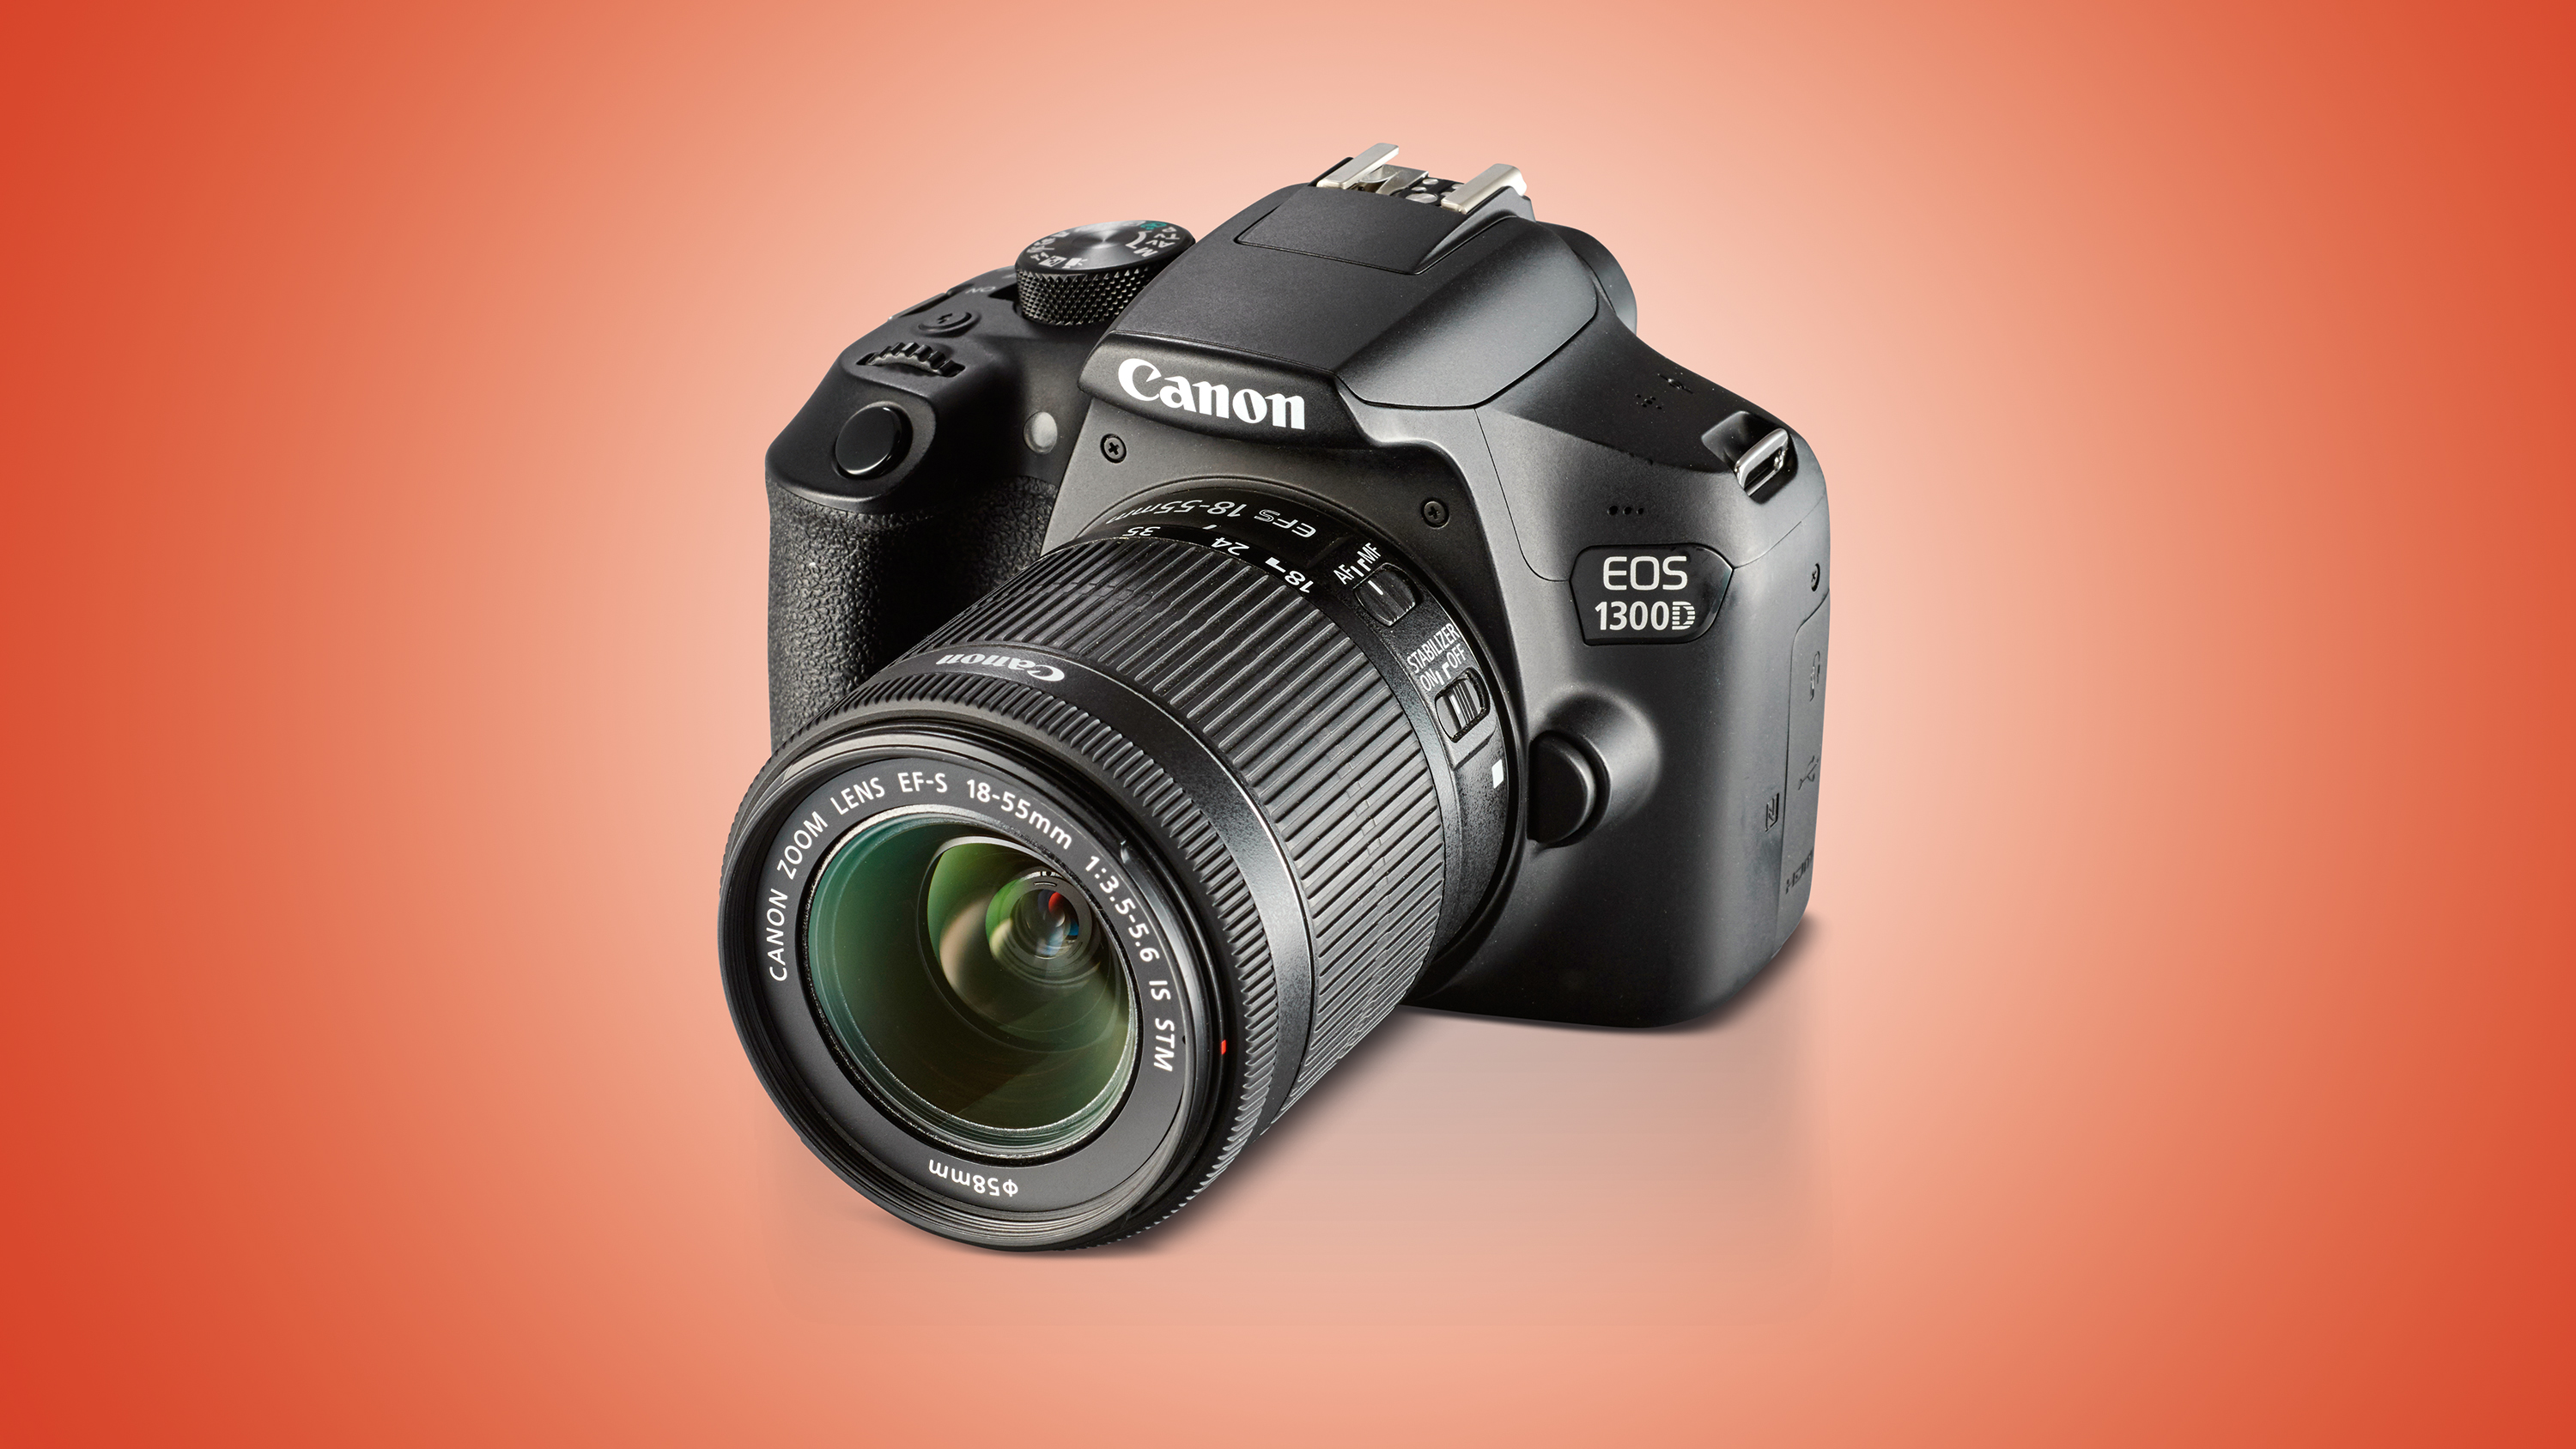
Canon EOS Rebel T6 / EOS 1300D

Fancy a Canon DSLR but don’t want to splash a load of cash? The Rebel T6 / EOS 1300D could be just the answer. This stripped down EOS doesn’t have quite the same spec as Canon’s pricier DSLRs, but it’s a solid performer for those looking for a dependable camera that will deliver pleasing images.
Read the full review: Canon EOS Rebel T6 / EOS 1300D
Buy Canon EOS Rebel T6i / EOS 750D here.
  • Mirrorless vs DSLR: 10 key differences

TechRadar: Cameras and camcorder reviews
Learn Digital Photography The Smart Way. Click Here To Get More Details About Photography Masterclass.


Visit here for more on Photography Tips.
Read more on Camera Tips.

Tuesday, November 15, 2016

How to Be Invisible as a Street Photographer

Taking photos of strangers on the street isn’t something that comes naturally to all photographers. For some, it’s the ultimate challenge. These tips from street photographer Eric Kim can help you immensely in preparing an approach for your street photography session:

Click, Pause, Move On

The most obvious giveaway that you’ve taken someone’s picture on the street is that you click the shutter and immediately drop your camera from your face. That action alone draws more attention toward you. To avoid that unwanted attention, click, hold your camera in that position for about three seconds, and then move on. Most people will feel that you’re trying to take a picture of something behind them and are simply waiting for the person to move away.
click pause move on street photography technique
Another trick is to aim your camera up or down or left or right, and then move on.

Click, Take a Step Closer, Click, Repeat

Having spotted your subject, take your first image. Move in a step closer and take another image. Repeat this process until you’re uncomfortably close. At this point your subject will probably notice you and make eye contact, which gives you another opportunity to make one more image. But don’t quit yet. Take one more step and make another image. This is just to confuse your subject into thinking that you’re taking a photo of something in the background rather than a photo of them.
street photography techniques get closer
It’s a bold approach, but it often works.

Don’t Make Eye Contact

Making eye contact can be a little disconcerting. It’s often best to avoid it in street photography. In some tght spaces, if you aim your camera at someone you’re bound to get noticed. In the image below, Kim used a flash. That was kind of asking to be noticed. But what he did not do when he was looked at, however, was to look back.
Eric Kim street photography shooting
Avoiding eye contact helps to diffuse a situation, whereas making eye contact is mostly construed as aggression. With wide angle lenses, you can make good images without having to point straight at your subject, which is an advantage.

Pretend You’re Shooting Something Behind Your Subject

Whether or not your subject takes notice of you, pretend that you’re taking a photo of something behind them. You could drop your camera, but stay fixated at anything behind the subject.
How to remain invisible when shooting street photos
Let’s say you’re trying to photograph a billboard with a subject in front of it. Take a picture and then keep looking at the billboard.

Act Like You’re Recording a Video

Often on the street, we see tourists sticking out a camera and making a video of the place they’re visiting. Even if you happen to be in the line of fire, you don’t really mind. On the contrary, you actually try to avoid blocking something they might be trying to record and move on.
street photography shooting tips act like youre filming a video
This video shooting technique can be used to make street photos as well. You could walk around with the LCD of your camera turned on in a motion that would suggest you are making video. The trick is to keep the camera up at eye level even after you’ve taken a photo.

Wear the Right Clothing

One strategy is to avoid wearing bright clothing. But, actually, wearing touristy clothing can help in keeping from being noticed.

Shoot in a Group

Shooting with friends is also recommended because that usually gives you confidence and makes you appear more touristy.
Not all of the above approaches are applicable in all situations. You as the photographer have to decide which techniques will work in which particular situation. What other tips do you have for street photography?

For Further Training on Street Photography:

This 141 page eBook covers everything about the genre even down to specific post processing techniques that can bring the best out of street scenes (& includes a bonus eBook of interviews).
Found here: The Essentials of Street Photography

Go to full article: How to Be Invisible as a Street Photographer
What are your thoughts on this article? Join the discussion on Facebook
Article from: PictureCorrect
The post How to Be Invisible as a Street Photographer appeared first on PictureCorrect.
PictureCorrect


Visit here for more on Photography Tips.

Read more on Photography .

10 Tips for Doing Your First Family Portrait Session

Photographs from a good family portrait session will be treasured for many years to come. It’s an incredibly rewarding area of photography, but it can also be a little daunting for new photographers. You need to build a rapport with the family fast, keep the children on board, and meet the parents’ expectations with gorgeous photographs.
Family portrait FAMILY GROUP
So where do you start? Which camera settings should you choose?
Here are some important pointers to make your first session go smoothly, and to help you take great family portraits.

1. Get down to their level

Get down to a child’s eye level. This will lead to far more engaging photographs, as well as helping you to interact better with the child.
Family portrait INDIV GIRL flowers

2. Use Centre point focus

Different focus settings suit different photographers, but center point focusing tends to be the most useful for family portraits. As you take more and more family portraits, you’ll get a feeling for whether this suits you, But it’s a great starting point for your first session.

3. Choose an appropriate aperture

Your aperture settings will be influenced by the style you prefer. As a starting point, many lifestyle family photographers choose to shoot wide open for individual portraits (f/2.2 works really well), and around f/5.6 for group shots to ensure everyone is in focus.
Family portrait DAD AND SON opt
This was taken at f/5.6.
Family portrait INDIV GIRL park
This was shot at f/2.2.

4. Starting shutter speed

You will probably find yourself needing a slightly faster shutter speed for family portraits than you’d need for many other kinds of portraits. Children move fast, and sometimes unpredictably! A good setting to start with is 1/250th, which will give you flexibility for children rolling over or waving. If you have a situation where someone is moving very fast, such as a child jumping or racing off into the distance, choose a much faster shutter speed like 1/800th.
Family portrait BABY opt
This was taken at 1/800th]

5. Use Auto ISO

While you’re familiarizing yourself with the apertures and shutter speeds that work for you on family portrait sessions, consider setting your ISO to auto. The results are usually satisfactory, and it’s one less thing to think about on the day. As you gain experience and confidence, you can start to select the ISO as you go along.

6. Metering mode

Certain metering options seem to suit some photographers better than others. As you take more family portraits, you’ll soon see which works best for you. To start with, try using spot metering for individual portraits, and evaluative metering for a group shot.
Family portrait MUM AND BABY
This was taken with the evaluative metering mode.

7. Shoot in RAW format

The editing options open significantly in Lightroom, and you’ll have a far greater range of colors and detail recorded if you shoot in the RAW format.

8. Auto White Balance

Set your white balance to auto if you’re doing a location shoot. You’ll be working in a variety of locations with different lighting, and you won’t have much time for setting white balance as you go. Correcting white balance is an easy edit in Lightroom, so you’d be better off spending the time engaging with the family you’re photographing.

9. Choose your lenses

Consider which lenses to take with you to the family portrait session. If your budget doesn’t stretch to having several lenses, consider renting some. It can be surprisingly economical, and it gives you the opportunity to try out different focal lengths to see which suit you best.

Family portrait BABY
This was taken with an 85mm lens.
Using several lenses throughout a family portrait session will give you lots of variety in the images, as well as meaning you can cope with most locations. A zoom lens like a 24-70mm will give you lots of flexibility, or a popular prime lens for family portraits is an 85mm lens, which is very flattering for portraits. A wide lens like a 35mm will help you to set the scene.
As you gain experience photographing families, you’ll develop a sense for which lenses suit you best. That’s a good time to invest in the best quality lenses you can afford.
Family portrait SIBLINGS INSIDE
This was taken with a 35mm lens.

10. Set limits

Limit yourself to taking five versions of each scene. This will train your eye to look for the details and expressions you want to capture and to make sure you ultimately combine them all in one photograph.

Conclusion

So there you have it – family portraits in a nutshell. Practice makes perfect, though, so be prepared to work hard and hone your camera skills. Above all, a friendly and professional attitude combined with careful preparation for each family portrait shoot should make for happy clients and repeat business.
Please share your family portrait tips and photos in the comments section below.
The post 10 Tips for Doing Your First Family Portrait Session by Louise Downham appeared first on Digital Photography School.

Digital Photography School


The Many Sad Fates of Mr. Toledano, A Photographer’s Short Film Evoking Reflection

The Many Sad Fates of Mr. Toledano, A Photographer's Short Film Evoking Reflection


The New York Times published a video about photographer Philip Toledano’s fear of growing old. Philip decided to grow old as many times as possible. Joshua Seftel produced the short film by following Phillip’s process of “seeing” himself ageing, and even dying.

[ Read More ]

Fstoppers


Read more on Camera Tips.