When it comes to photography, there can sometimes be this strange
assumption that we are (or should be) experts in all types of
photography. Photography is essentially painting with light, so there’s
no reason why we shouldn’t be able to do newborn photography,
astrophotography, weddings, family portraits, landscape photography, and
food photography, right? Light is light, whether it’s on a newborn or a
spider, right? The simple answer is yes, and no. But, there’s good
news, you don’t have to master it all. Let’s talk about how to find your
photography niche.
Different strokes for different folks
Much like a chef benefits from learning about cooking as a whole,
photographers benefit from learning the fundamentals that apply across
all types of photography: aperture, shutter speed, ISO, finding light,
capturing movement and emotion, and focus. However, much like chefs
often break off into different specialties, photographers also tend to
break off into different niches. Some photographers find that they love
newborns, but hate weddings (raises hand). Others love landscapes, but
don’t enjoy photographing humans ever. Some photographers love to work
in a studio, while others prefer to work only outdoors with natural
light. Finally, some photographers prefer to shoot in digital, while
others prefer film.
Do what you enjoy
Whichever type of photography sparks your passion and fills you with
joy? Do that. Whether that’s black and white portraits, lifestyle
newborn images, macro photography of spiders, or architecture – do what
you love.
Then when it comes to post-processing, if there’s a method that
transforms your image the way that you’ve always pictured it in your
head, do that. If it’s a hipster vintage wash, do it. If it’s a quick
curves adjustment and nothing else, do that too. Heck, if it’s black and
white with selective coloring that makes you happy when it comes to
post-processing, by all means, do that.
Do it even if it isn’t cool, and no one else is doing it. Whether you
consider photography to be a craft or an art, it is most certainly an
opportunity to have a creative voice. And as corny as it may sound, your
authentic voice, whether expressed in cooking or in photography, is
important.
It’s okay not to do it all
Just in case no one has ever told you before, it’s okay not to do it
all. If you specialize in food photography and someone calls you up and
asks if you’ll consider accepting a wedding booking, it’s okay to say,
‘Thank you so much for thinking of me, but no.” It’s okay to love
photographing families and have absolutely zero interest in doing macro
photography of insects.
Whether you’re an amateur or a professional, it’s really hard
sometimes to admit that a particular area of photography isn’t your
preference or your strong suit. No one wants to feel incompetent. On the
other hand, there’s no shame in telling someone that you are unable to
accept a newborn booking because it isn’t your specialty and
consequently you aren’t familiar enough with newborn posing safety to
feel comfortable with accepting that job.
Say it with me – I do not have to master it all.
Finding your niche
If you’re reading this article and thinking, “Okay great, so how do I
find my niche?’ The answer is simply to try everything you can. Trying
different types of photography is very different than feeling compelled
to master every type of photography. Giving different genres of
photography a try in low stakes (often unpaid) environments allows you
to experiment, and to discover what it is that you really love.
It also requires possibly humbling yourself a bit and allowing
yourself to be taught by someone else. Even if you’re the best wedding
photographer in your state or area, you may not know the first thing
about being a wildlife photographer. So if you really want to learn, you
have to be ready and willing to be taught.
Benefits of trying things
My personal niche in photography is newborns and families. It’s what
really makes me excited, and what I really enjoy most. However, every
time that I’ve stepped outside that comfort zone, with the goal of
learning about another genre of photography, it’s been worth it.
I’ve not been a master of every genre that I’ve tried, nor have I
enjoyed them all, but I’ve learned something valuable in every case.
When I buckled down and focused on landscape photography, it gave me an
opportunity to review techniques of composition, metering, and shooting
with a relatively small aperture in ways that I don’t typically use on a
daily basis when it comes to people photography.
When I made an attempt to learn about astrophotography (a genre of
photography that had always greatly intimidated me) I had the
opportunity to learn more about long exposures, and the technique of
shooting with a wide open aperture in a different application than
portraits. Are my astrophotography images perfect? Absolutely not! I’m
not an astrophotography expert, and probably never will be. I have two
kids, so staying up all night to photograph the stars is a special kind
of sleep deprivation torture that I have no interest in repeating with
any frequency.
Yet, there’s also a certain importance in taking something that you
have no idea how to do and learning the steps necessary to make it
happen. When all the pieces finally fall into place, and you have an
image that sort of resembles the gorgeous astrophotography images that
you see in magazines, it’s a pretty amazing feeling. Like creating
something out of thin air.
Conclusion
The more types of photography you try, the more you’ll find yourself
saying both “Yes!” and “Nope, I don’t need to do that ever again.” You
may also find that there are several types of photography that you
enjoy, which is fine. When I suggest finding your niche, I’m not
suggesting that you choose one photography genre and one post-processing
style and stick to those for the rest of your life and career.
Your niche in the photography world should grow, shrink, and evolve
over time. Give yourself the freedom to identify the types of
photography that you really enjoy, and forget the rest of it. You do not
have to master it all.
What’s your photography niche? What types of photography do you love?
Are there any types of photography that you hate? Chime in below!
The post How to Find Your Photography Niche: You Don’t Have To Master
It All by Meredith Clark appeared first on Digital Photography School.
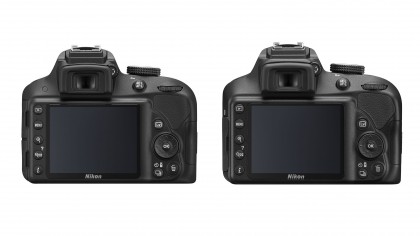
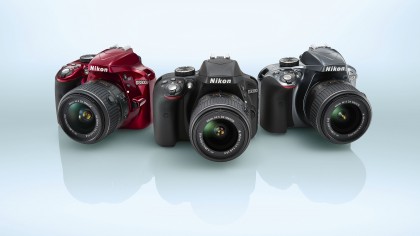
• UPDATED: Key differences between the D3300 and D3400
The Nikon D3300 may have been replaced by the D3400, but that’s no reason to discount this entry-level DSLR.
Despite the growing popularity of mirrorless cameras, the entry-level
DSLR market is still incredibly popular for those looking to take the
next step in their photography journey.
Nikon’s range of D3xxx models has proved incredibly popular over the
years for new users looking to expand their creativity thanks to their
blend of easy handling and solid performance, backed-up by an impressive
range of lenses and accessories.
Features
APS-C CMOS sensor, 24.2MP
3.0-inch screen, 921,000 dots
1080p video capture
The D3300 features a high resolution 24.2MP APS-C sensor, with Nikon
deciding to omit the low-pass filter this time round. What does this
mean? It should mean the even more detail is captured, resulting in even
sharper images compared to previous models like the D3200.
Non-low-pass filters explained
In addition to this, the native sensitivity range runs from ISO100 to
12,800, and there’s an expansion setting that takes it to the
equivalent of ISO25,600, providing plenty of flexibility for a range of
lighting situations.
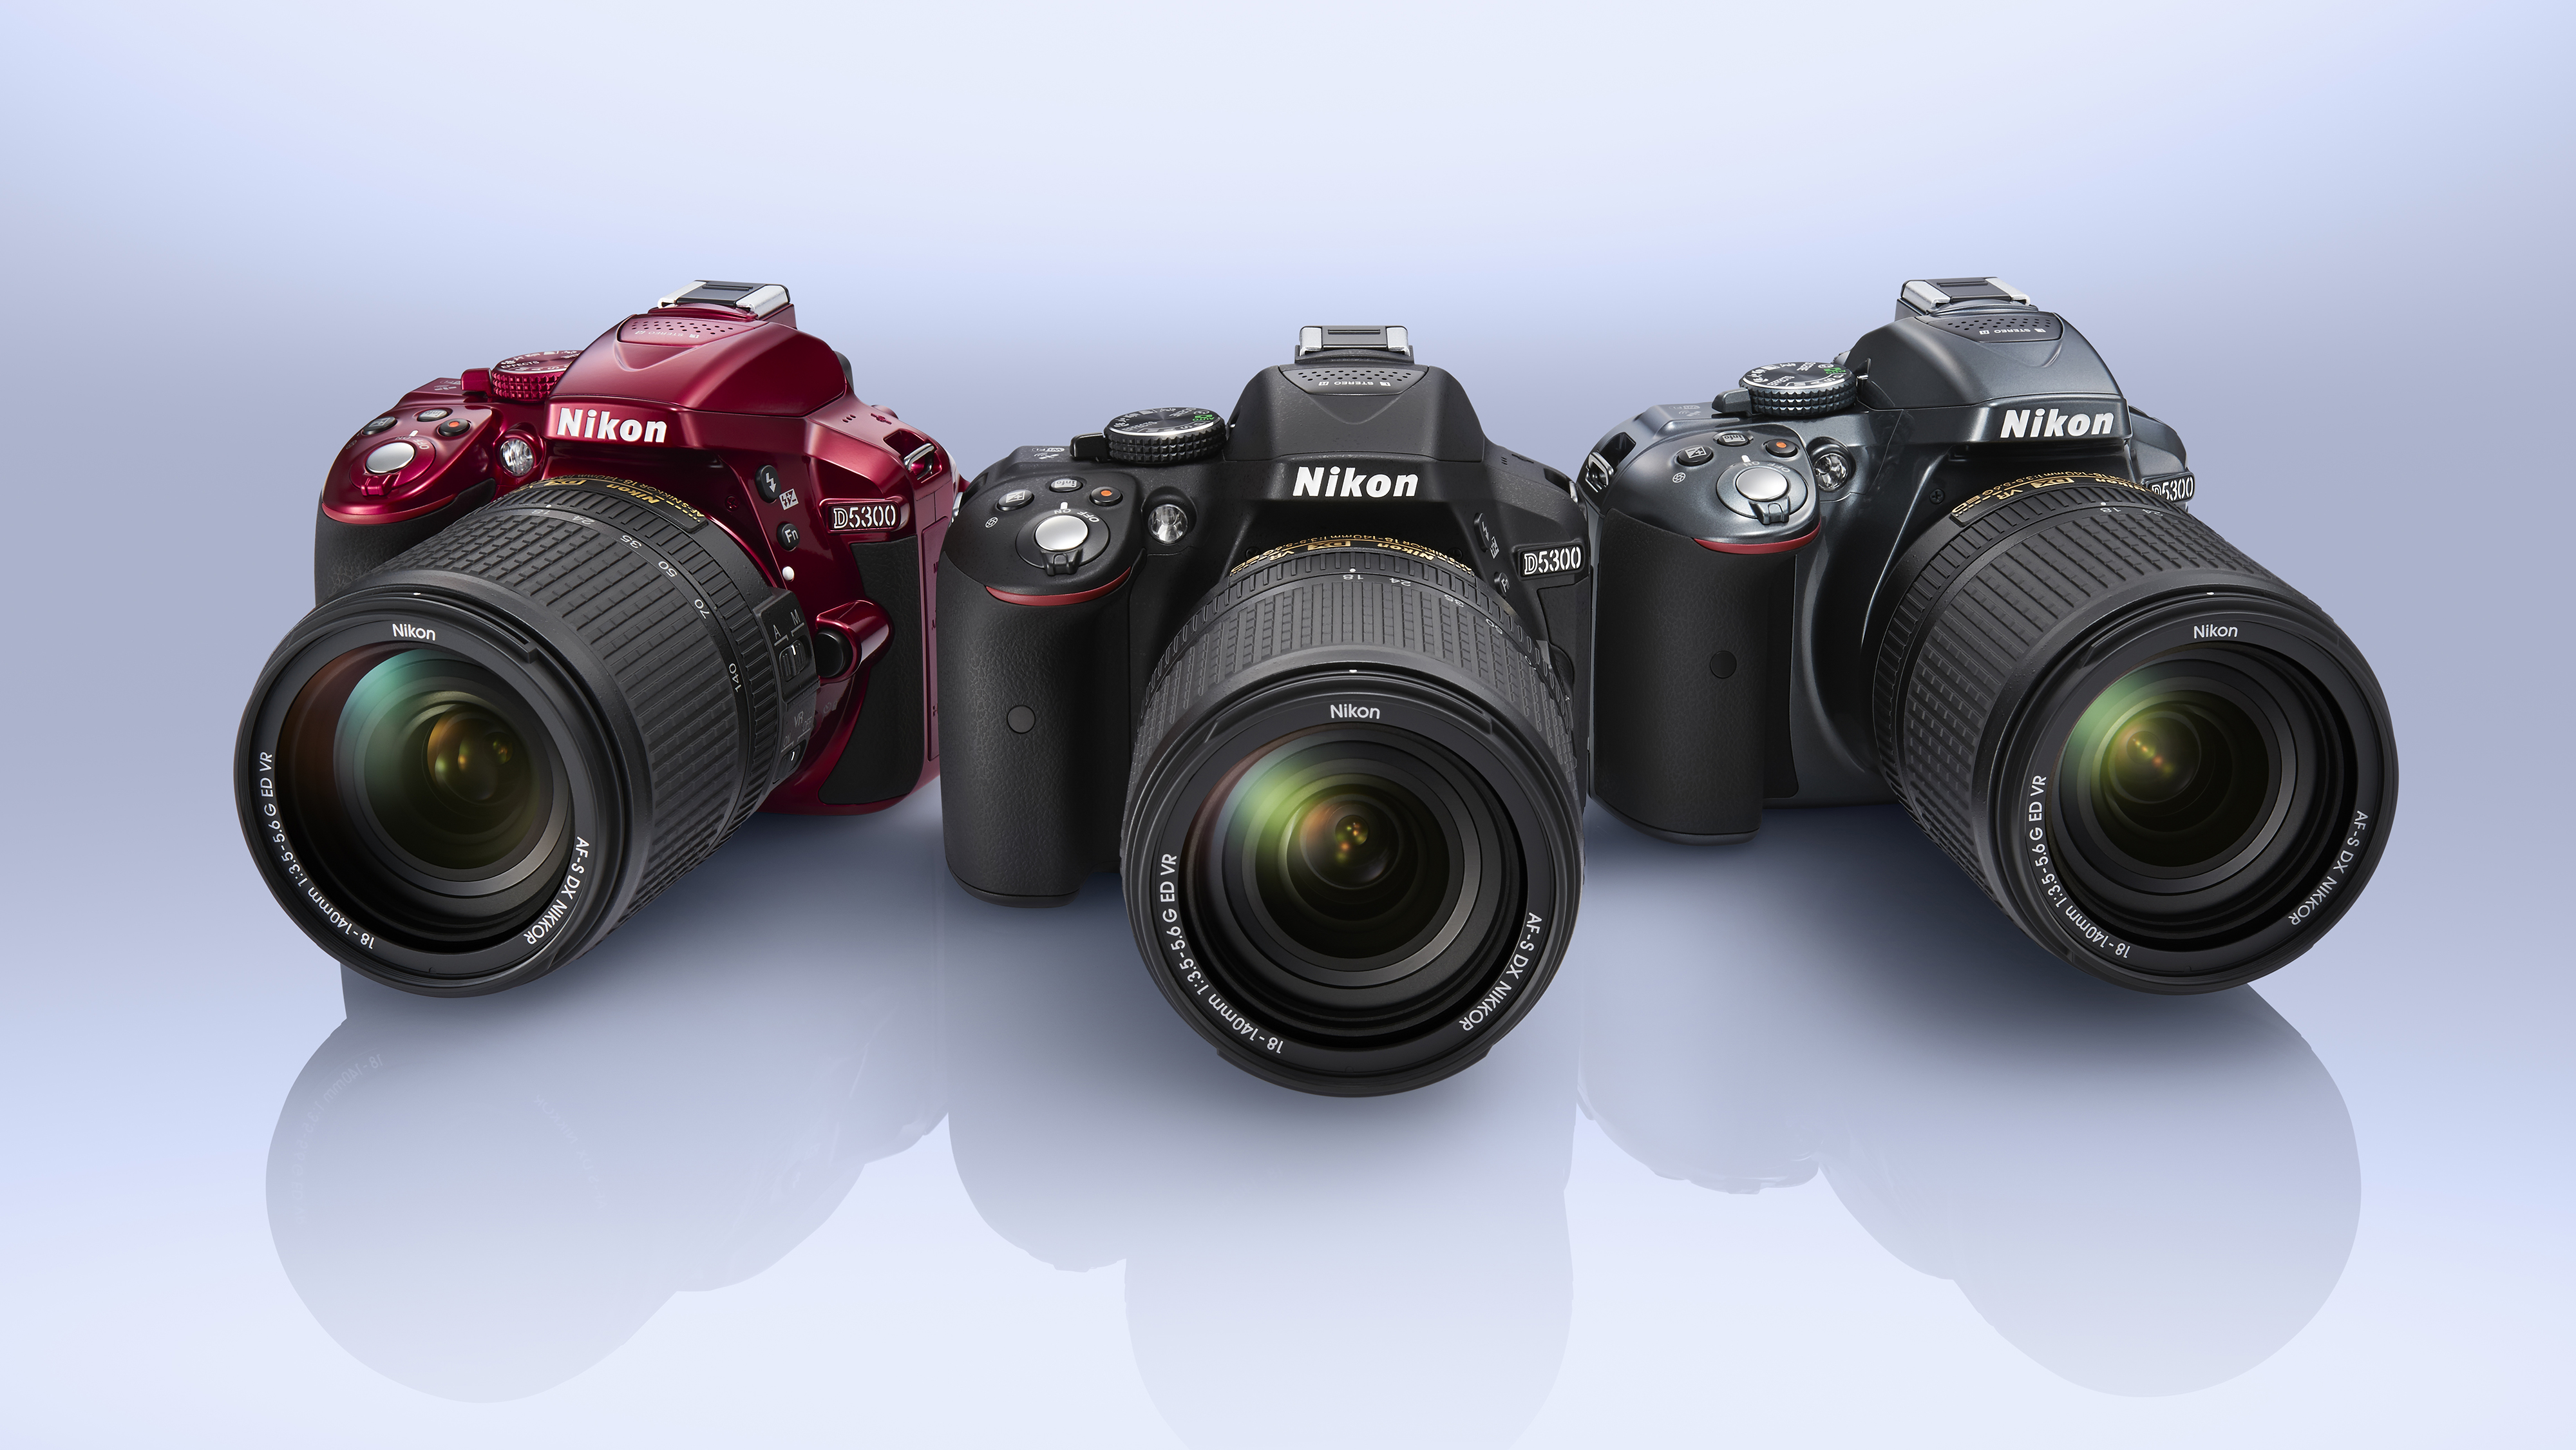
Like the Nikon D5300,
the D3300 sports Nikon’s now second-generation processing engine, the
EXPEED 4, allowing the D3300 to shoot continuously at a maximum rate of
5fps, while it can sustain this burst rate for up to 100 fine quality
JPEGs. More than enough for most people’s needs.
There’s an extra stop of sensitivity for low-light shoting
The EXPEED 4 processing engine is also responsible for allowing the D3300
to record Full HD movie footage at framerates up to 50p/60p and with
continuous autofocus. Helpfully, there’s a microphone port as well as a
built-in stereo mic for better sound recording during movie shooting.
There are a host of Special Effects on tap, allowing you to jazz-up
JPEG files and videos with a collection of styles. Nikon has boosted the
list of effects to 13 for the D3300, and it now includes Pop, which
increases colour saturation, Toy Camera, which creates a retro effect,
and Easy Panorama. These effects can be previewed in real time on the
LCD screen, so you can see exactly what you’ll get once you trigger the
shutter.
The D3300 has a dedicated 420-pixel RGB sensor to gather exposure,
white balance and focus information to inform the Automatic Scene
Recognition system. Meanwhile, there’s an 11-point AF system that we’ve
seen on a host of previous models, which has a central cross-type AF
point for extra sensitivity.
It’s a little unremarkable, especially when compared to some mirrorless rivals, but its a tried and test system.
Finally, although the D3300 uses the same battery as the D3200, we
are told that the new processing engine allows the camera to be more
efficient in its power consumption, and the battery is claimed to last
for around 700 shots – we’ll be keen to put that claim to the test
during our review.
Which camera should I buy?
Build and handling
Polycarbonate construction
Small and lightweight body
460g
The D3300 is the second DSLR from Nikon to use a monocoque
construction – this means that the chassis is made from a single piece
of material, making it both lighter and stronger compared to the D3200.
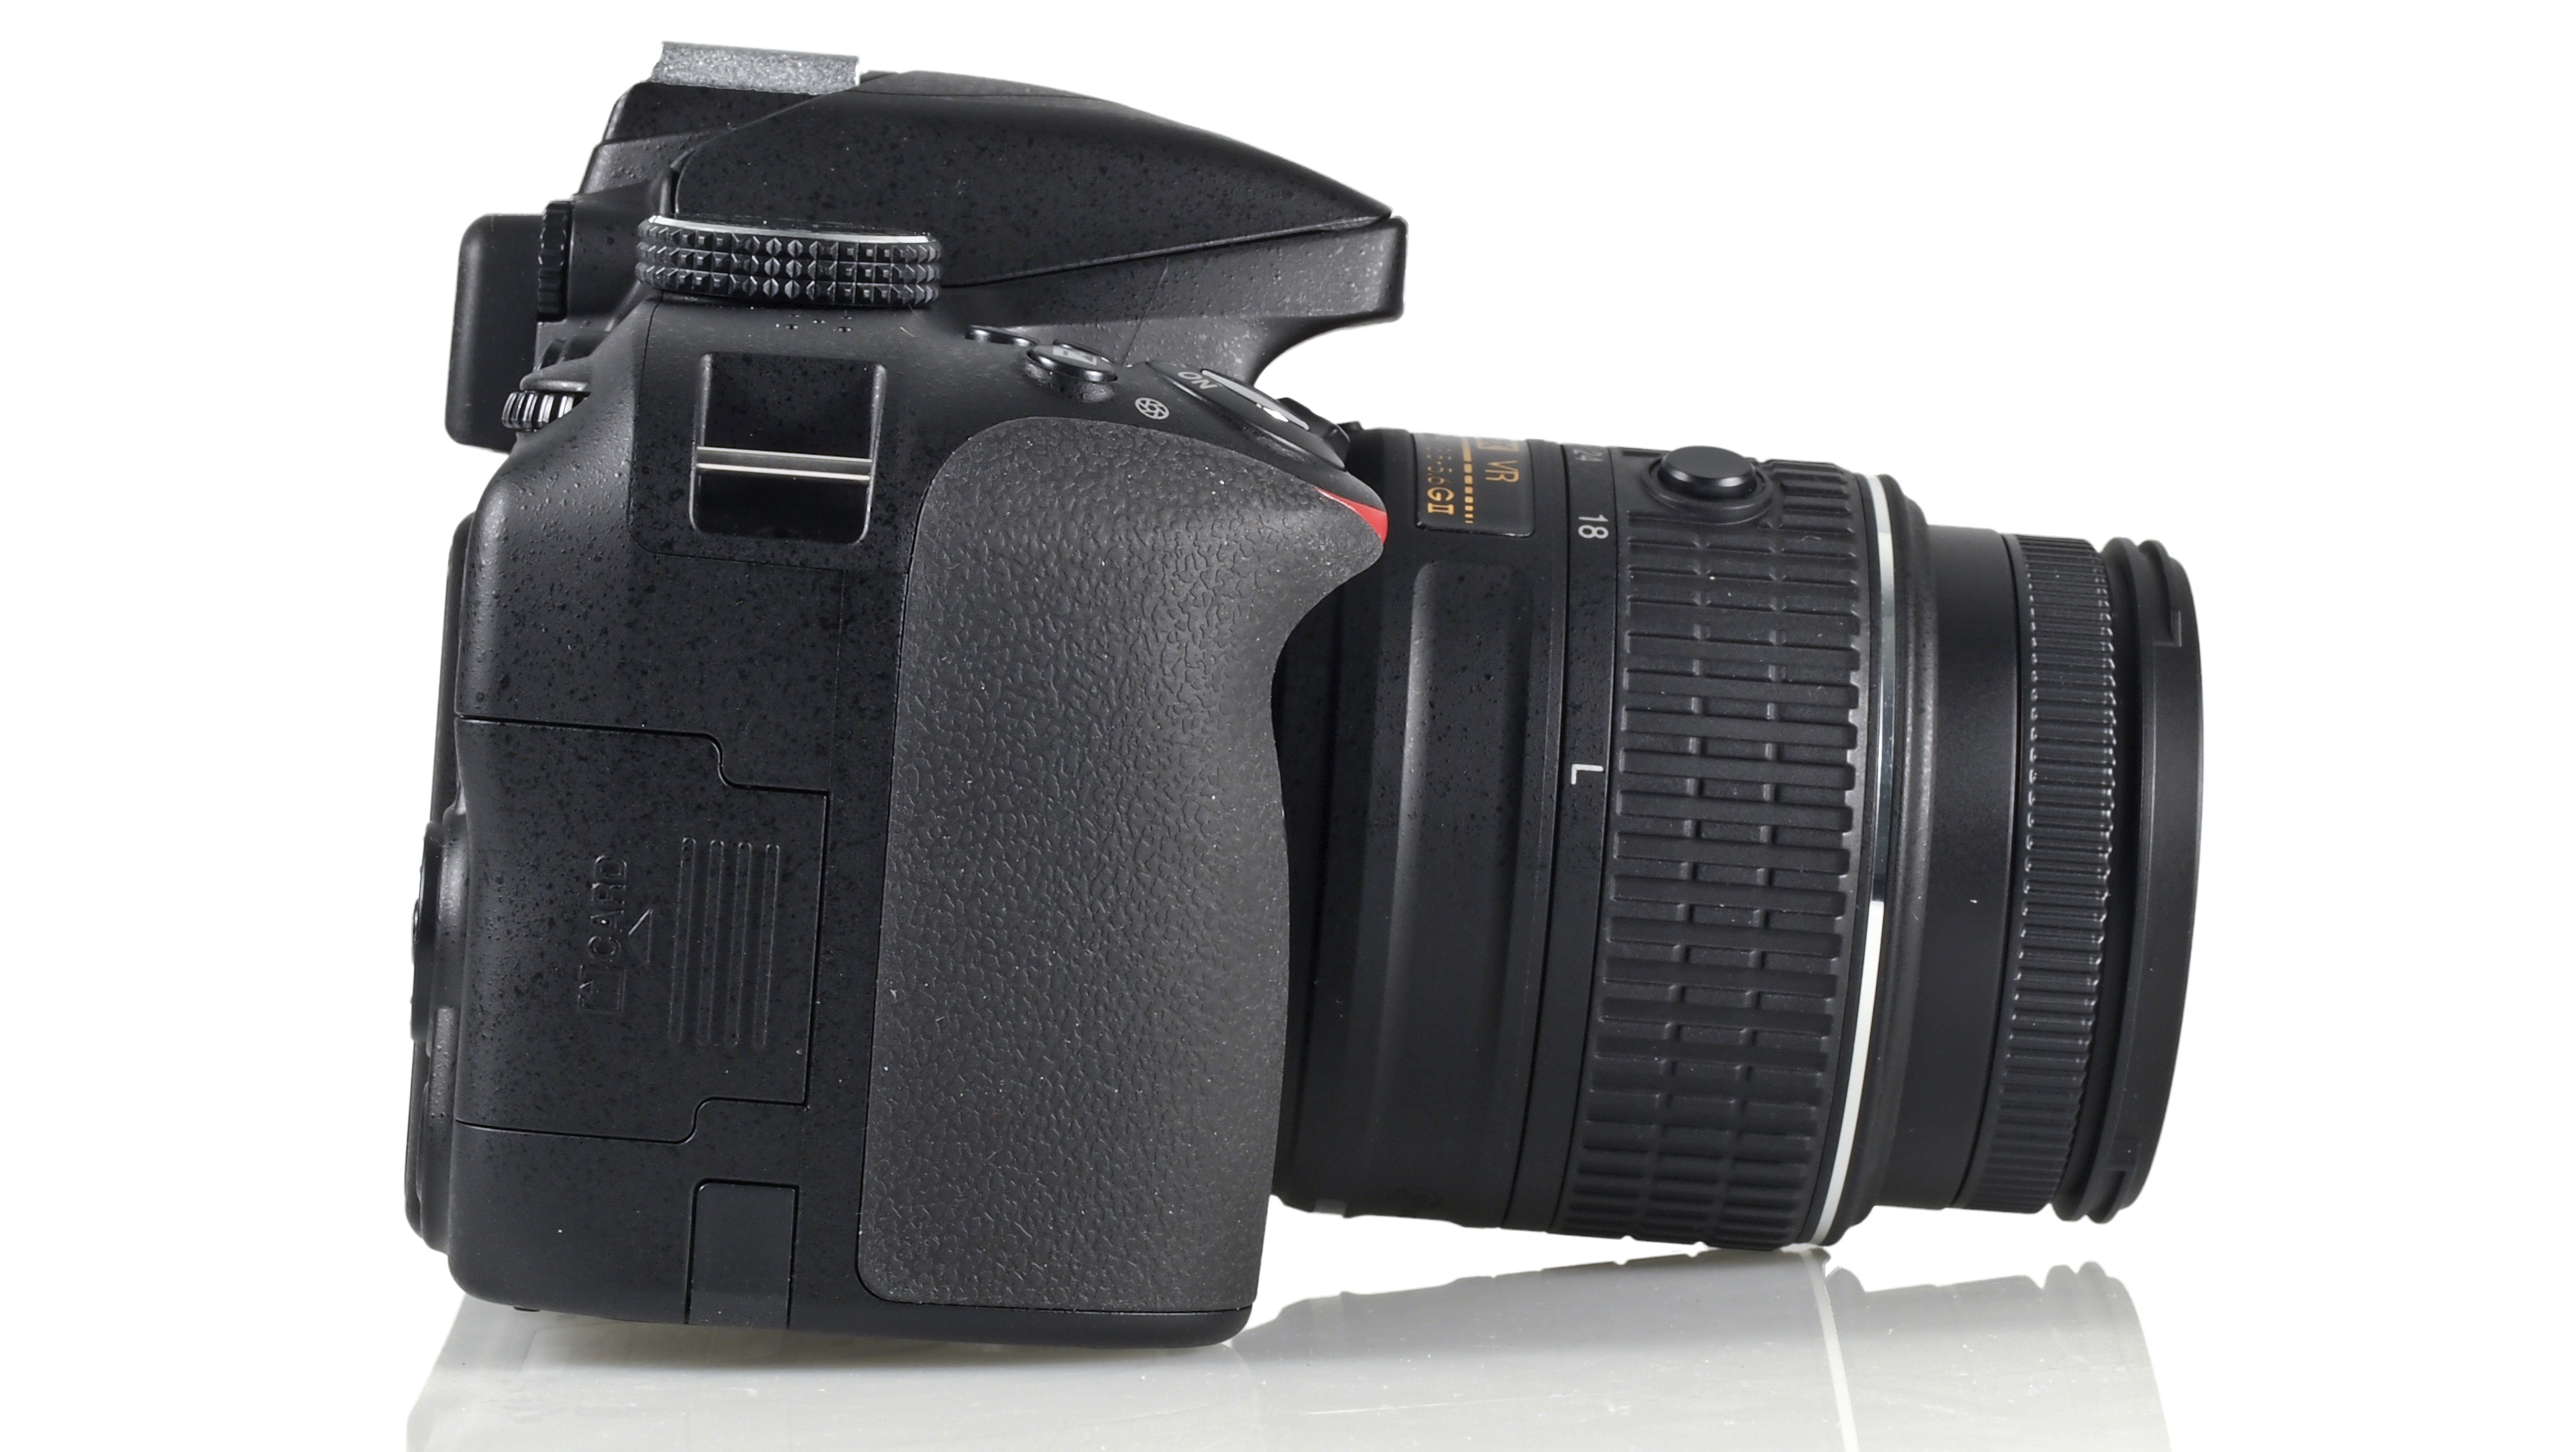
Nikon has also reduced slightly the size of the camera when compared
to the D3200, but placing the two side by side doesn’t reveal too
dramatic a difference. The grip is still deep and comfortable to hold,
with the textured surface making it feel particularly secure in the
hand.
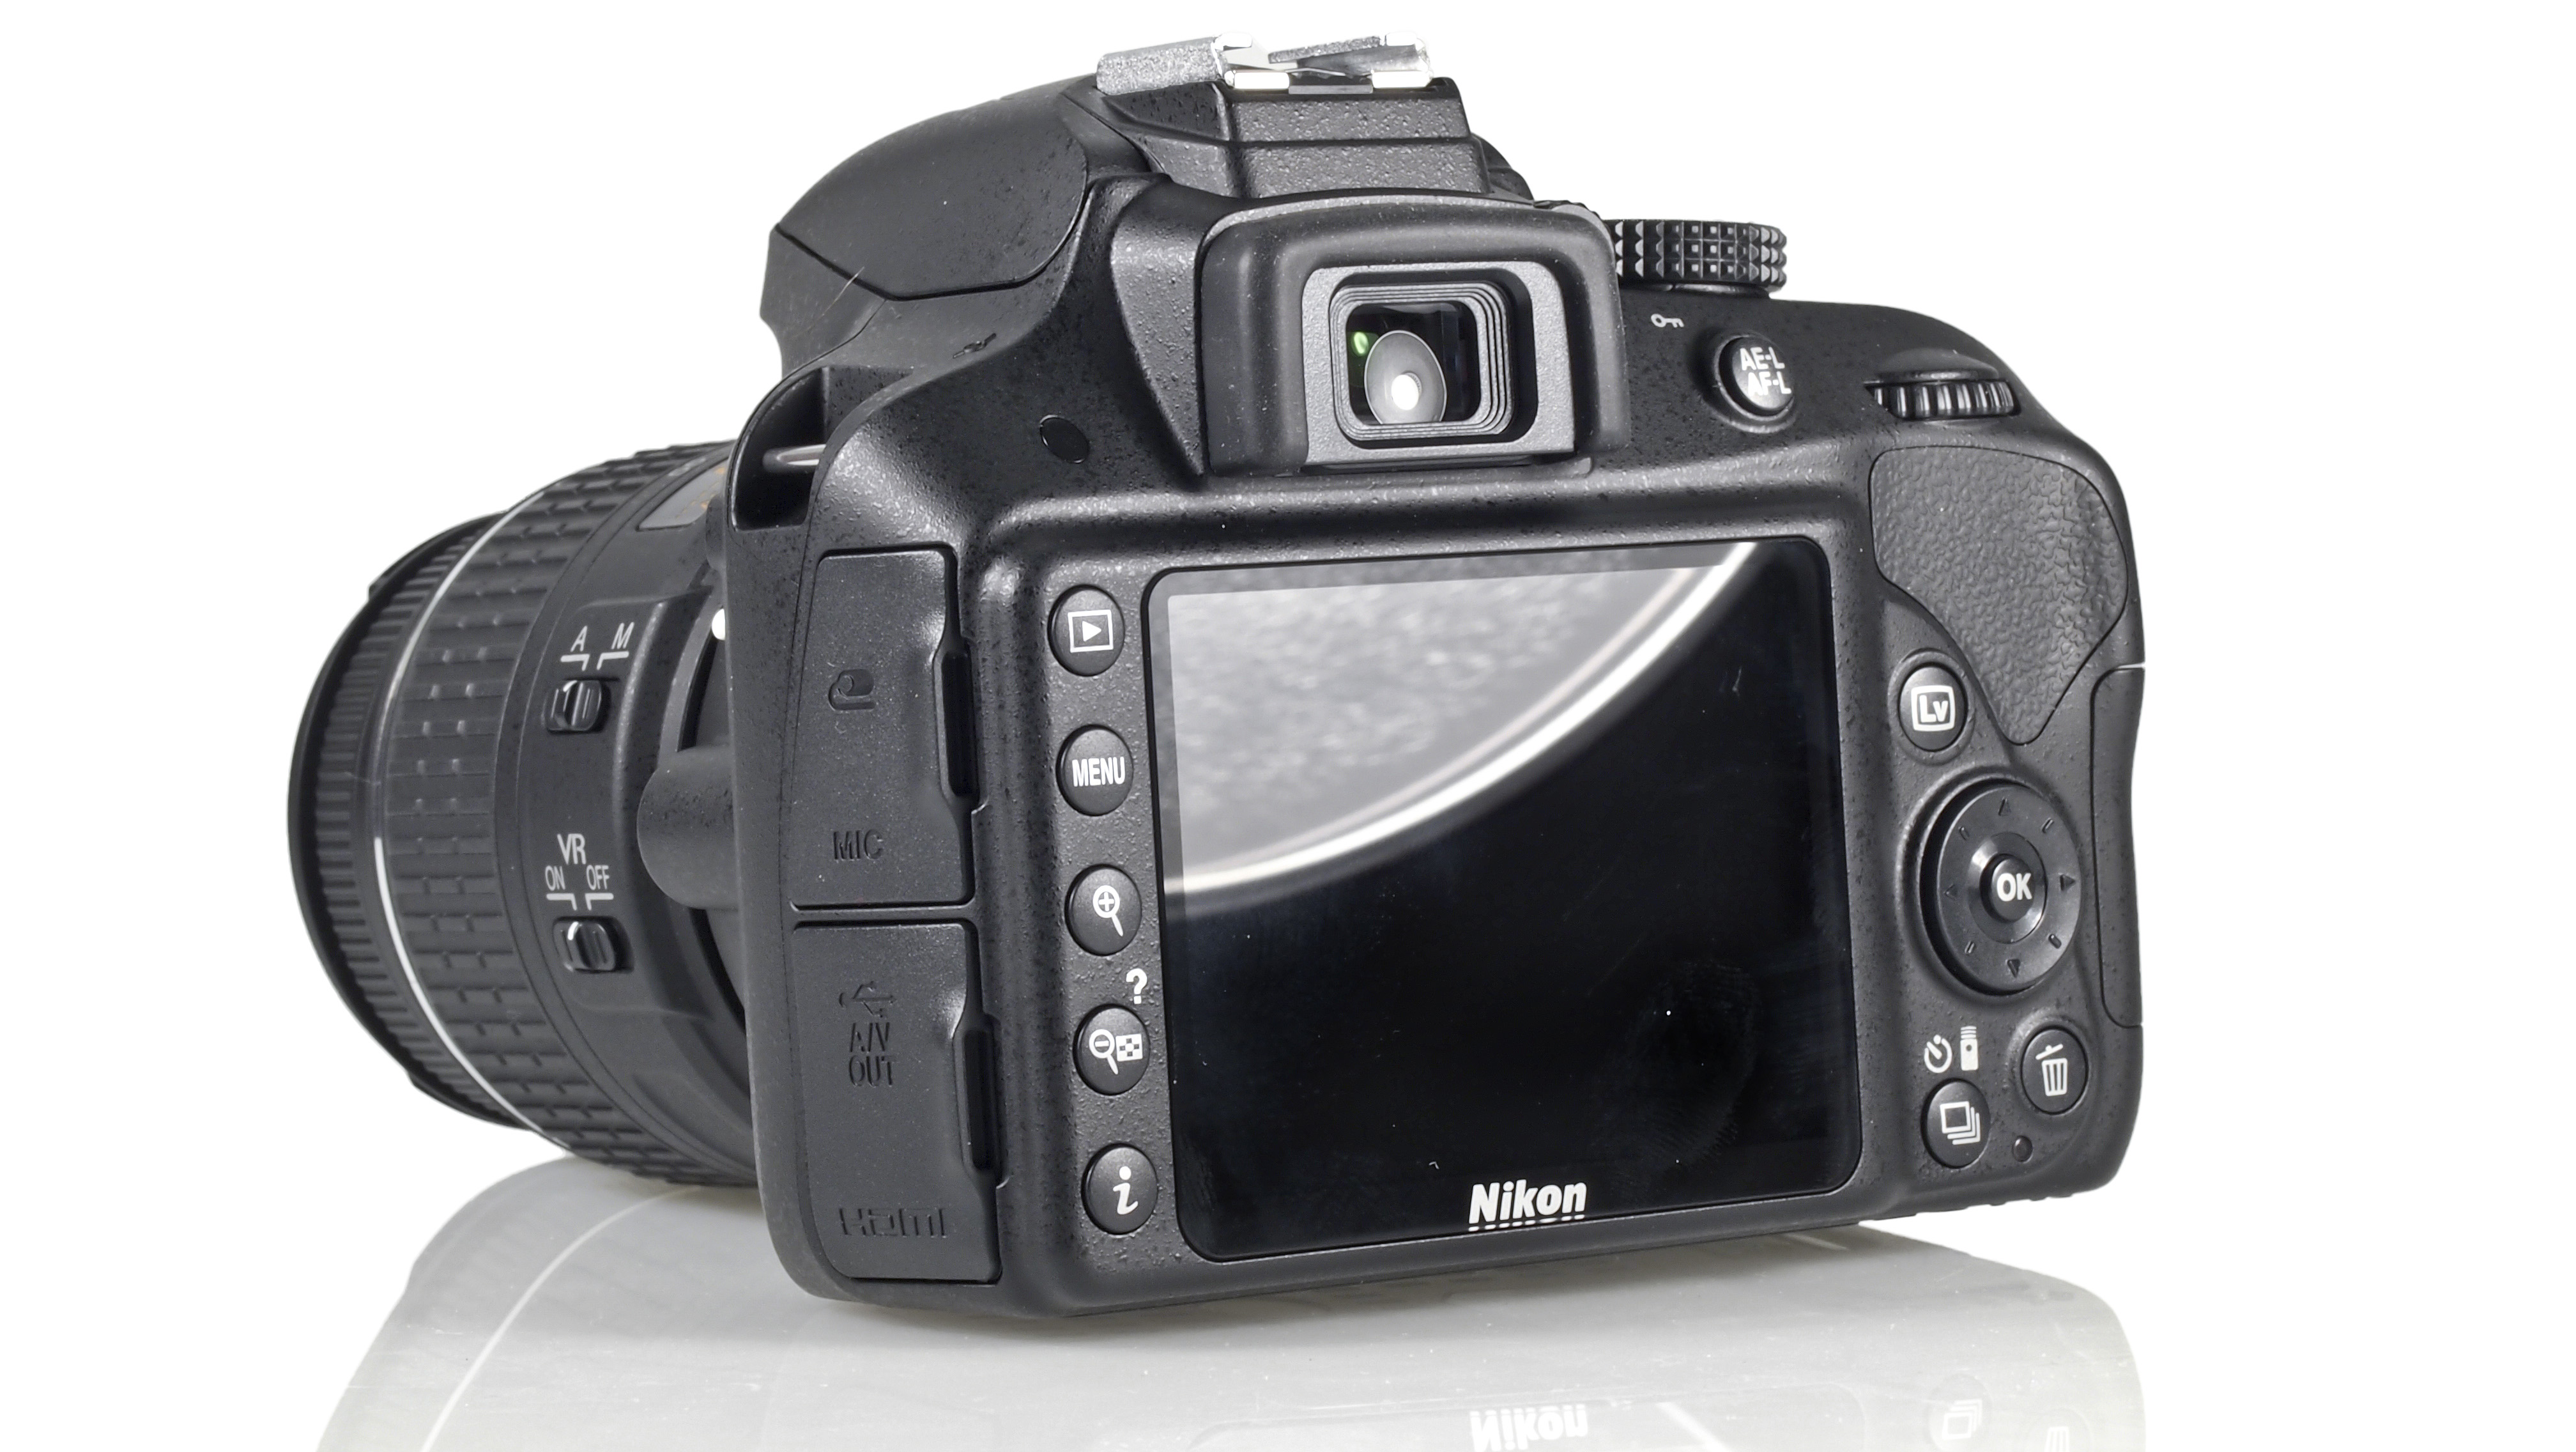
The hand-grip is slightly smaller than the D3200’s
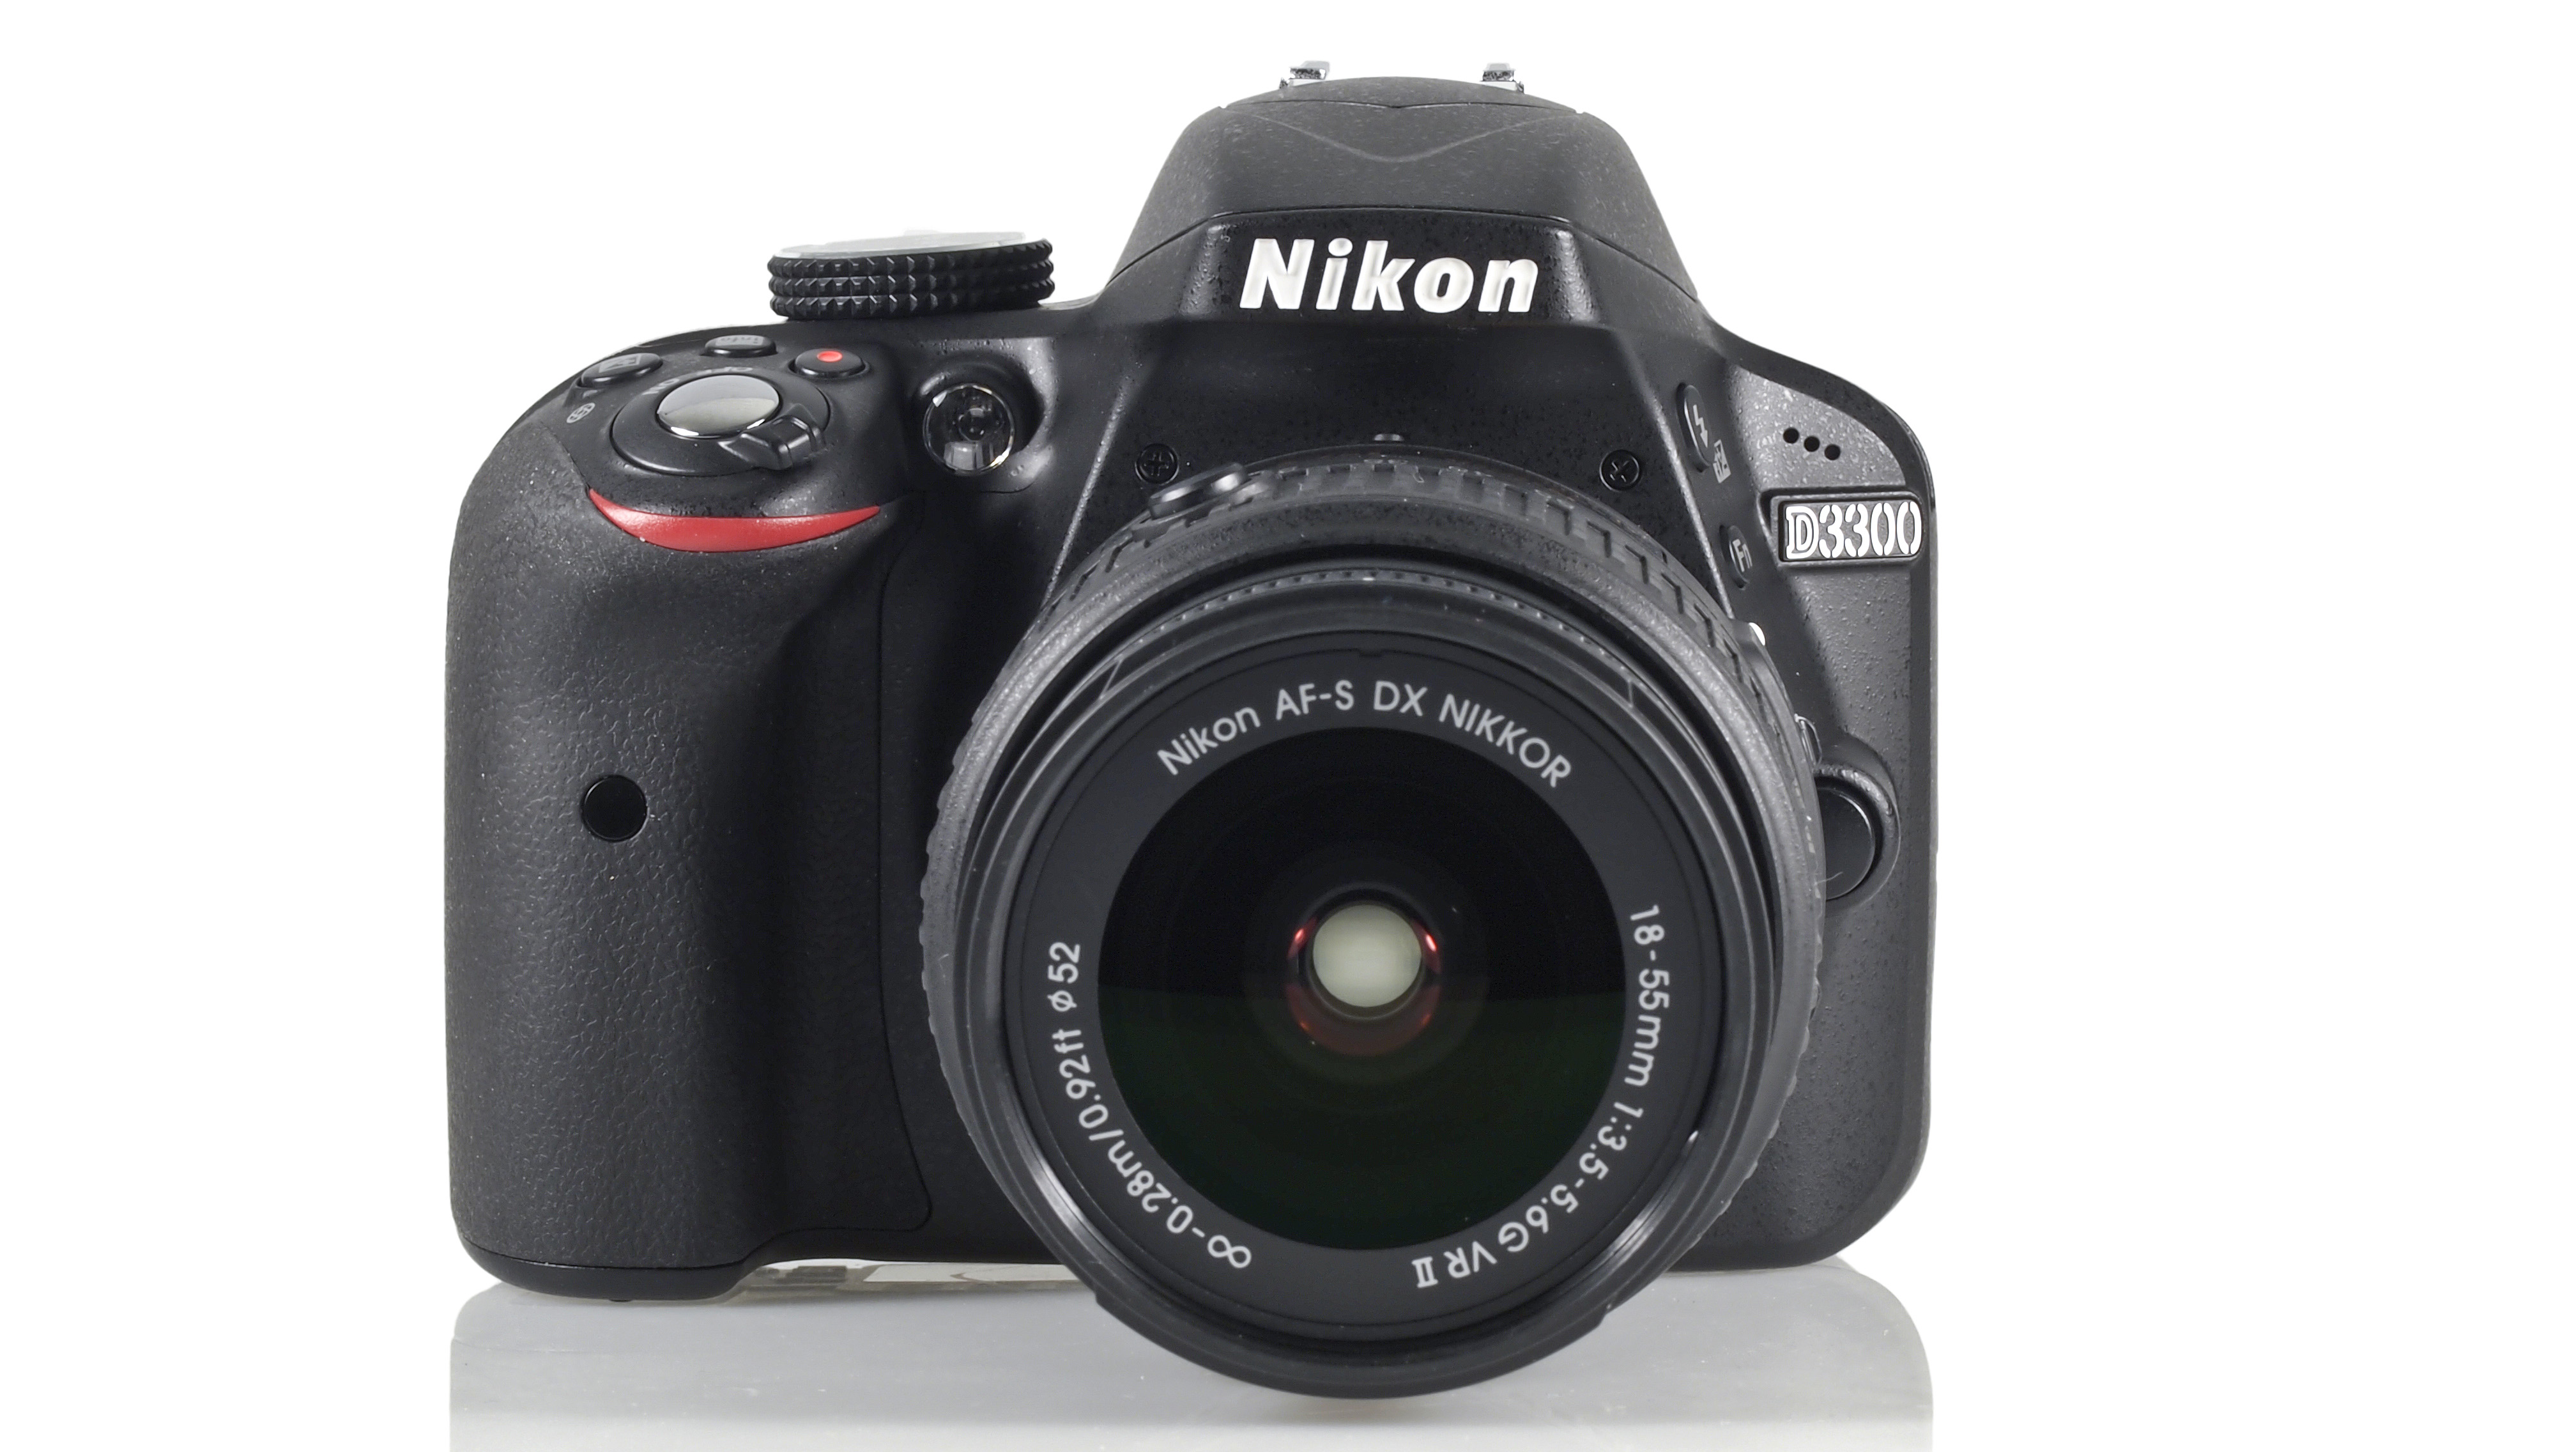
What does make a significant difference however is the new 18-55mm
kit lens, which is now collapsible. While by no means small in
comparison to compact system camera lenses, when collapsed the lens is
quite a bit shorter than its predecessor, making it easier to fit into a
bag when not in use.
When you want to use the camera (with this kit lens attached), you’ll
first need to press a button on the lens barrel to expand it back into
normal proportions. This does mean that start-up time from packed away
is a little slower than other cameras, but you can of course leave it
extended if you need a quicker start.
The kit lens folds down to become super-compact
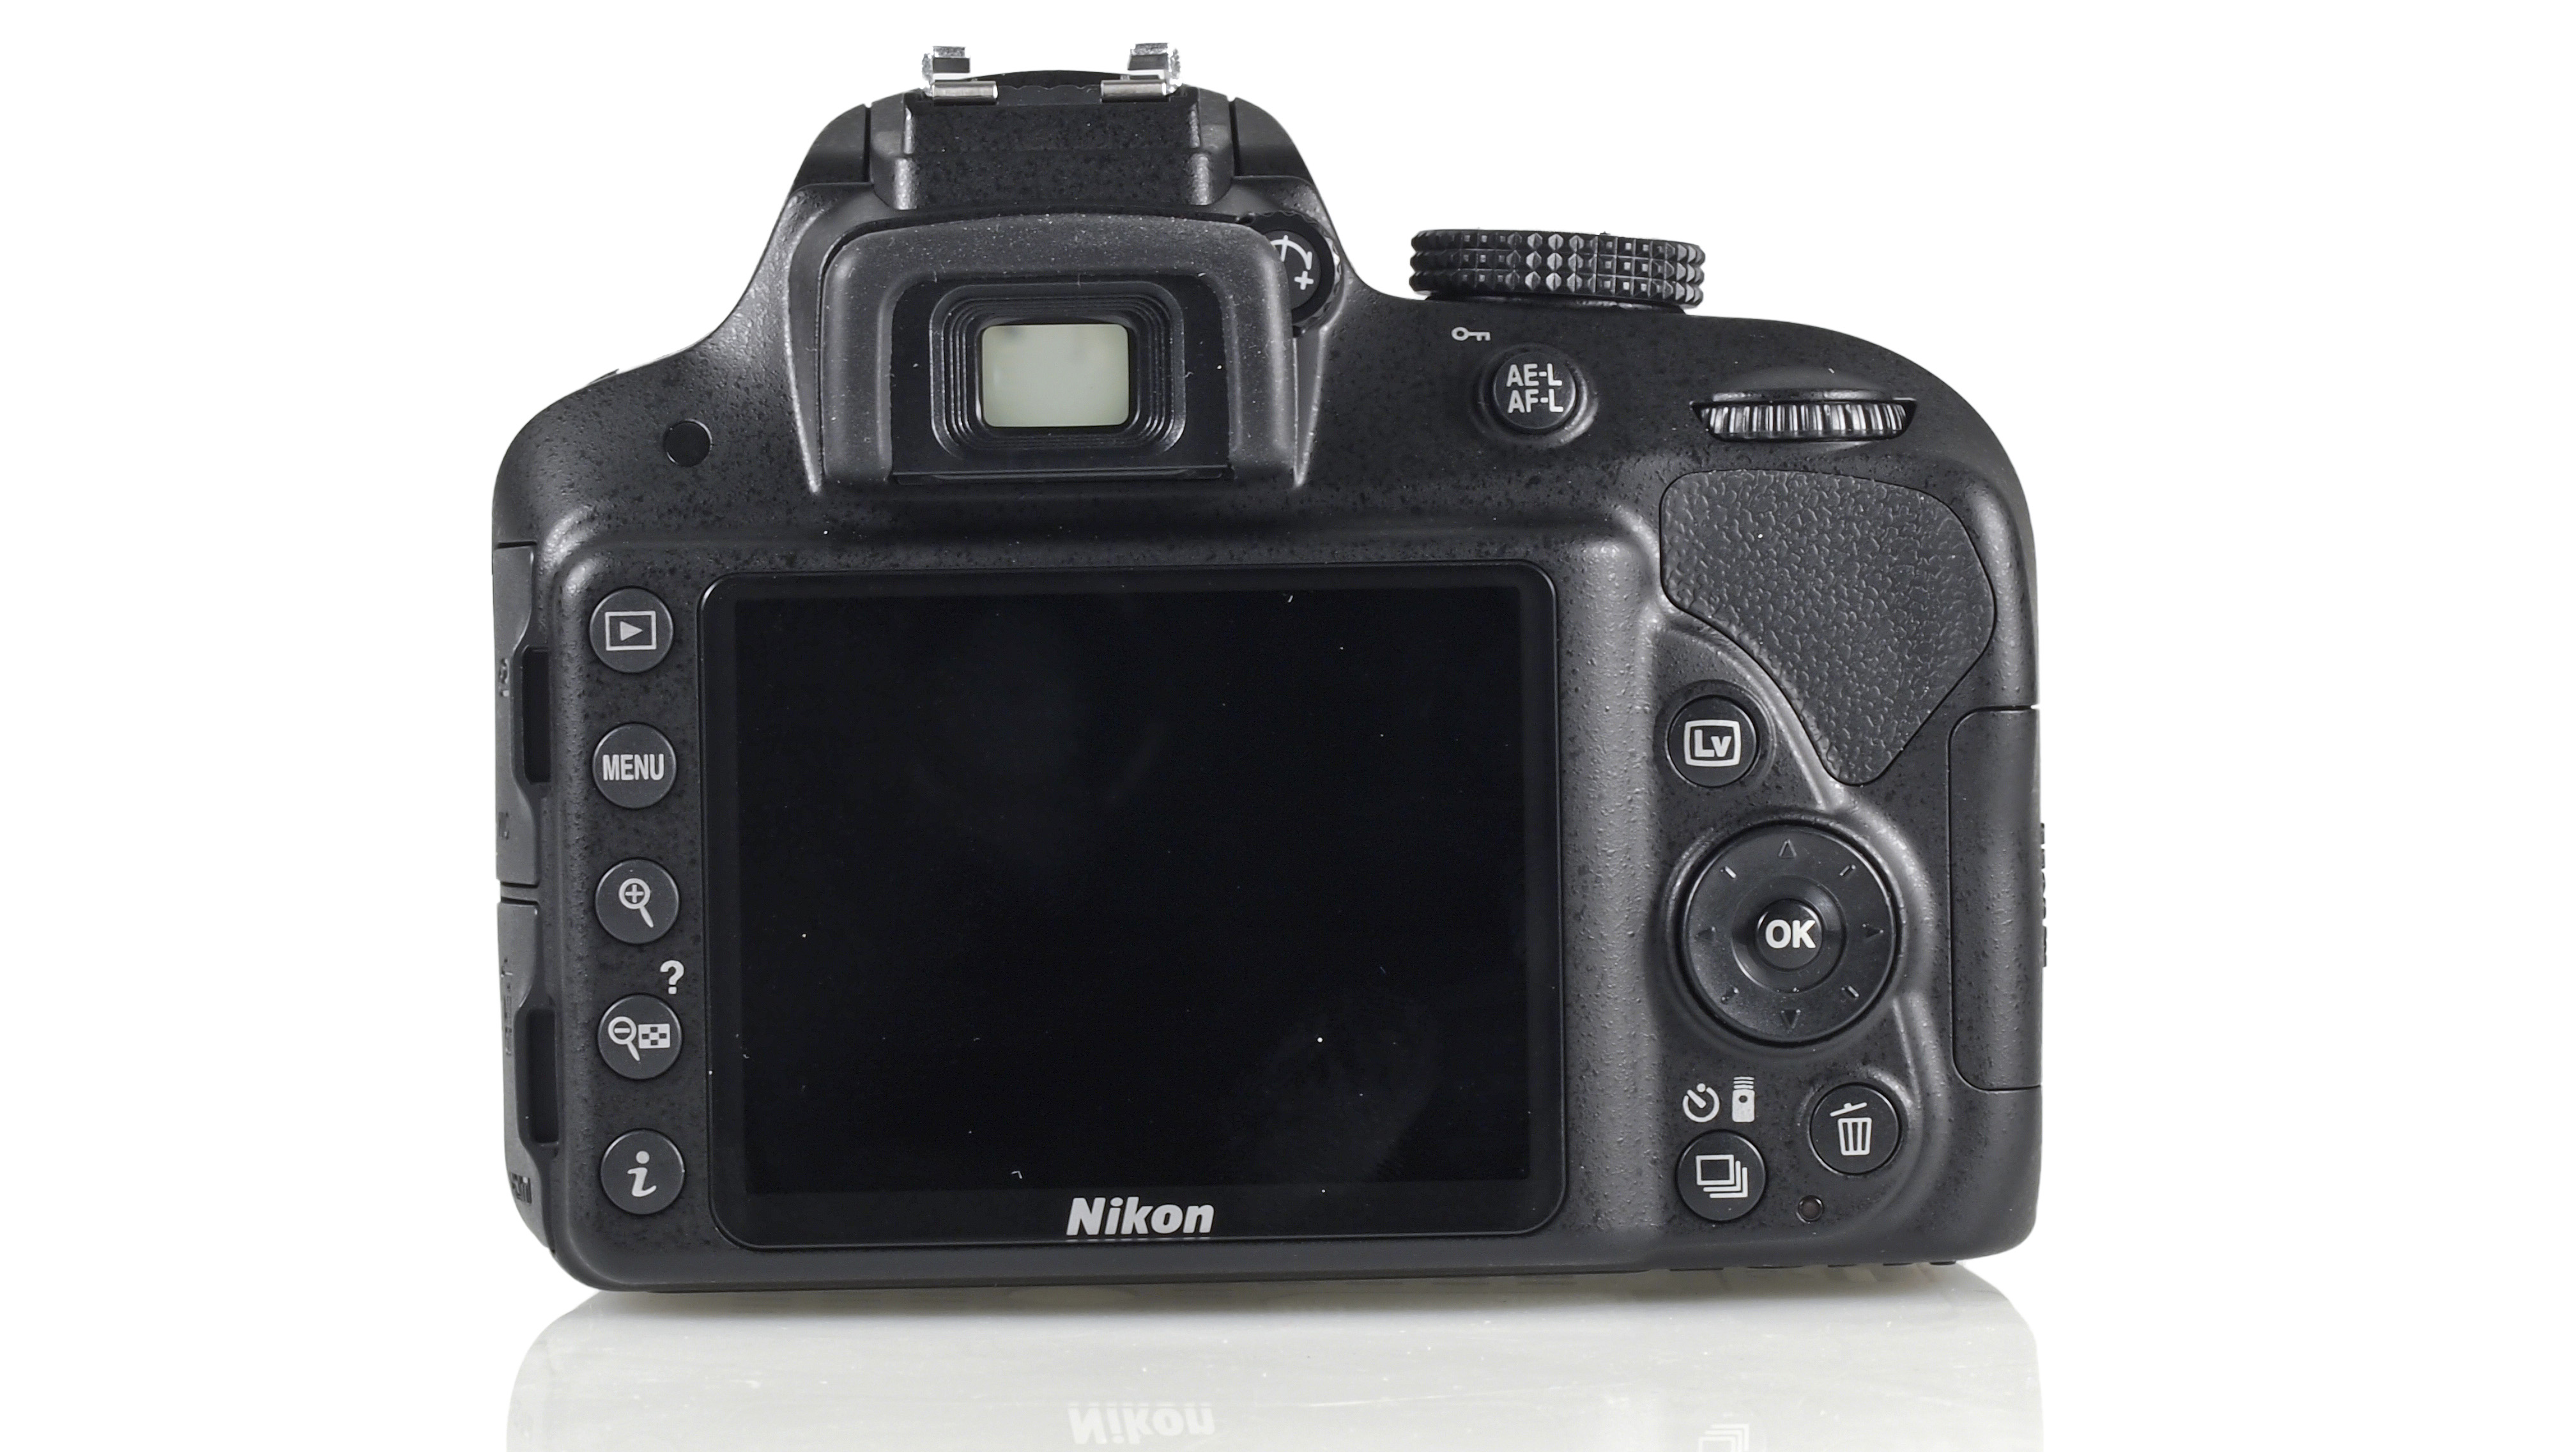
A dial on the back of the camera is used for altering the aperture or
shutter speed, depending on the mode you’re shooting in. When in fully
manual mode and needing to control both, you’ll need to hold down the
exposure compensation button while scrolling the dial to switch between
the two parameters.
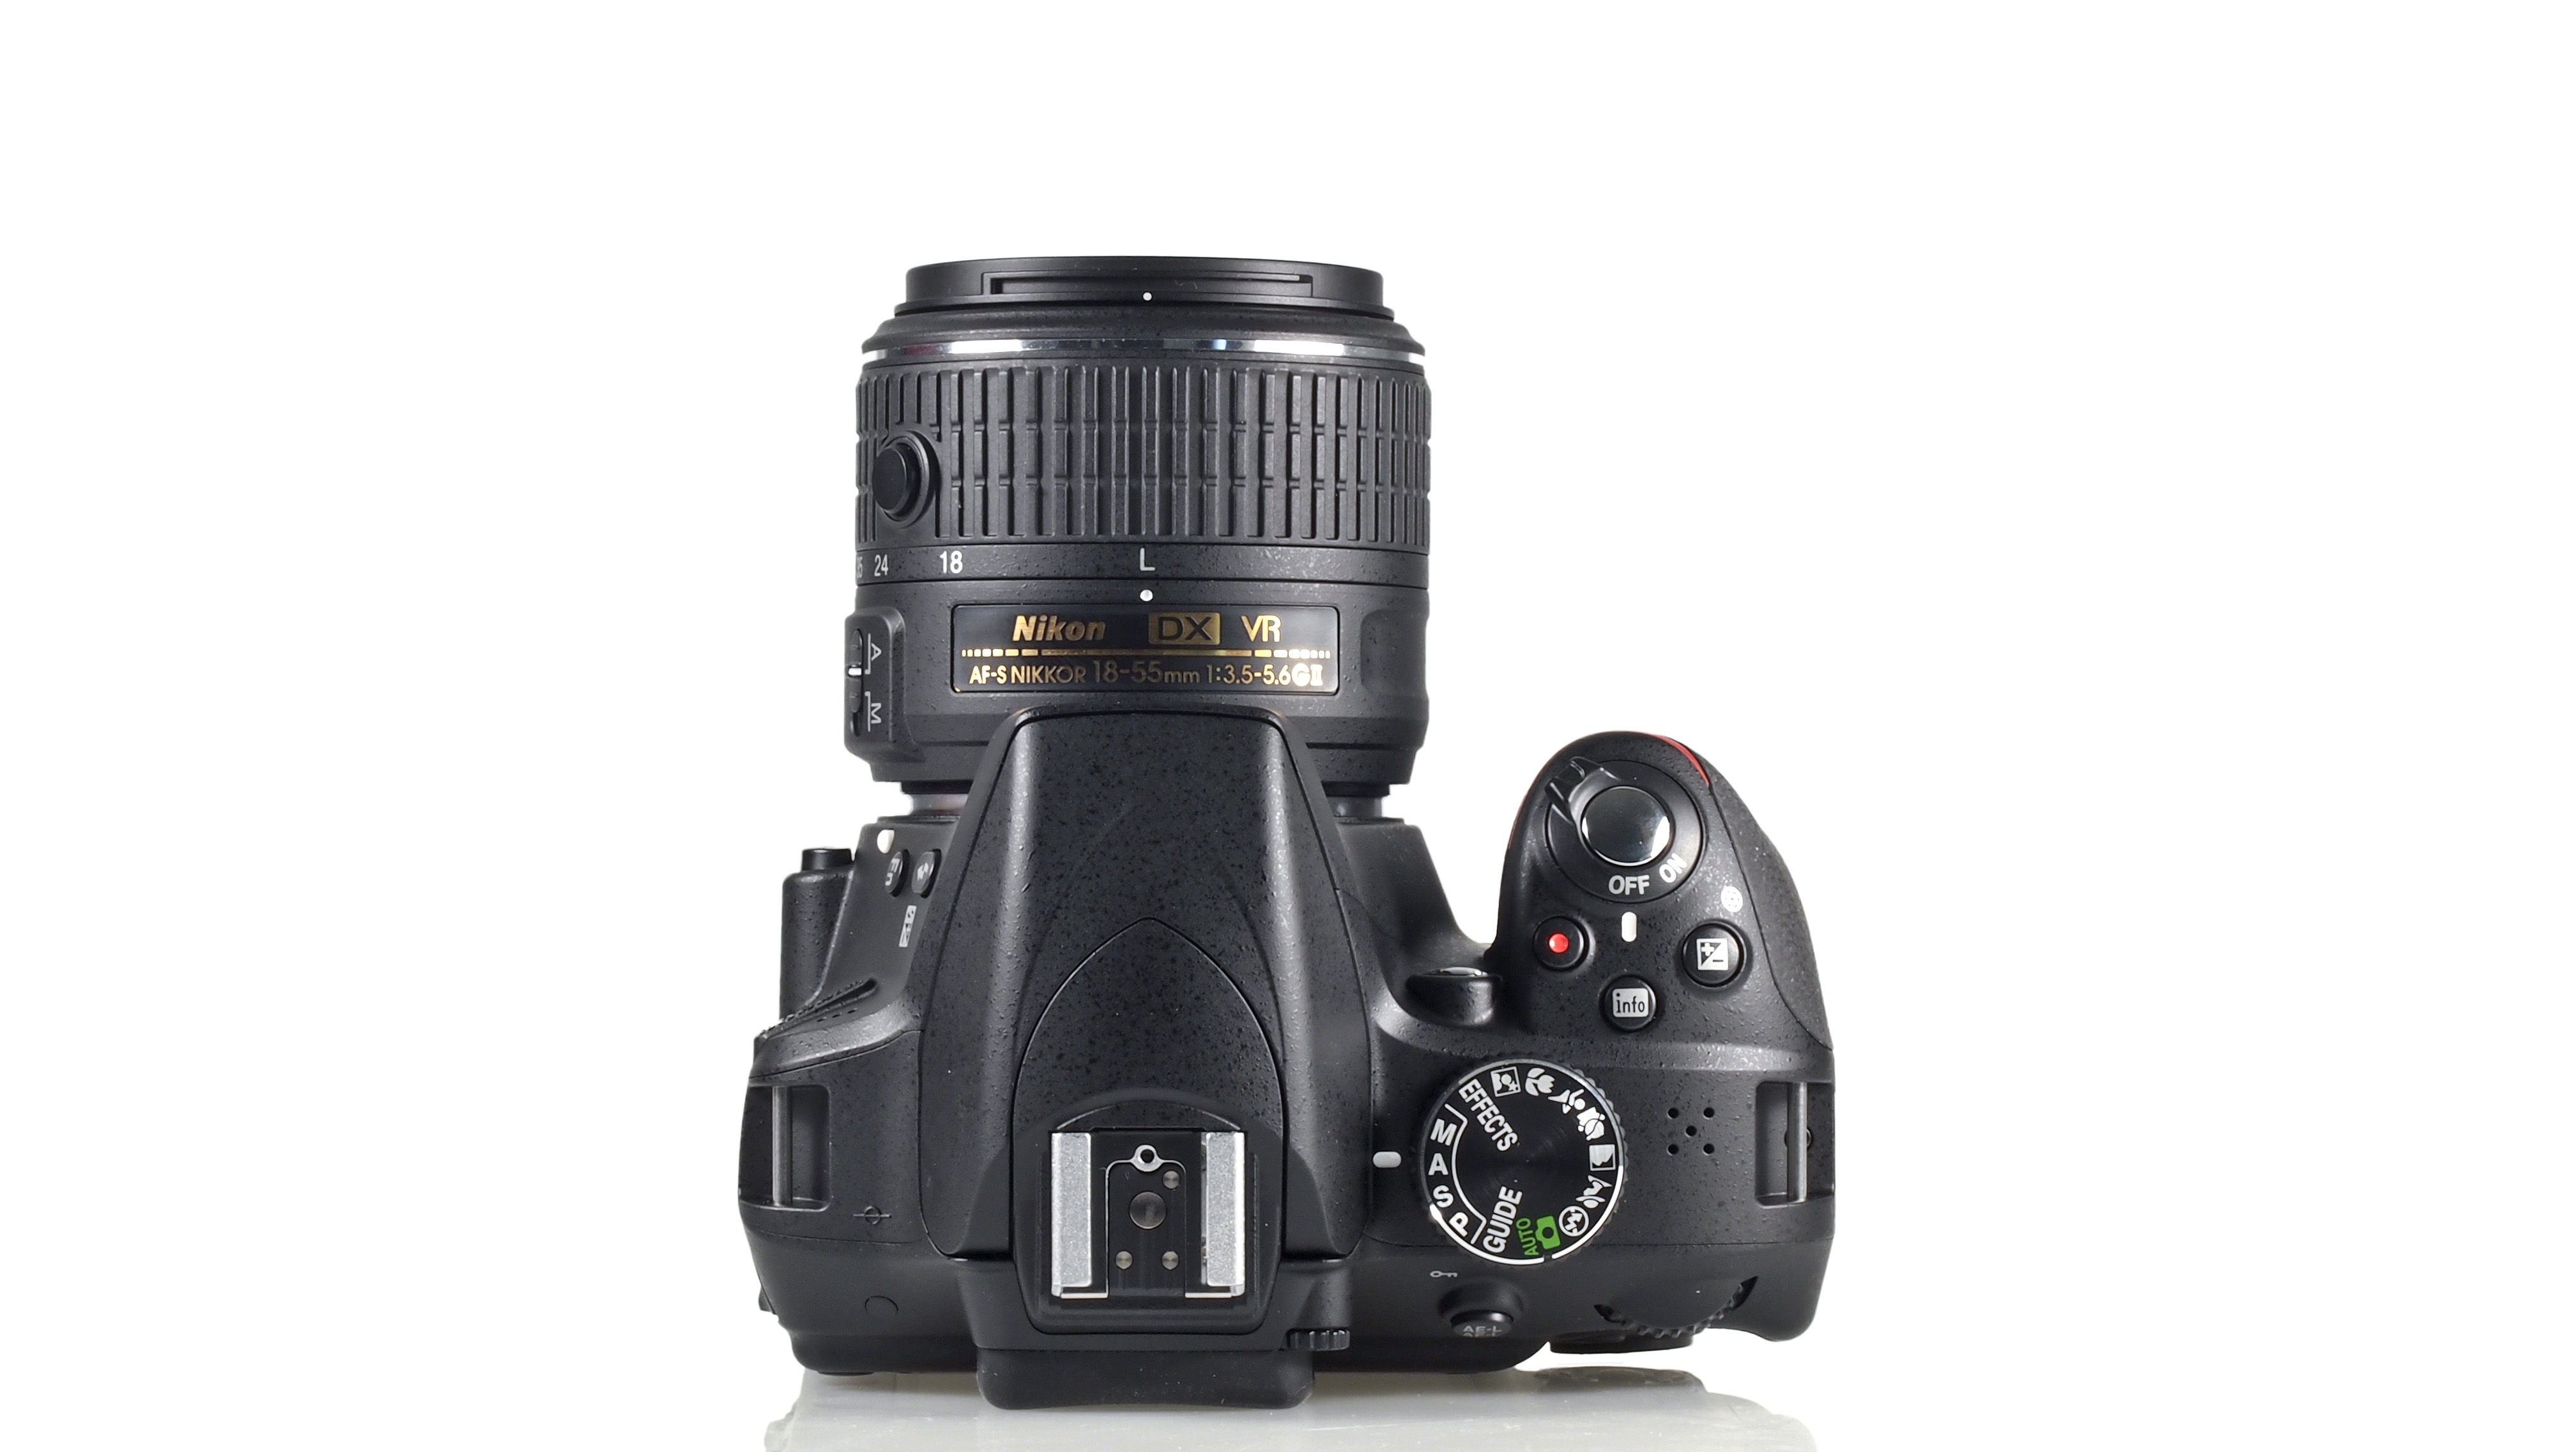
There isn’t a huge number of buttons on the D3300, which is to be
expected of an entry-level camera. On the top plate you’ll find a mode
dial for switching between exposure modes, such as fully automatic,
aperture priority and the newly incorporated Effects mode. Also on the
top plate you’ll find the exposure compensation button (for use in
automatic and semi-automatic modes) and an info button, which helpfully
turns off the rear display, preventing it from being a distraction while
using the viewfinder.
A sort of quick menu is accessed on the D3300 by pressing a button
labelled ‘i’ on the back of the camera. After you’ve pressed this, use
the directional keys to pick a setting you want to change – such as
white balance – and then press OK to bring up the different options
available to you. Unfortunately, this menu isn’t customisable, so if
there’s something on this menu you rarely use, you’re stuck with it.
There aren’t a huge number of control buttons
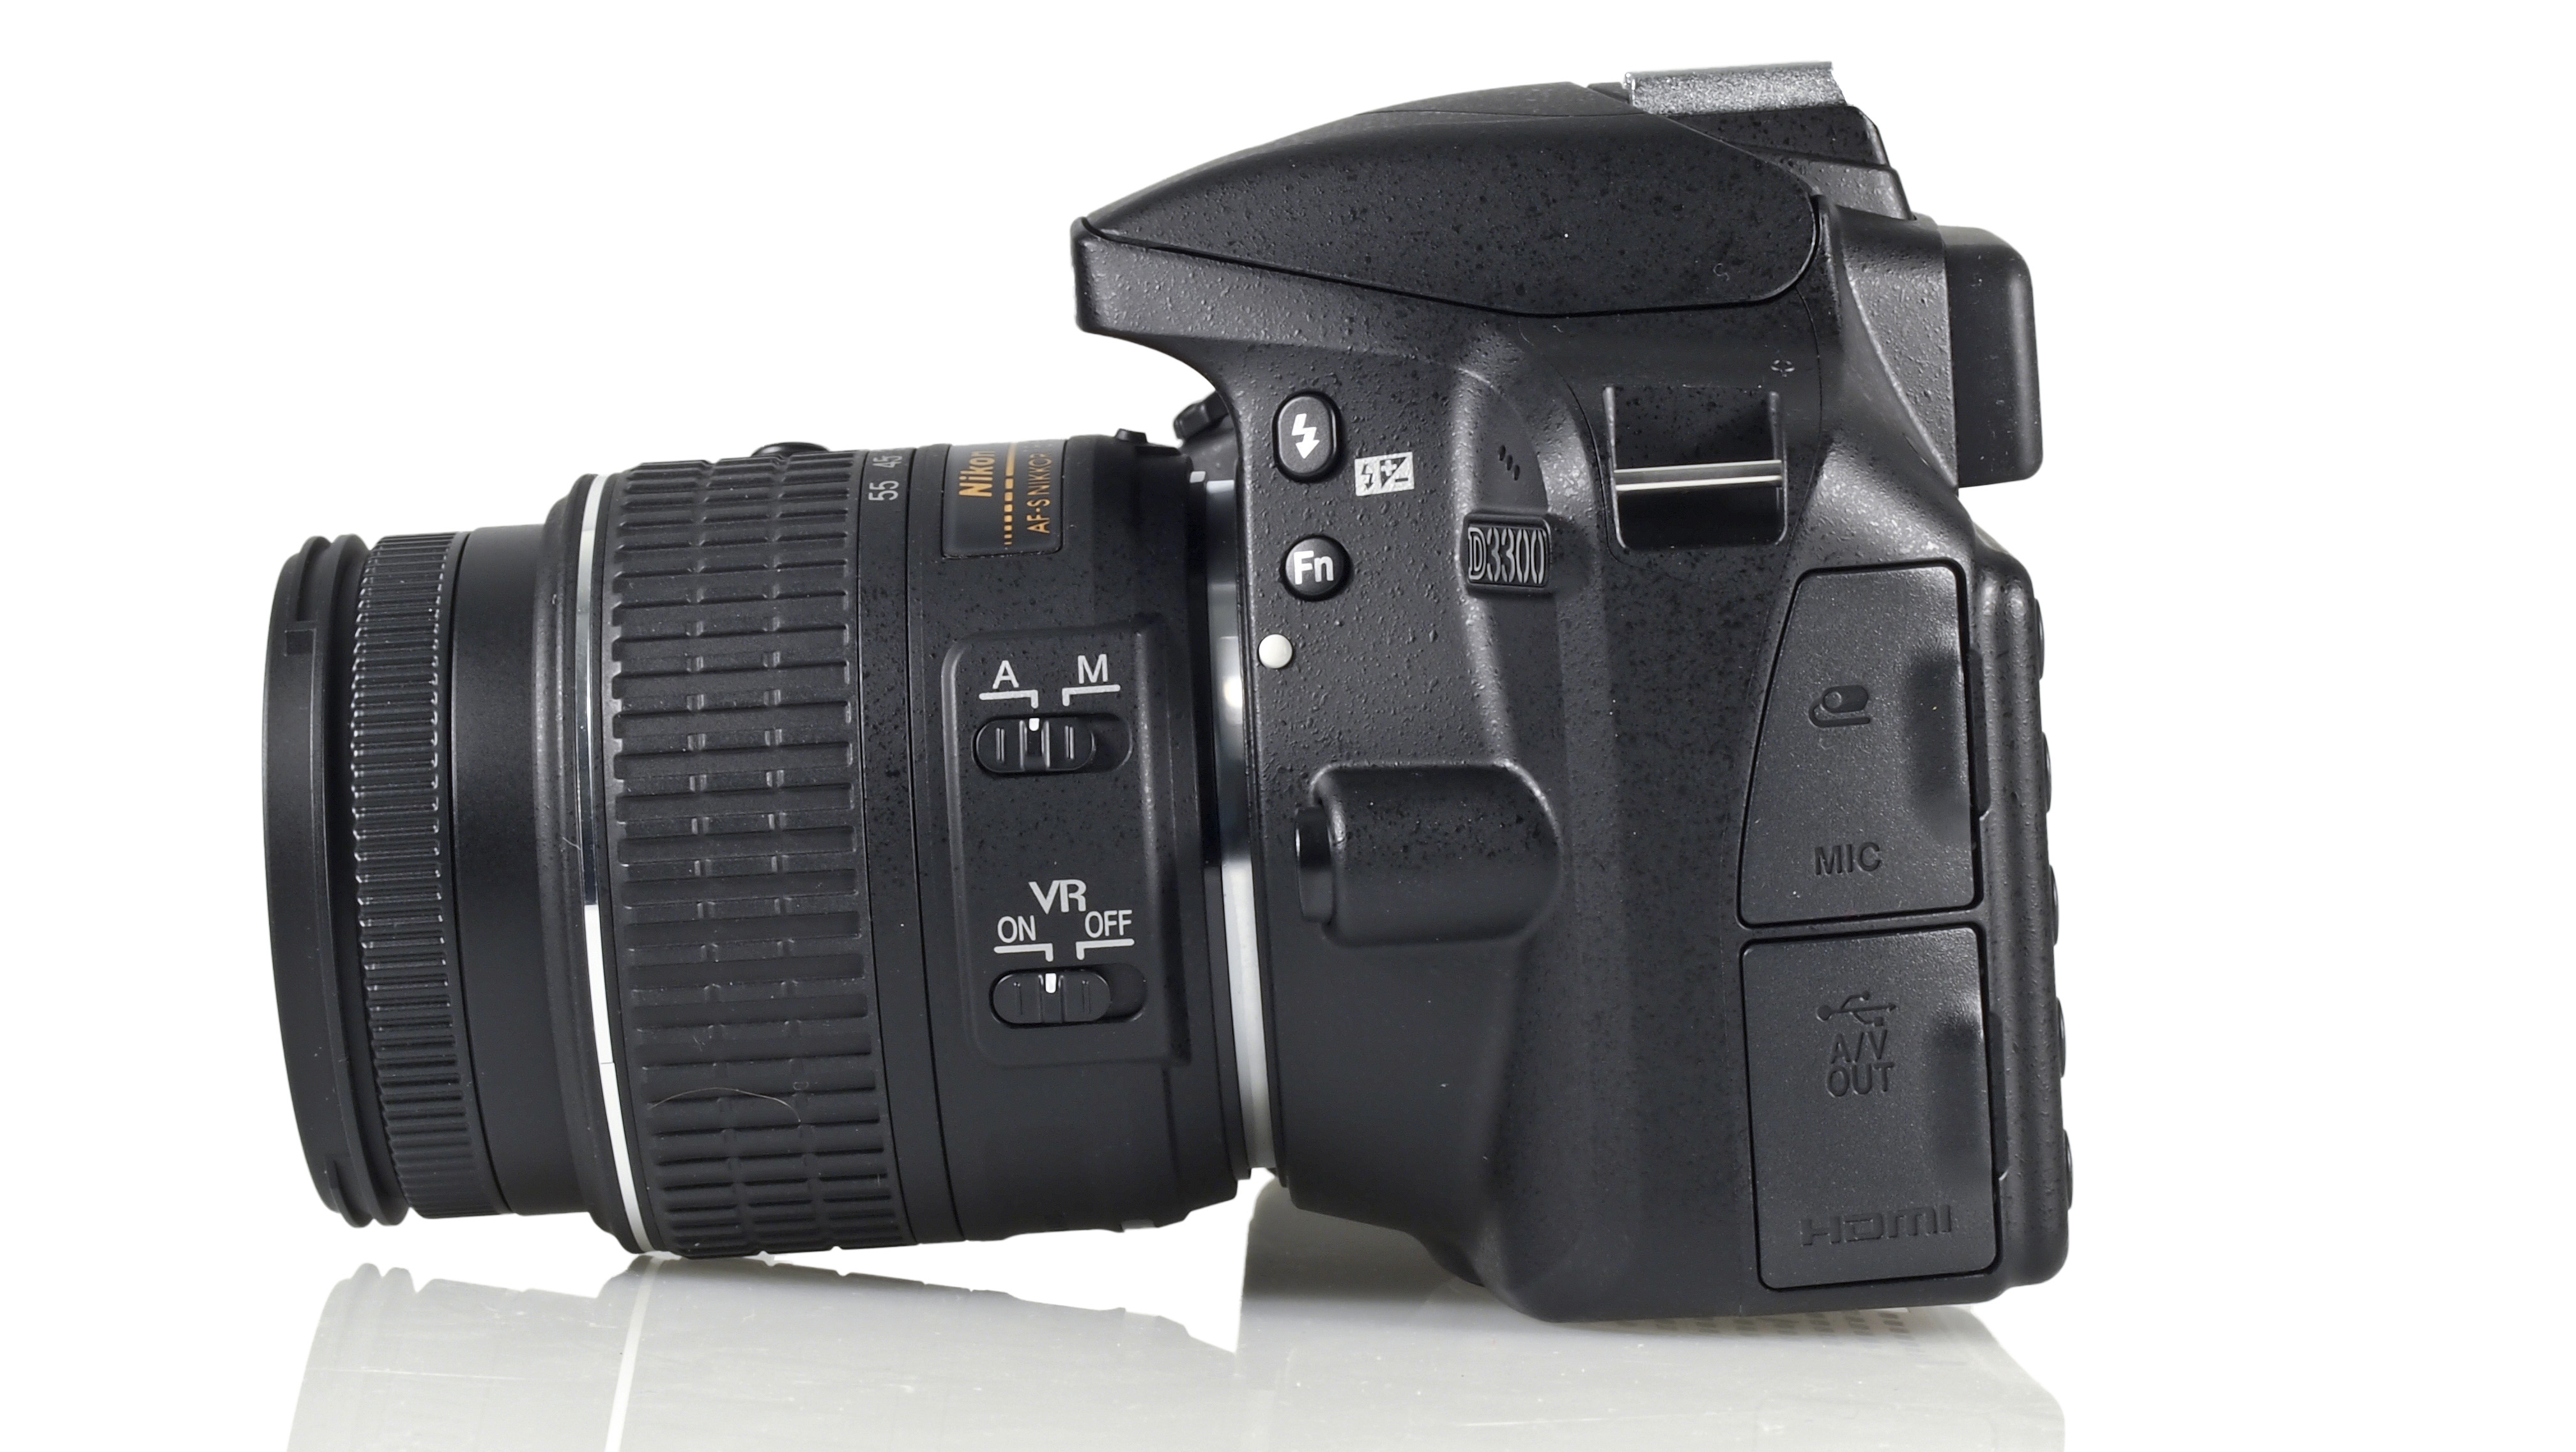
There is also a function button near the lens mount. By default
holding this down will allow you to quickly change the ISO, but you can
change this to control JPEG quality, white balance or Active D-Lighting.
ISO seems like a sensible choice since it’s something you’ll probably
need to change the most often out of the options available.
Autofocus
11-point AF, 1 cross-type AF point
AF-assist illuminator
3D-tracking AF
Autofocusing speeds are pretty high, especially in daylight or
well-lit conditions. It’s rare for the kit lens to hunt around to
acquire focus, and rarer still for it to present a false confirmation of
focus. Speeds do drop a little in lower light conditions, but it’s only
when it gets very dark that the lens struggles to focus at all.
It’s worth bearing in mind, though, that focusing speeds drop
significantly when using Live View, so it’s only really recommended you
use that if you’re shooting something stationery, or you’re shooting
from an awkward angle and can’t compose using the viewfinder.
Changing the AF point is very simple. All you’ll need to do is press
the directional arrow keys to move around to the point you need. As the
central AF point is cross-type, it is more sensitive than the others, so
you may find it beneficial to focus and recompose in certain
situations, or, if you’re just aiming for speed.
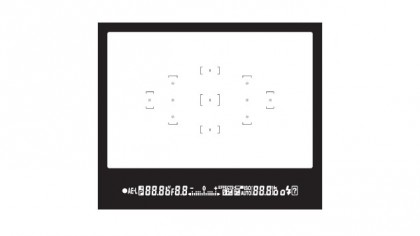
The viewfinder offers 95% coverage
Best entry-level DSLR
Performance
5fps burst shooting
Helpful Guide mode
700 shot battery life
The D3300
has a 3.0-inch LCD screen with a 921,000 dot resolution. This is a
fixed unit and Nikon is still resisting the urge to join the touchscreen
revolution, which is a little disappointing given how many of the
camera’s controls are changed via the screen itself.
That brings us to the user interface. The D3300 has a pleasingly
modern appearance, with the high resolution giving the display
beautifully rounded edges and displaying the interface’s colours well.
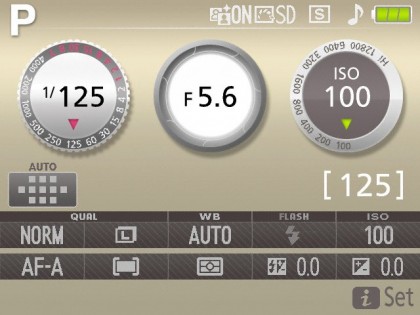
When shooting, the camera displays three circles which represent
shutter speed, aperture and sensitivity (ISO). These displays change as
you alter settings using the scrolling dials, most obvious being the
aperture circle which closes and opens to represent the opening and
closing of the aperture blades. If you’re new to creative photography,
this is a great way to get to grips with the basics.
The viewfinder is optical and offers a 95% field of view. While it is
bright and clear, not being 100% does mean that there is a chance of
something appearing in the final image that you didn’t notice in
composition.
I was very impressed by the D3300’s battery performance. After a day
of shooting, checking images and then scrolling through saved images,
the battery life indicator hadn’t even dropped a single bar.
In the majority of everyday shooting conditions, the D3300’s
general-purpose metering does a good job of producing accurate
exposures.
Automatic white balance is similarly impressive, managing to produce
accurate colours even while shooting indoors. The only time I had to
change from the automatic setting was when shooting a row of red outdoor
lights, when the camera got a little confused and produced a slightly
colder colour than I would have liked. Otherwise, shooting under normal
household artificial lights produces images which are very close to
accurate, hardly erring towards warm tones at all, which is excellent to
see in an entry-level DSLR.
Image quality
ISO100-12,800, expandable to 100-25,600
No low-pass filter
Punchy colors
As expected, the Nikon D3300
has excellent resolving power, zooming in to images to 100% reveals
that very fine details can be seen. Happily, we’ve not come across any
examples of moiré patterning when shooting stills, suggesting Nikon’s
claim that a high pixel count presents less of a problem for AA
filter-less cameras is accurate.
With such a high pixel count (24 million pixels), there comes the
increased chance of noise appearing in images. The D3300 handles low
light, high sensitivity situations very well. Noise only really starts
to become particularly apparent when shooting at ISO 3200 above, and
even then it’s acceptable, or certainly preferable to a blurred or
missed shot.
Noise is well controlled
Image smoothing is something that can be seen right the way through
the sensitivity run, but at the lower end of the spectrum it’s not
particularly noticeable, only when examining images very closely at 100%
does it become apparent. When printing at normal sizes, such as A4, or
sharing online, it doesn’t present a problem.
One of the benefits of having a large pixel count is the ability to
crop images and still retain a decent resolution, but this is something
to bear in mind if you’ve been shooting at a high sensitivity and want
to crop an image. Any image smoothing or noise may become more apparent
the more you crop the image.
Best DSLRs
At normal printing and web sizes, this image, shot at ISO1,600,
appears fine, but if you zoom in to 100%, you can see a fair amount of
color noise int he sky. The D3300 seems to prioritize keeping detail
over noise reduction, so this is to be expected in certain situations.
Tones directly from the camera are natural, which is useful for pleasing portraits.
You can still get pleasing shallow depth of field effects using the kit lens, even though it only stops down to f/3.5.
The 18-55mm lens offers flexible focal length options, making it
ideal for shooting a number of different situations. This was shot at
the maximum telephoto end of the optic.
Colour reproduction is excellent, even when shooting subjects which may ordinarily confuse other cameras, such as neon lighting.
Colours are bright and punchy directly from the camera.
In this scene, all-purpose metering was a little thrown by the mixed
lighting conditions, so I needed to dial in +1 exposure to produce a
more balanced image.
Despite the arrival of the D3400, you should still be able to get
hold of the D3300 – and with a bit of luck, at a discounted price.
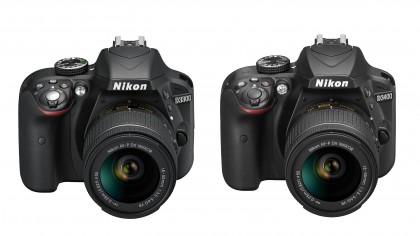
So which camera should you buy, the D3300 or D3400? We’ve also
reviewed the D3400, but on paper at least, they look very similar.
Let’s take a look at some of the key features of both cameras and see
how they compare and whether it’s worth spending a bit more to get
Nikon’s latest entry-level camera.
1. Sensor
Both cameras feature 24.2MP APS-C CMOS sensors, with the D3400 like
the D3300 opting to go without the anti-aliasing filter, so we should
expect pretty much near identical results in most scenarios.
2. ISO range
Here we see a slight difference, with the D3400’s native ISO range at
100-25,600, compared to the D3300’s native ISO range of 100-12,800,
extendable to 25,600. While they may have the same upper ISO ceiling, we
can expect to see a slightly better performance from the D3400 at
higher sensitivities.
3. Autofocus
Both cameras here sport Nikon’s Multi-CAM 1000 autofocus sensor
module with 11 AF points to choose from, with a cross-type sensor (for
greater accuracy) at the centre.
4. Continuous shooting
With both the D3300 and D3400 using Nikon’s EXPEED 4 image processor,
both offer the same 5 frames per second (fps) burst shooting. Neither
are going to compete with a proper sports camera, but both offer a solid
performance none-the-less.
5. Weight
Nikon’s managed to make some minor weight-saving gains with the
D3400, shaving a very modest 15g off the 410g body-only weight of the
D3300. Definitely lighter, but whether you’ll notice that after a day or
shooting is hard to say.
6. Battery life
Both cameras feature a EN-EL14a rechargeable battery, but with the
reduced power-consumption of the D3400, Nikon reckon that it can carry
on shooting up to a very impressive 1200 shots, compared to the D3300’s
700 shots.
7. Connectivity
Perhaps the biggest difference between the two cameras is the level
of connectivity offered. Neither feature Wi-Fi connectivity (though you
buy the optional WU-1a Wireless Mobile Adapter to make it so), but the
D3400 features Nikon’s SnapBridge technology – a feature we first saw on
the D500.
This functionality allows the D3400
to be connected wirelessly to your smartphone or tablet. Thanks to a
low-power Bluetooth connection, it enables images to be automatically
transferred to your device as you shoot.
You get a lot of seriously good kit for your money. For starters, the
24MP sensor is capable of producing excellent levels of detail that
gives beginner users who are short on lenses the double benefit of being
able to crop into the scene for extra reach if needed.
Updating the user interface to give it a crisp and clean look is also
a smart move – most of the other manufacturers have stuck with the same
UI for some time now, and some are starting to look a little dated. The
Guide Mode continues to be something which makes this camera appealing
to novice users as well, not having to dig out the manual or search
online for help is especially useful when you’re out shooting with the
camera and get a little stuck.
It’s a bit of a shame that this camera doesn’t have built-in Wi-Fi
connectivity, as this would probably have been even more enticing to
beginner users who are used to sharing their shots instantly from
smartphones – those that hanker for that might want to look at the
D3400.
There’s also no touch or articulating screen, which is perhaps to be
expected at this price point, but does make some of the entry-level
compact system cameras which do offer this functionality all the more
appealing.
The entry level market is likely to continue to be hotly contested,
but Nikon shows no sign of losing its grip on this very important
market.
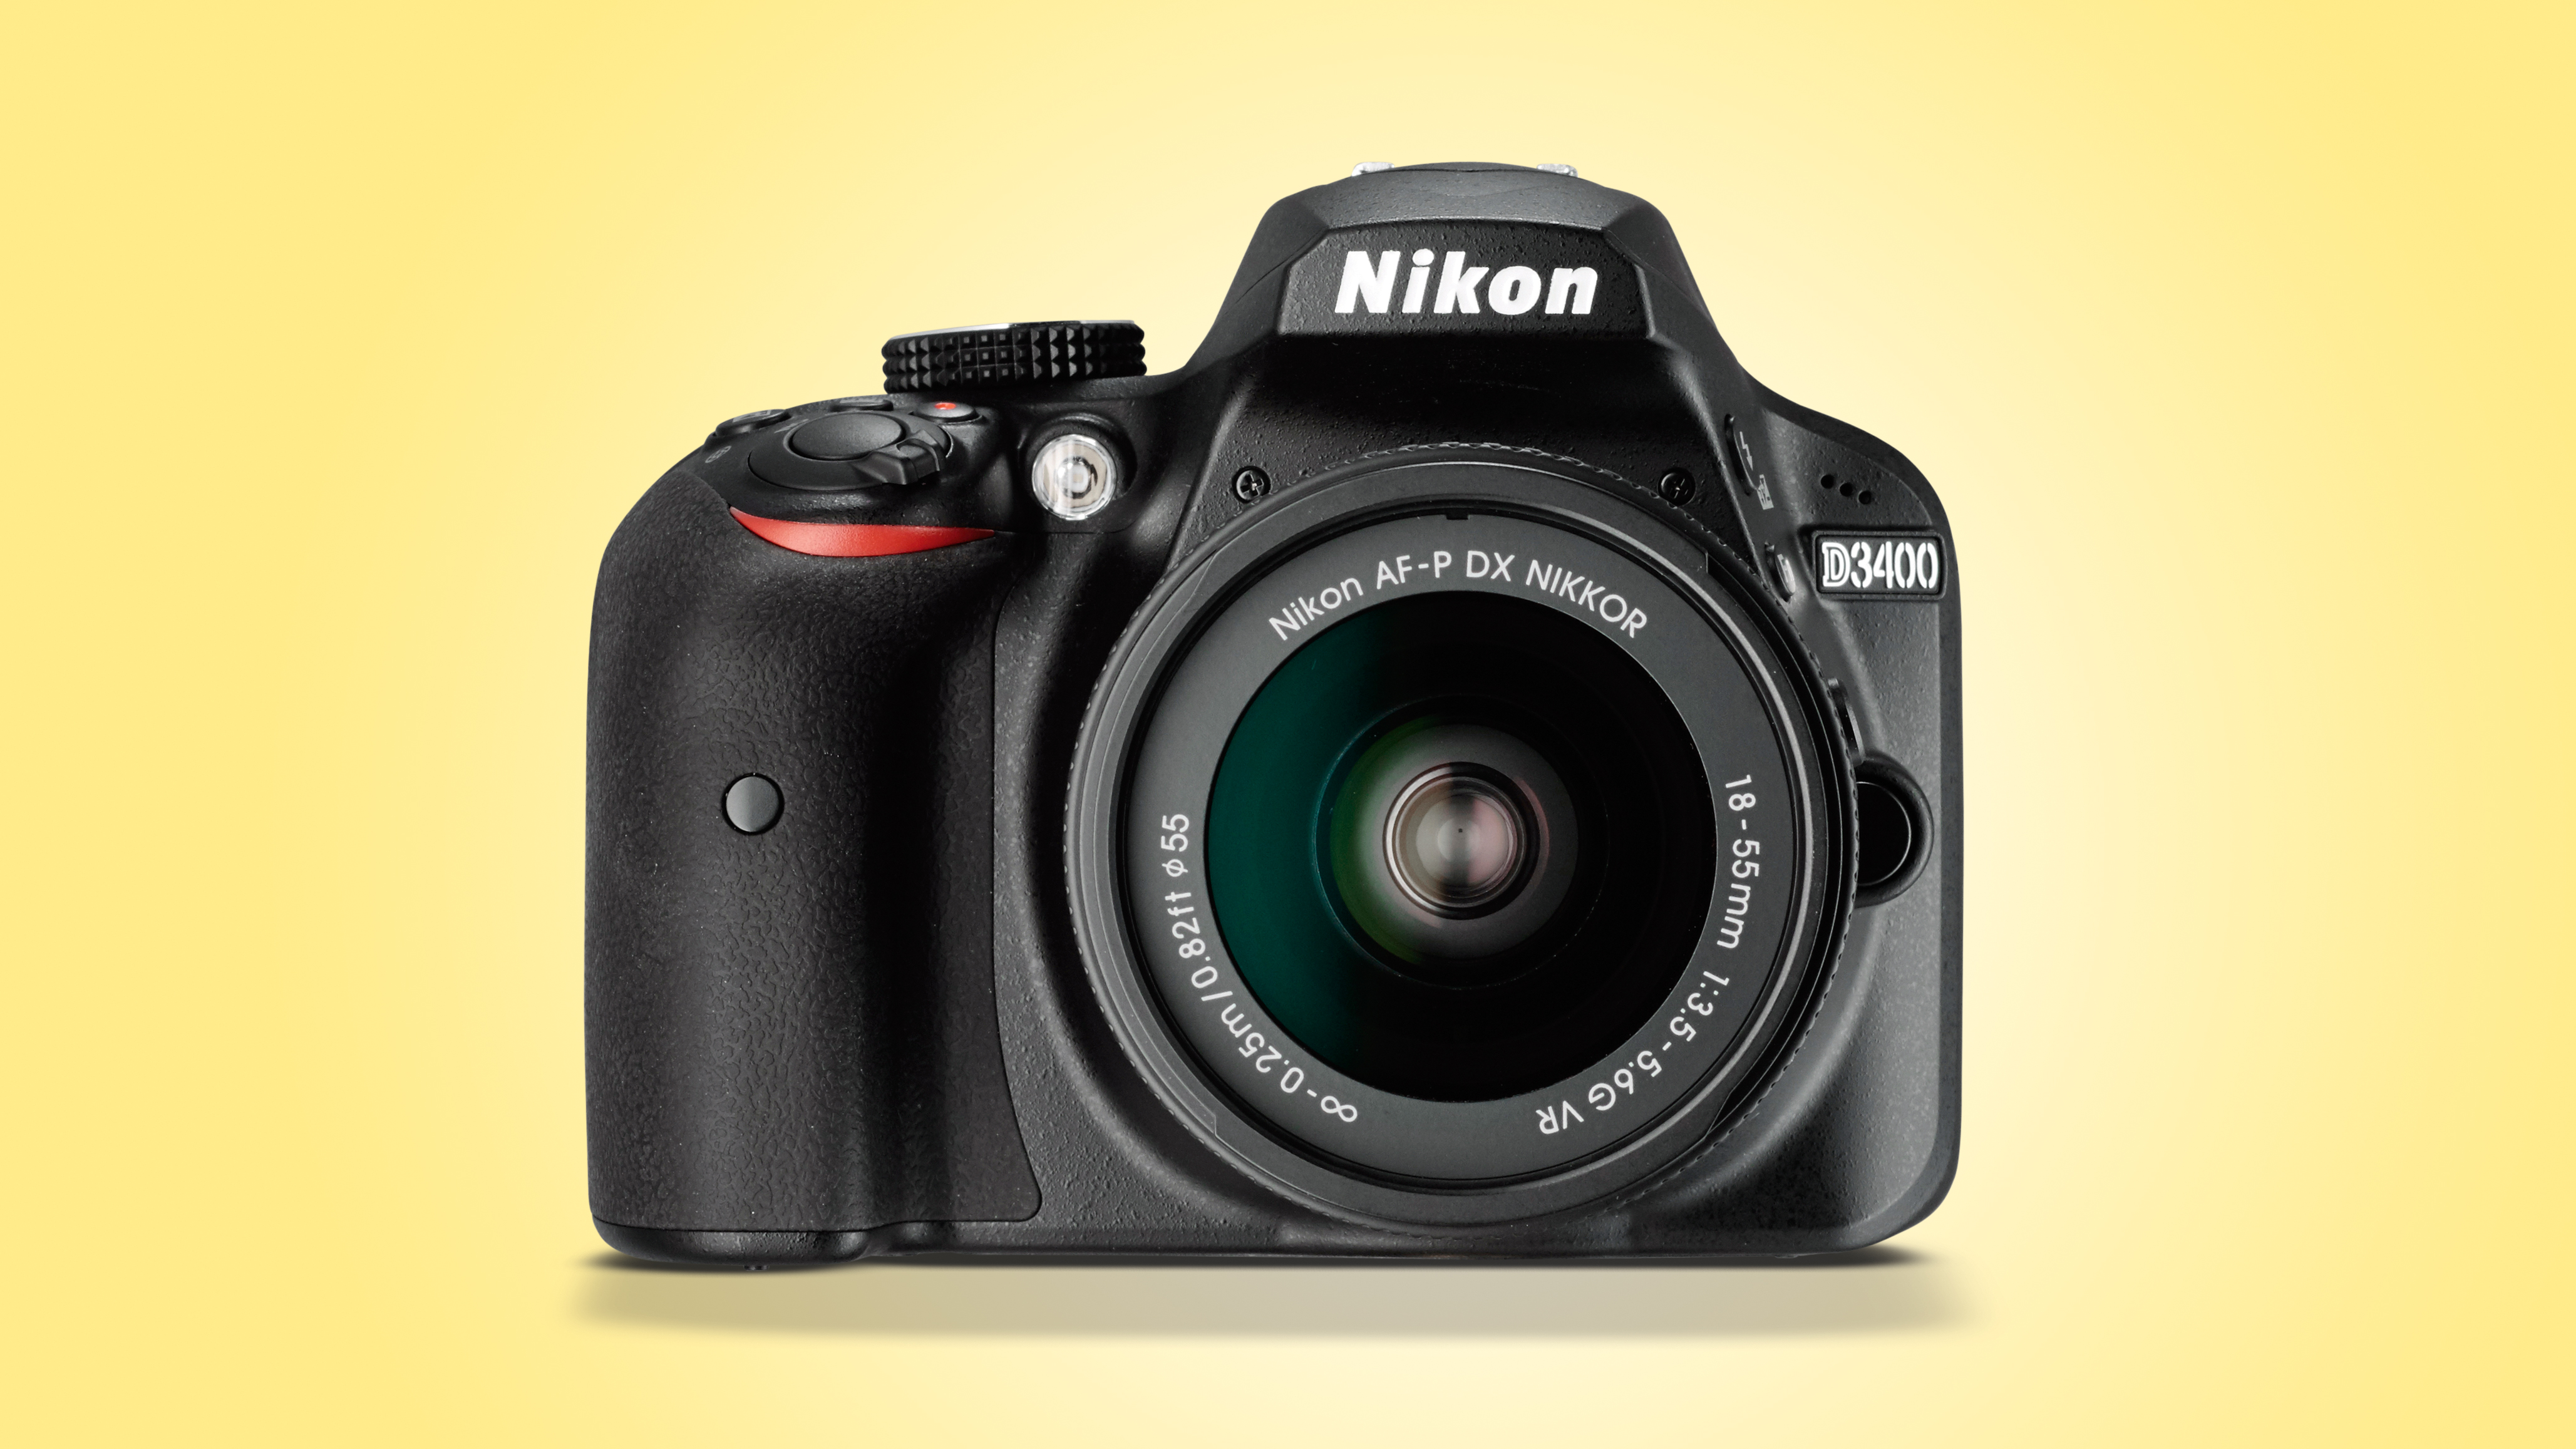
In a nutshell, the D3300 is an excellent choice for those who want to purchase their first DSLR.
The update to the D3300 is very similar, with the key difference the
inclusion of SnapBridge technology for streamlined transferring of
images from camera to your smart device, while the battery life is that
bit better. Costing quite a bit more currently than the D3300, it should
drop in price in time. Read the full review:Nikon D3400
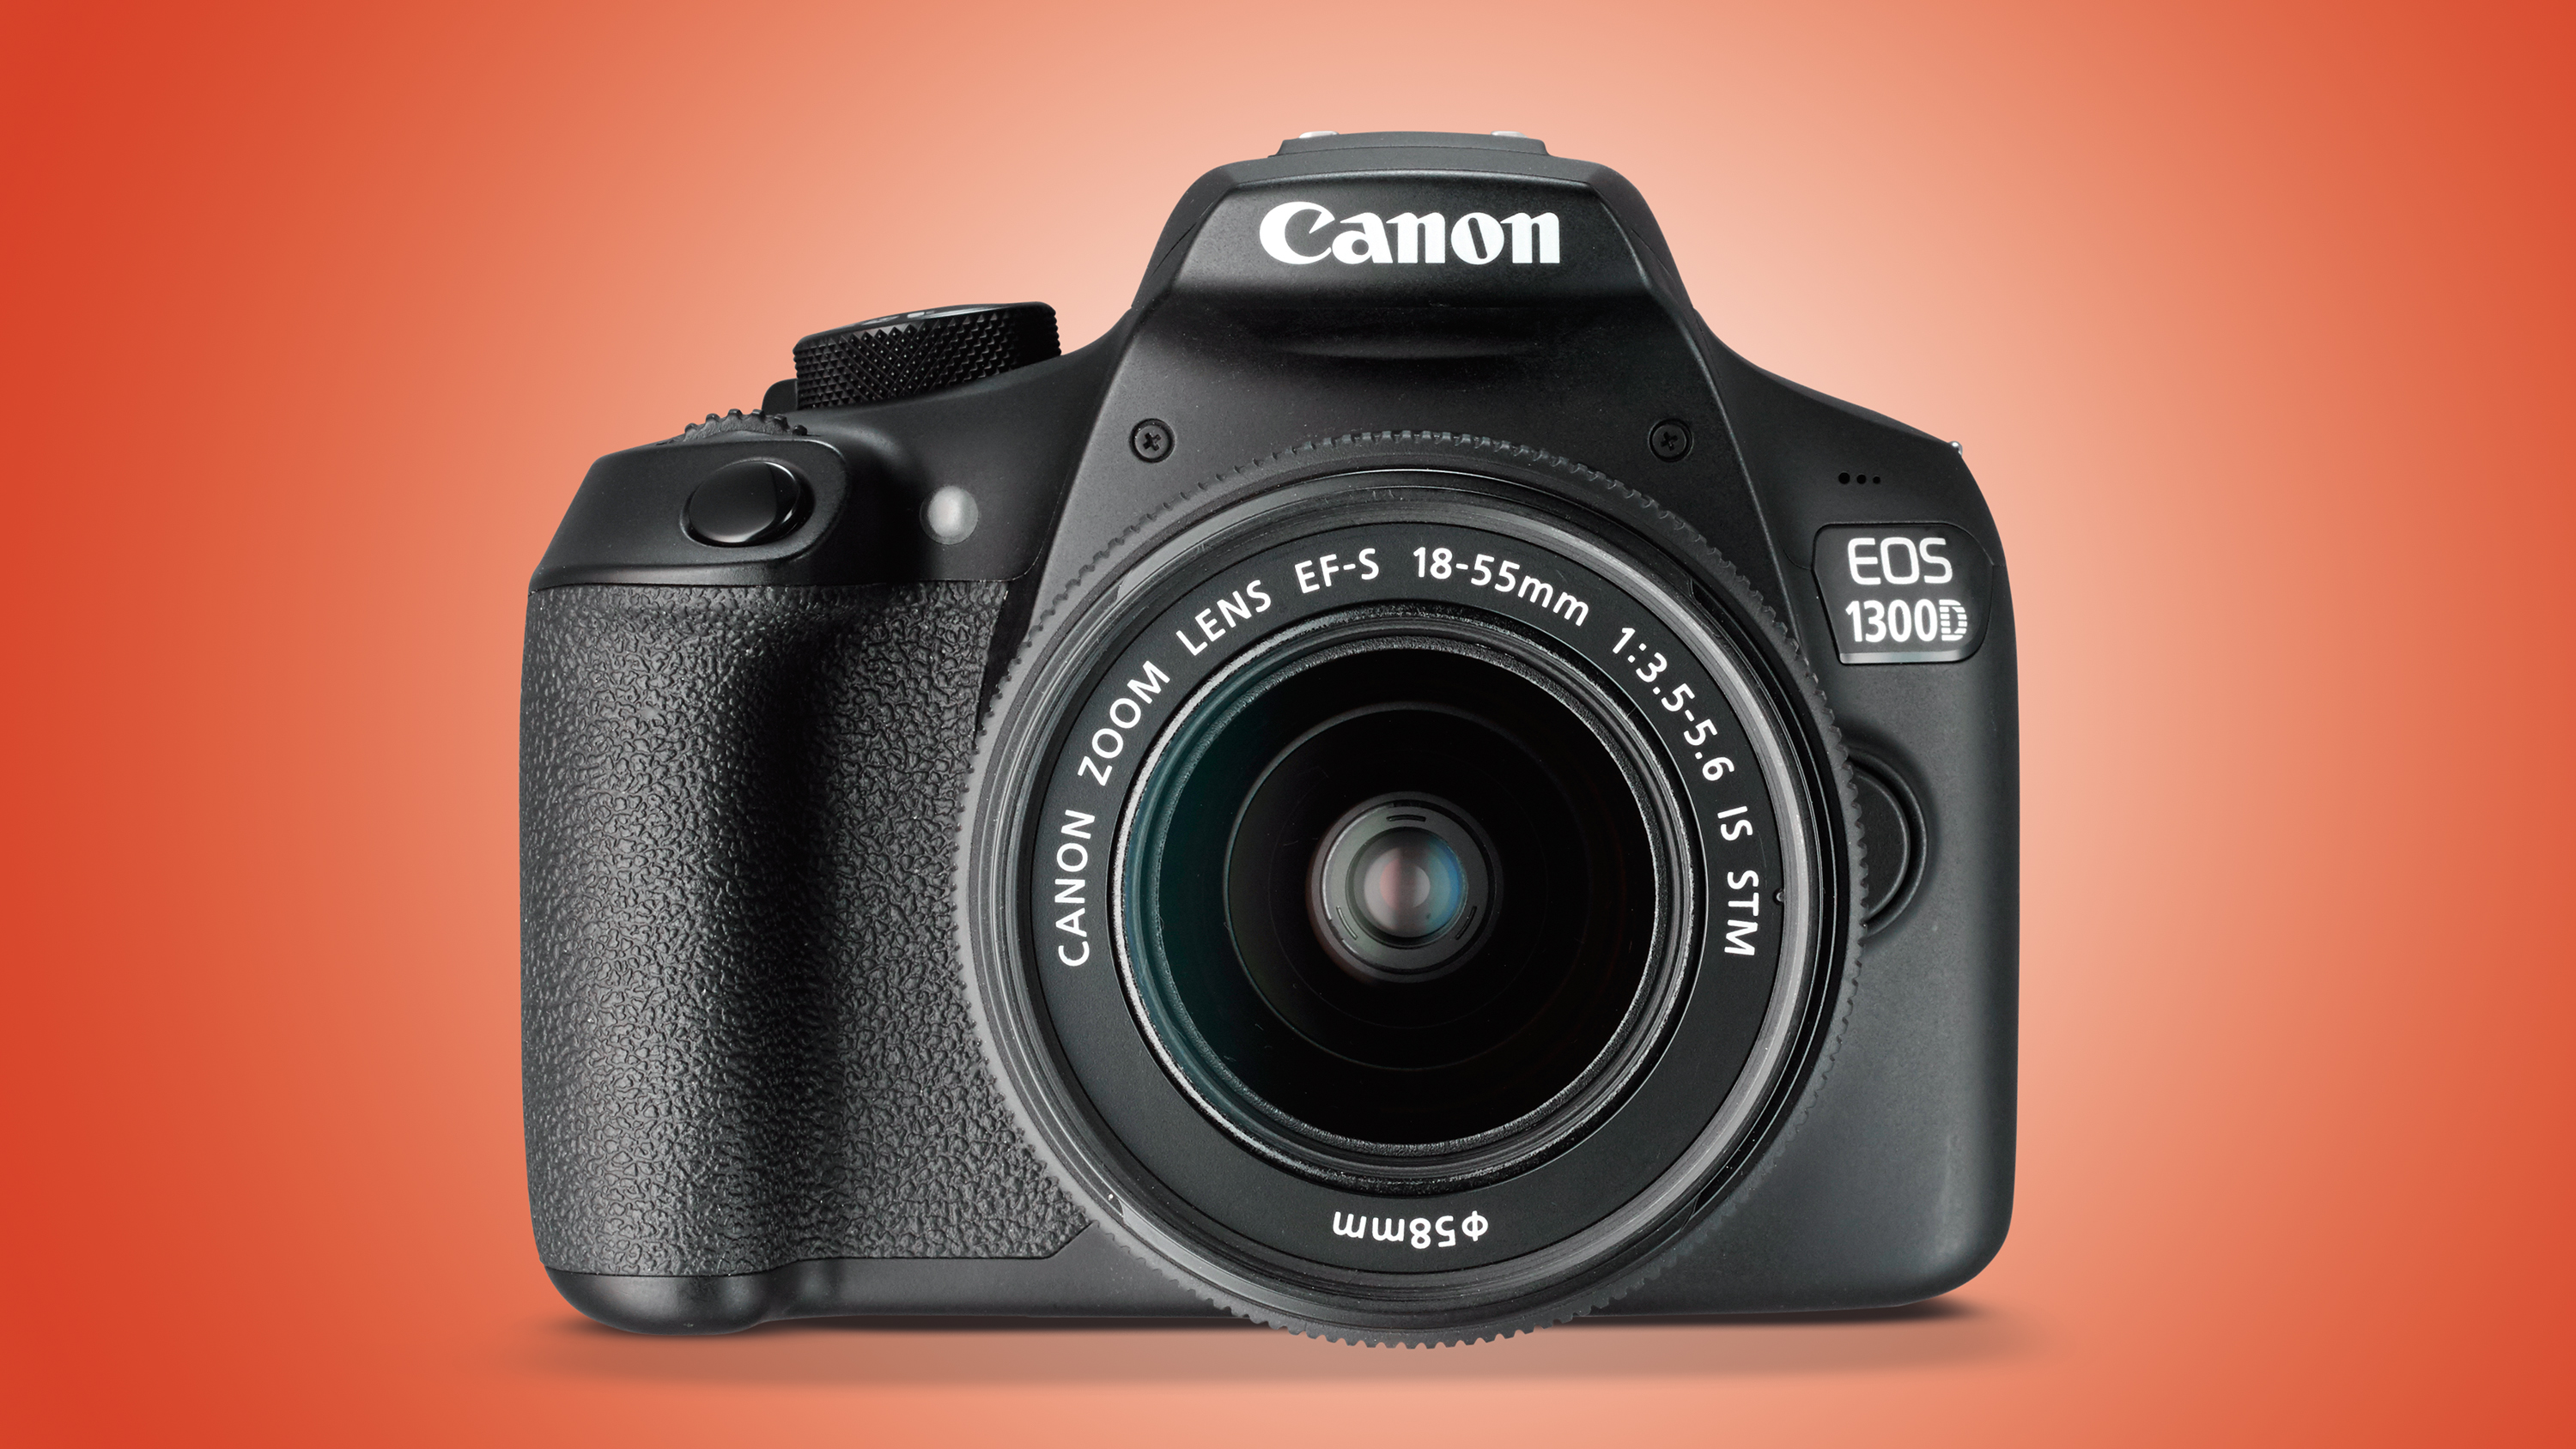
On paper the Rebel T6 (EOS 1300D outside the US) isn’t quite as well
specified as the D3300, with an 18MP sensor, 9-point AF system, more
restricted ISO range and a battery that has nowhere near as much juice
per charge, although it does offer Wi-Fi which the D3300 does not. Read the full review: Canon Rebel T6 / EOS 1300D
Further up the range and you come to the D5300.
Its impressive spec sheet makes it well worth considering. You get a
host of superior tech inside a better-built body, including a 39-point
AF system, Wi-Fi, GPS and a larger, higher-resolution articulating LCD
screen.
If there’s one thing I learned about the Olympus OM-D E-M1 Mark II,
it’s that it can handle mother nature with the best of them. At an
Olympus-sponsored press event in Iceland, the camera got pelted with
rain, sleet, snow and hail, all of which occurred over a 20 minute
period on more than one occasion. Despite both the camera and the
photographer getting soaked, the Mark II kept on going.
Black Beach near Vik. ISO 200, 1/160 sec, F5.6, Olympus 12-100mm F4 lens @ 100mm equiv. Photo by Jeff Keller.
In most respects the E-M1 II feels very ‘Olympus.’ The controls
aren’t radically different than other recent OM-D models, and the Super
Control Panel (which is on by default) and a slightly restyled menu
system are both there. The E-M1 II feels great in the hand and is well
balanced. The build quality is superb, which I learned firsthand when
the camera knocked the front plate off of the electronic lock on my
hotel room door (oops).
Icelandic horses. ISO 200, 1/160 sec, F4.5, Olympus 12-100mm F4 lens @ 132mm equiv. Photo by Jeff Keller.
The E-M1 Mark II has an impressive 440 shots-per-charge CIPA battery
life rating, though the battery drained a lot quicker than that in the
roughly 4°C/40°F temperatures. Quite a few of my colleagues used the
optional grip full-time, while I saved it for aurora shooting, where I really didn’t want the camera to run out of juice, since (ironically) I found it easier to hold the camera without it.
Given its spot as Olympus’ flagship mirrorless camera, it should be
no surprise that the E-M1 Mark II has two memory card slots, located on
its right side. The top one supports UHS-II media, while the bottom one
is UHS-I only. The UHS-II slot is noticeably ‘thicker’ than the UHS-I
one, which is another way to tell them apart. For this trip, I set up
the camera to put all videos onto the UHS-II card – a necessity when
shooting at very high bit rates – and all stills to the UHS-I card.
A break in the hail at Black Beach. ISO 200, 1/400 sec, F10, Olympus 12-100mm F4 lens @ 50mm equiv. Photo by Jeff Keller.
Something that affected my shooting quite a bit was the Mark II’s
overly sensitive shutter release button. This resulted in many unwanted
photos and, in one case, my memory card became filled with 2000+
shots while using in the Pro Capture mode, because I was unknowingly
shooting the entire time I was waiting for a geyser to erupt. Other
members of the press echoed my concerns about the touchy shutter
release.
Skógafoss. ISO 200, 1/400 sec, F7.1, Olympus 7-14mm F2.8 lens @ 16mm equiv. Photo by Jeff Keller.
While the E-M1 II’s big claim to fame is its advanced autofocus
system, the Olympus event in Iceland was essentially all landscape
photography. Our journey included a lot of waterfalls and geysers, plus
some shooting around Reykjavik, but fast-moving subjects were scarce, so
I can’t comment on how well that part of the AF system works. What I
can say is that in single AF mode the Mark II was both responsive and
accurate, though it did miss focus (in both front and back directions)
on a few occasions with the 12-100 and 300mm lenses.
Two features I got to test out were the Pro Capture and Live Time
modes. The former works by buffering shots as you half-press the shutter
release, saving up to 14 of them when you fully press it. My plan was
to capture the moment a geyser erupted, but as mentioned earlier, I was
actually recording images the entire time due to that oversensitive
shutter release button. The fact that I chose the wrong geyser didn’t
help matters, either. Another member of our group had better luck and
got some great shots using Pro Capture, so maybe it was just me.
Northern Lights over Reyjavik.
In-camera Raw conversion (I’ll update when ACR is available). ISO 800,
21 sec, F2.8, Olympus 8mm F1.8 fisheye. Photo by Jeff Keller.
I used the Live Time feature when shooting the Northern Lights, which
unfortunately weren’t as strong as expected. Live Time is a long
exposure mode that displays the current image at an interval of your
choosing, so you can close the shutter when you’re happy with the
result. For aurora shooting I turned on Live Time, set the 12-100mm lens
wide-open at F4 and used an ISO value between 800 and 1600, depending
on the current auroral activity. Just to be safe, I turned on anti-shock
to prevent any shake caused by pressing the shutter release button.
While the ‘show’ wasn’t great, Live Time was a valuable feature that
made it easy to decide when to press ‘stop’ when the exposure looked
right.
I came back pretty satisfied with the photos I took on the trip,
though I had to dump a lot of photos due to water on the lens (did I
mention it rained a lot? Every time I wiped it off, more would appear.) I
have no complaints about color, though at default settings JPEG noise
reduction is higher than I’d like. Normally I’d pop the images into
Photoshop and use ACR to tweak that to my liking (and bump up the
shadows in a few of my photos,) but the only option at time of
publication was converting the Raws in-camera. If you’ve used Olympus’
in-camera Raw conversion, you’ll know that it’s quite confusing, though I
appreciate the addition of shadow/midtone/highlight correction.
While I didn’t take a ton of video, I was impressed with the results.
I shot exclusively at Cinema 4K (24p), which maxes out at 237Mbps. The
bit rate never got that high, since it varies depending on your subject,
but the quality was never in question. Despite Olympus’ claims of 5.5
stops of shake reduction, a few videos seemed a bit shakier than I was
expecting. In continuous AF mode there was a bit of ‘hunting,’ but not
enough to concern me.
Gullfoss in Dramatic Tone. ISO 200, 1/100 sec, F5, Olympus 12-100mm lens @ 36mm equiv. Photo by Jeff Keller.
The one thing that about the E-M1 II that remained a mystery until
the very end of the trip was its price. Some of the group were guessing
around $ 1500, while I was thinking $ 1800. As it turned out, the E-M1
II is a penny under $ 2000 — a full $ 600 over the MSRP of the original
E-M1 and on par with the Nikon D500. That’s a lot of dough for a Micro
Four Thirds camera and while my initial impressions of the camera were
positive, I want to see how it performs in our tests – especially in
terms of autofocus – to see if its worth the price.
Sony will start to “refresh” their A7 line with the new A7 mark III.
The camera will start shipping out in March/April according to
SonyAlphaRumors. No specs are given yet. rnss Thumbs up17 Love1 Joy1
Surprised3 Sad2 Angry7 Share on…
The post Sony’s next A7 camera is going to be announced in March/April appeared first on mirrorlessrumors.
One could say that it’s taken the last thirty years to gain a type of
access to a sovereign nation that I’ve been privileged and honored to
obtain. I say it’s taken that long for me to prove myself to a people
that don’t take lightly to disrespect, and recall vivid memories of a
time that people with my colored skin acted in unfathomable ways – and
access is limited.